Part 2 – Editing Views, Automating with Macros
If you saw Part 1 of this series last month, you will know that we built a simple database in Access 2013 Web Apps (AWA) to record details of our customers with a related table holding Activities associated with them. In this article, we are going to edit the standard Views (forms) produced by Access and create a couple of Macros to automate things.
Editing the Views
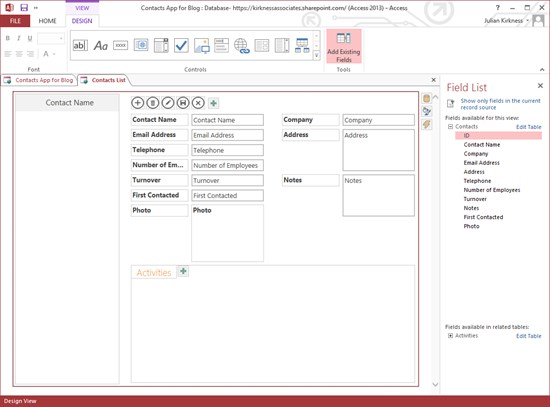
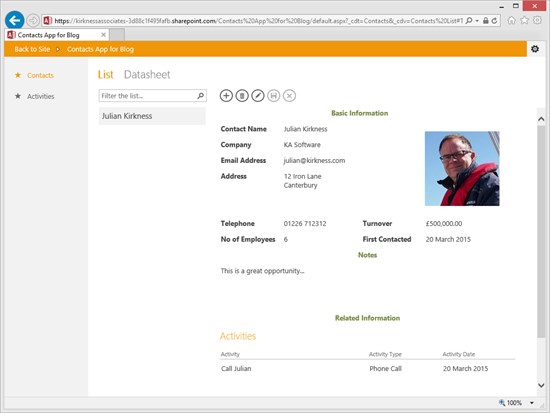
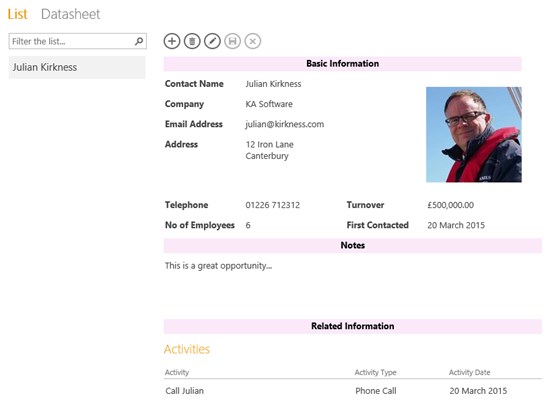
In the last post, we let Access create its standard views for each table for simplicity. Now it’s time to tidy these up. The Contacts view looked like this:

In order to edit this, you need to open the app in Access 2013 (for example by clicking Customise in Access from the tools charm on the top right of the browser window) and then select edit for the contacts List view:
Here you are able to change the layout using simple drag and drop techniques. We can also change fonts, label text, add headings etc. Here is an example of how you may want to improve this particular view:
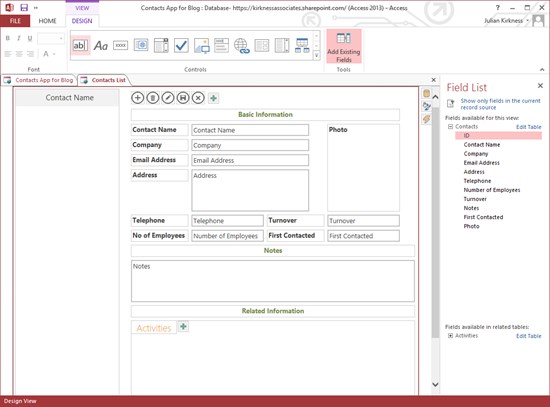
This change took about two minutes to do and looks as follows in the browser:
Notice that I have added some section headings – but that they are not very clear. Ideally, I would like to give these a background colour – but unfortunately there isn’t an option for this in the screen designer. This is the first place where you can use a Macro to achieve some simple UI changes automatically. Each View has two Actions which can trigger Macros – On Load and On Current. In this case I will create an On Load Macro for the View to change the background colour of the headers in question…

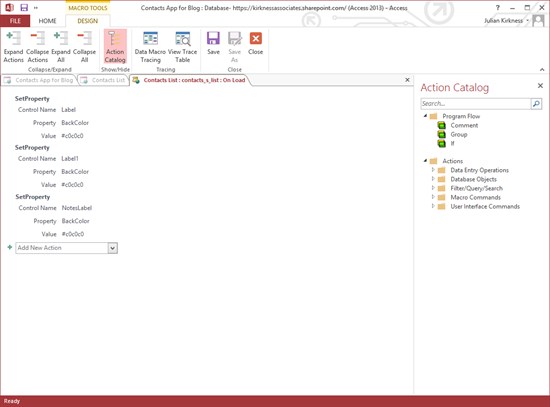
Note that we’re using the SetProperty Macro Action for each of 3 labels. This macro will run every time the View is loaded setting the colours accordingly. Here’s what the screen looks like now:

I think you’ll agree that this layout is more pleasing than the default and was achieved in just a few minutes. In our commercial apps on the app store, we allow our customers to choose the colour of these dividers to tie in with their SharePoint style. This is then stored in the system and applied to each View as it’s loaded. Let’s see how to do this…
Creating a Settings Table
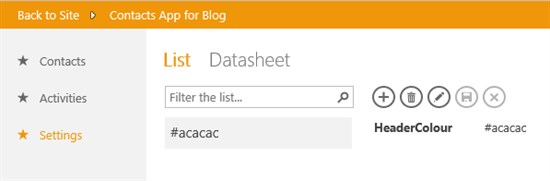
The first step is to create a table to hold this (and any other) system wide setting – we’ll call it Settings – click on New Table and then ‘add a new blank table’ and then add a single field:

Save this new table as Settings – Access will create a new table and associated views as before. Now save and run the app and enter a (Hex) colour code in the first empty record in the Settings table:

Now Let’s Use Macros to Make Use of This Setting
In itself, this won’t change the colour of the headings on the screen – to do this we need something to look up this value in the database. This type of work is handled by Data Macros – these are similar to ordinary Macros but give you the ability to access and manipulate data. Technically, they are converted into SQL Stored Procedures and are processed on the database server. Here’s a data Macro (created from Advanced/Data Macro) which will look up this value and return the colour code:
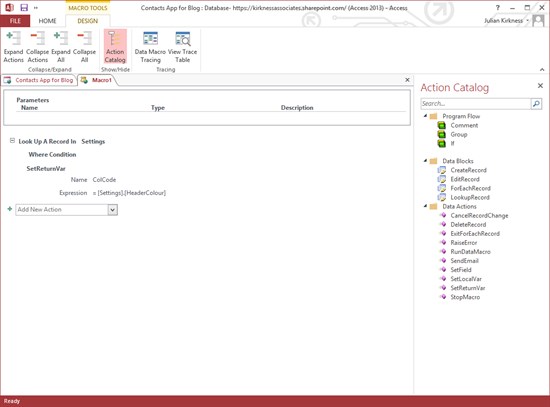
Again this is very simple – but to actually use this value we also need to modify the View’s On Open Macro to apply this value:

Now, using this macro, the colour of the screen headers will be set to whatever colour the user wishes, for example:

Gives us a screen looking like this:
Summary
Although this post has only touched upon a relatively simple use of Macros and Data Macros, I think we have shown, in principle, how these are used to access data and use the results to achieve something useful. Hopefully you will have some of your own ideas and will do some experimenting.
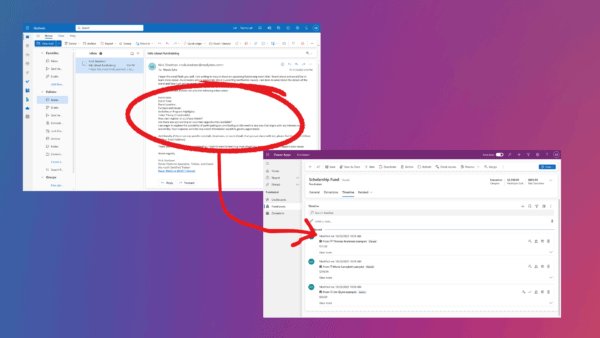
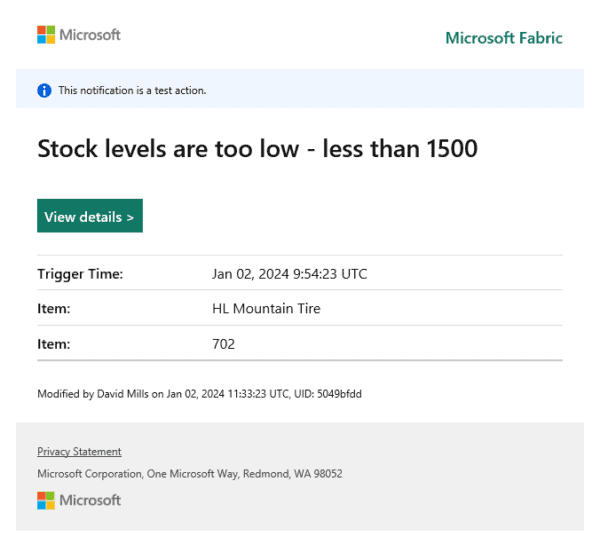
In the next post, I will show how we can use Macros in more sophisticated fashion to send emails to users to remind them of tasks that need doing. This will involve creating a ‘Users’ table, linking this to Activities and then creating the macros required to send out required reminders.
 About the Author:
Julian Kirkness has been an Access user since version 1 and has spent many years developing and marketing Human Resources and CRM applications built in Access and Access Web Apps.
His first business started in 1996 with an HR application built entirely in Access 95. This business grew considerably over the years as did the product – moving to a SQL Server back end and ultimately to a fully Web based solution. Selling the business in 2010, Julian had a period of inactivity (due to non-compete clauses) and about 3 years ago started looking for technology to build new applications and a new business.
He decided to use Access again – in the form of Access Web Apps (AWAs) this time – because of the uniquely rapid development process, combined with the robustness of SQL Azure and SharePoint. The ability to market the apps through the SharePoint App Store was also critical.
He quickly became the first person to publish apps built with the technology on the App Store and so far has 4 apps available. For further information see http://software.kirknessassociates.com.
European SharePoint Conference 2015 takes places in Stockholm Sweeden from 9-12 November 2015. View Programme>>