Ok so Part 1 covered how to do a manual build of a .NET Core Web App and now I’ll show how to do a manual deployment of the project.
Part 2 covered creating a manual release from the build in Part 1
In Part 3 I’ll cover the magic sauce that make it possible to set up continuous deployment so that when you commit your code its automatically built and deployed.
Automated Builds
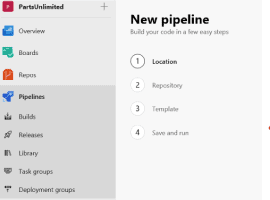
- Ok so start by going to Pipelines and then select Builds
- Click on Edit to Edit the build we created in Part 1
- Select Triggers and then click on Enable Continuous Integration and then click Save And Queue like so
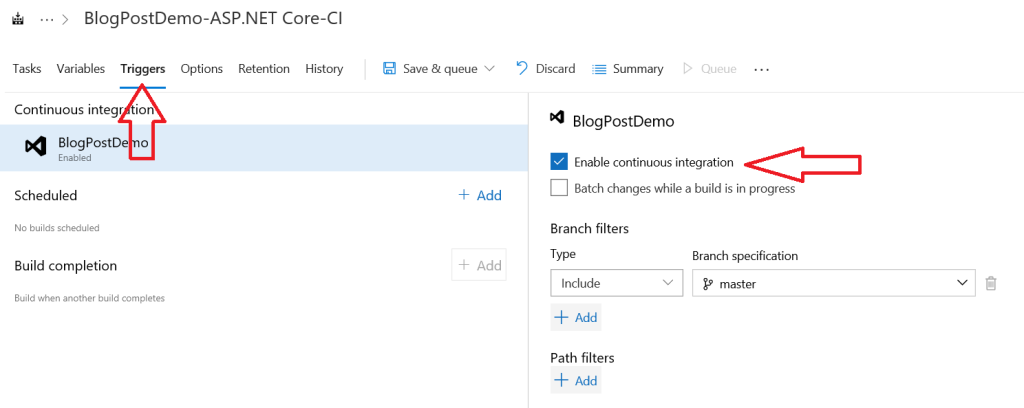
Once you’ve saved check in a commit and the code will trigger the automated build.
Automated Deployments
- Ok so start by going to Pipelines and then select Releases
- Edit the release you had previously created in Part 2
- Click the lightning icon on the Artifacts part of the release and then click to enable Continuous deployment trigger like so, click Save.


So now if you commit code, you’ll have an automated build and release pipeline using continuous integration and continuous deployment (CI / CD) – way to go!
About the Author:
I’m an Azure / DevOps Fanboy from near Glasgow, Scotland.
Reference:
Suttie, G. (2018). Azure DevOps – How to do a fully automated release (Part 3). Available at: https://gregorsuttie.com/2018/11/14/azure-devops-how-to-do-a-fully-automated-release-part-3/ [Accessed: 21 February 2019]