In this article, I´ll show you how to effective operationalize containers technology to build your apps faster and easier so you can deploy docker container to Azure.

Operationalizing containers has its challenges. Organizations are looking for guidance on a seamless handoff of the container technology from development to production and on the management of its lifecycle – essentially continuous integration/continuous delivery for containers.
This hands-on offers some practical experience with Docker on Azure, with the goal of building and deploying Docker containers to Azure Container registry and deploy to an azure webapp.
Key Take-aways
- A technique for moving your on-premises Docker containers to Azure
- Deploy your container from Azure container registry to a web app (webapp for containers)
Overview:
These are the overall steps that will follow along this article:
- Build and run a container on your local machine
- Prepare your Azure container Registry
- Deploy your Docker container to Azure Container Registry
- Provision your Docker container to Azure web App
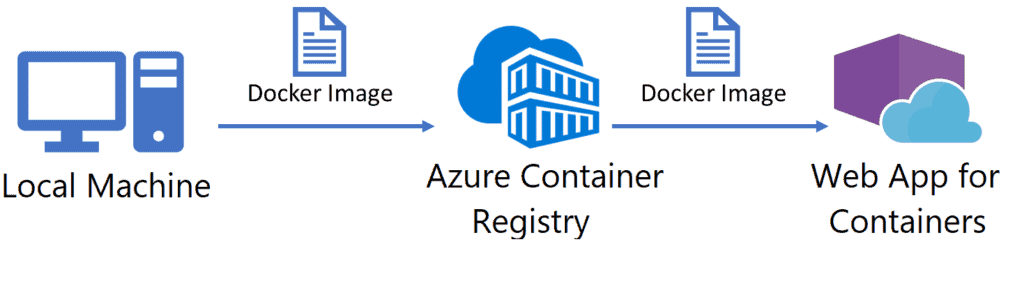
Table of contents:
- Preparing your environment
- Pull images from docker hub
- Prepare your Azure container Registry
- Build your container image
- Push your Docker container image to Azure Container Registry
- Deploy your container to azure webapp (webapp for containers)
- Conclusion
Preparing your Docker environment
Install Docker Desktop
Choose your preferred OS to install Docker
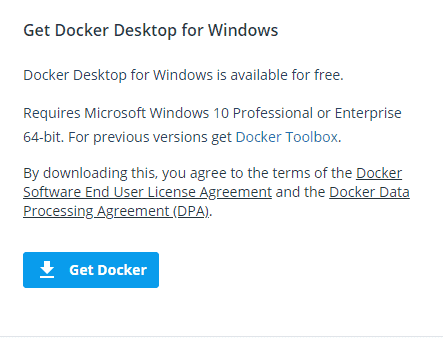
Docker Desktop for Windows download from: https://hub.docker.com/editions/community/docker-ce-desktop-windows
Sign in and download:

The download process might take couple of minutes.
Setup Docker on Desktop
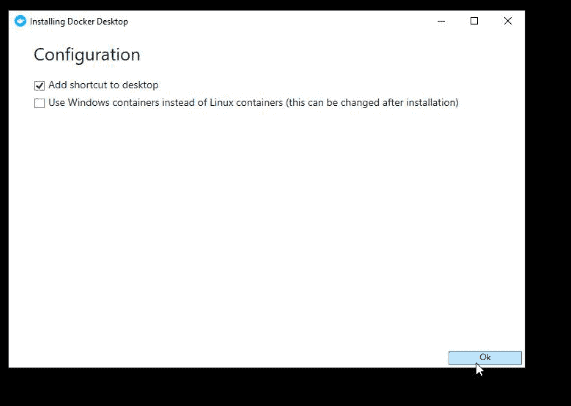
Execute the downloaded exe file, once the installation process starts, select your preferred configuration, in this case I´ll use the default setup.
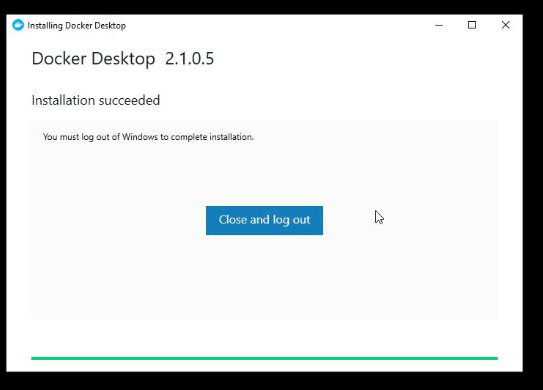
Once completed, you might want to restart and ensure you have enabled the hyper-v role on your local machine.
Verify Docker is running
Once you restart your local machine, you should see the docker icon in your taskbar

Depending on your desktop setup you could probably see a notification pop up.

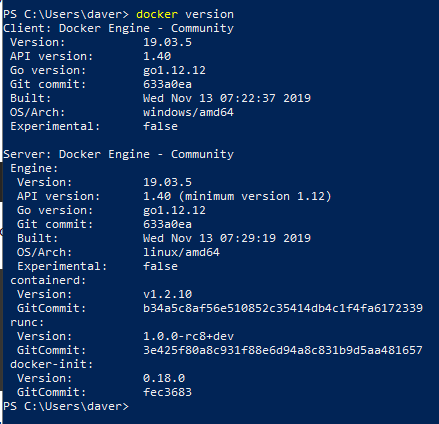
Verify Docker version using PowerShell
Now you can use PowerShell or Visual Studio Code with the PowerShell extension, and execute: docker-version
Check all images running on your machine, execute: docker images

Now, where to get more container images from?
You have 2 options:
- Create your own images
- Pull them down from the repository online
Pulling images from Docker Hub:
Go to hub.docker.com

Search for an image you want to pull, in this case I´ll look for wordpress image:

Pull the image to your local machine. Execute: docker pull wordpress
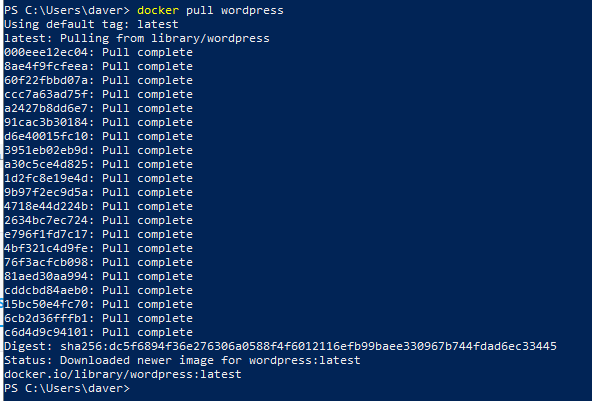
This might take a few minutes, Docker is got to reach out into that registry and pull on all you need to run that image on your local machine.
Once the download is completed, let´s verify the docker images.
Verify Docker images
Now we should see the wordpress image that we just pulled down from the Docker Hub.

Now, you should be able to take that image and create running containers on you local machine.
Preparing your Azure Container Registry
Go to your Azure subscription and create a new resource group, in this case I created a Resource group called: azure-advent-calendar

Now we will Create the azure container registry, which is the “place” where you are going to build and store your custom container image. So yes you might want to compare container registry = docker hub.
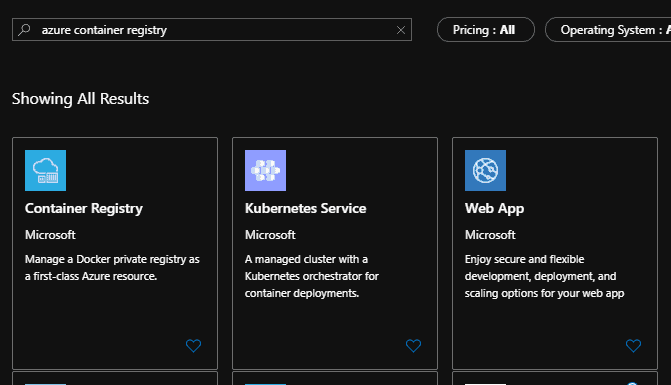
Go to the Azure Portal, click create new resource:

Look for the azure container registry service:

Then select the azure container registry:
Now click create Container Registry:
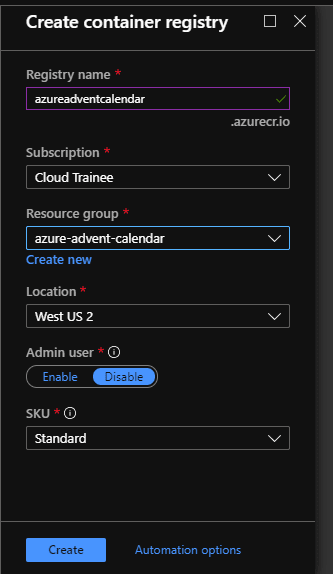
Provide the parameters for the creation of the Azure Container Registry:
Once created, go to the Azure Container Registry(ACR) blade and you should see all the properties related to the ACR:
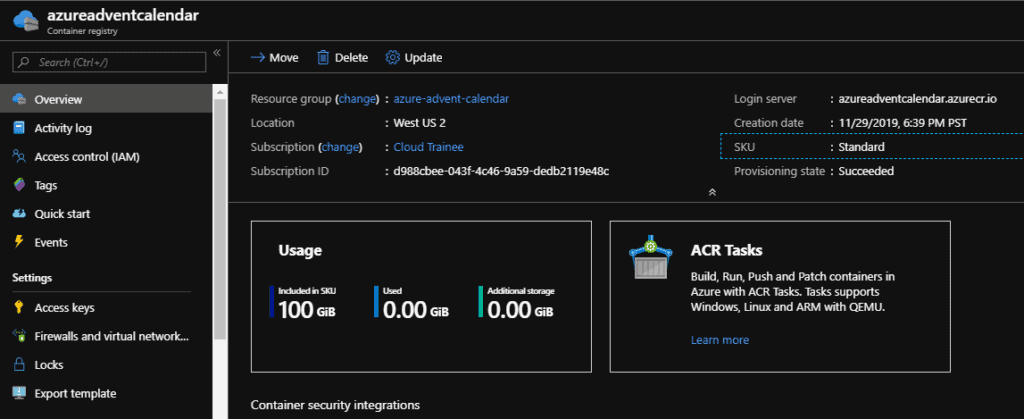
Copy the login server name, in this case: azureadventcalendar.azurecr.io
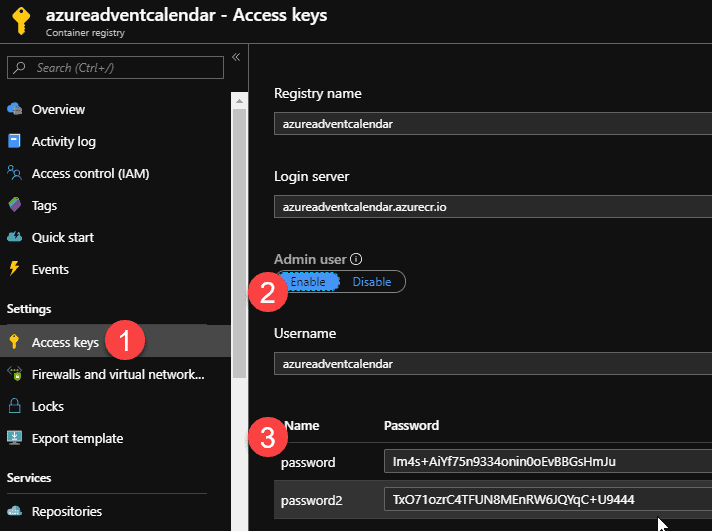
Now click on Access Keys, then enable user admins and copy the credentials:
Now open PowerShell and login to your ACR: docker login azureadventcalendar.azurecr.io

Build your local Docker container image
Create a directory for your local container image, in this case:

Mkdir ~/wordpress/

Then let´s set the directory:
cd ~/wordpresss/

Now create a new docker-compose.yml file in the new directory using visual studio and paste the code below:
version: '3.3'
services:
    db:
        image: mysql:5.7
        volumes:
            - db_data:/var/lib/mysql
        restart: always
        environment:
            MYSQL_ROOT_PASSWORD: globalazure
            MYSQL_DATABASE: wordpress
            MYSQL_USER: wordpress
            MYSQL_PASSWORD: wordpress
    wordpress:
        depends_on:
        - db
        image: wordpress:latest
        ports:
         - "8000:80"
        restart: always
        environment:
            WORDPRESS_DB_HOST: db:3306
            WORDPRESS_DB_USER: wordpress
            WORDPRESS_DB_PASSWORD: wordpress
            WORDPRESS_DB_NAME: wordpress
volumes:
    db_data: {}
Now go back to PowerShell and execute the command to create the containers:
docker-compose up -d

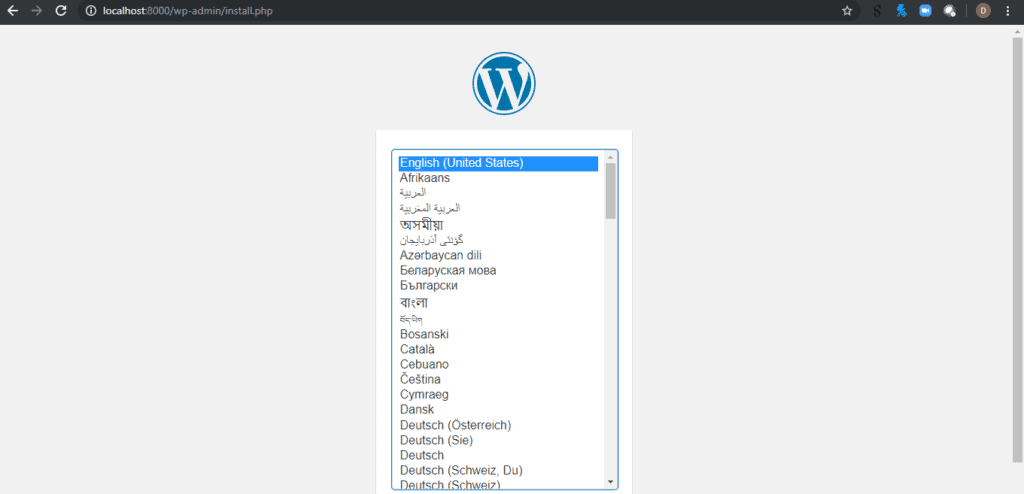
Now let´s verify that the containers are up and running, open in your browser: localhost:8000
Preparing the Docker Container to push it to Azure Container Registry
Login to your Azure Container Registry:
docker login azureadventcalendar.azurecr.io
Before pushing your docker image to the Azure Container Registry is important to apply a tag to your Docker container image. To add a tag to your Docker container image you can follow the syntax below:
docker tag <your image id> <you container registry loginservername>/wordpress
In this case:
docker tag f301ac1d3e93 azureadventcalendar.azurecr.io/wordpress
*Note: you can run “docker images” to get the image id that you should include when adding the tag

Verify the images again and you should see the change reflected:

Push the Docker container image to Azure Container Registry
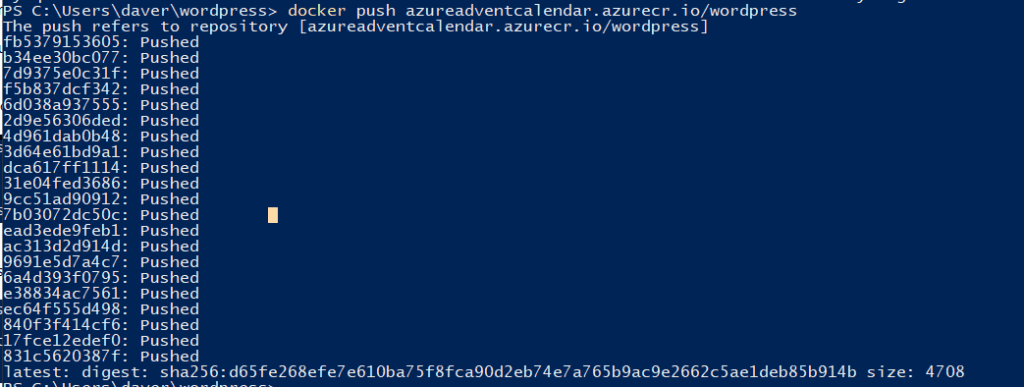
Now let´s push to the Docker container image Azure Container Registry:
docker push azureadventcalendar.azurecr.io/wordpress
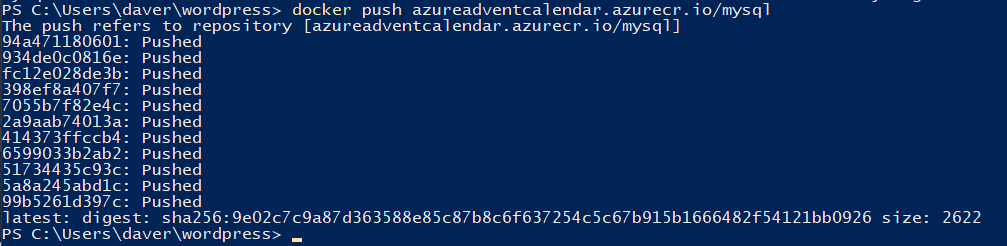
Optionally, you can perform the same process for the MySQL container:
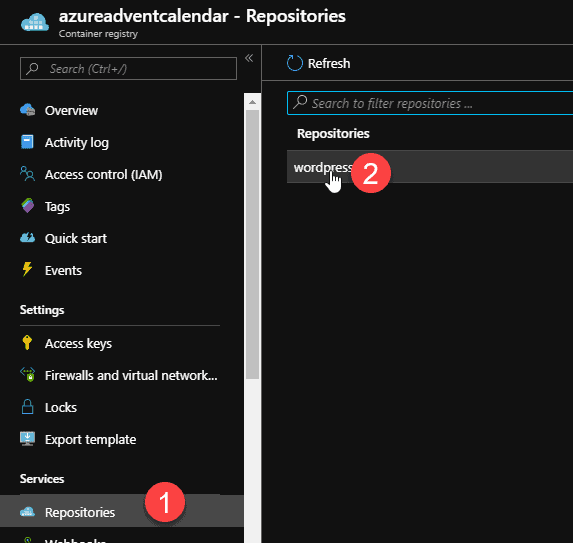
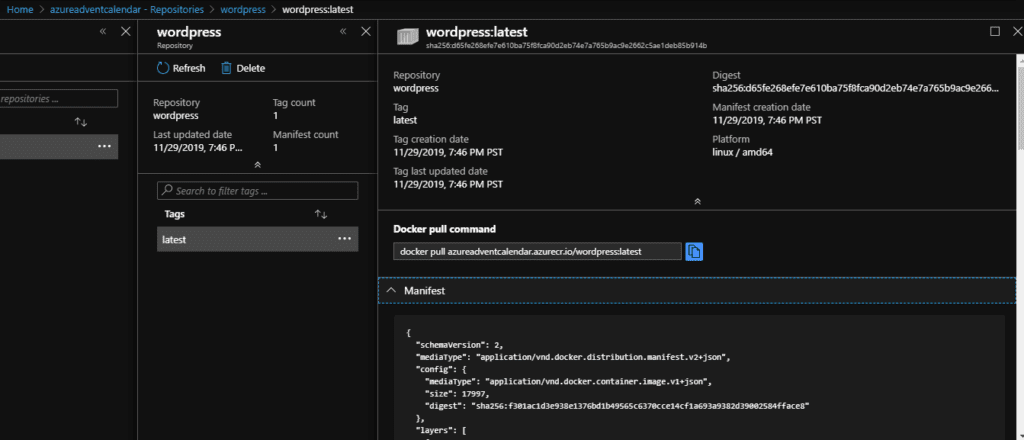
Now go back to the Azure Portal to the Azure Container Registry, select the Repositories blade and you should see the wordpress image available:
Now select the image and the “latest” tag and you will be able to see all details as below:
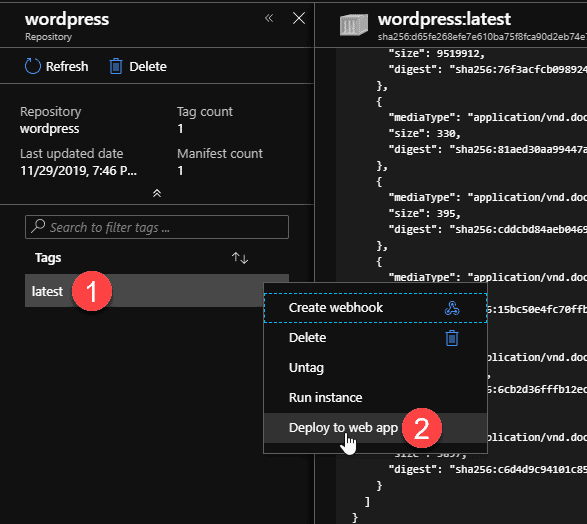
Deploy your Docker container from Azure Container Registry to a web app as “Web App for Containers”
From the Repositories >Tags, click on the options and click on deploy to web app as shown below:
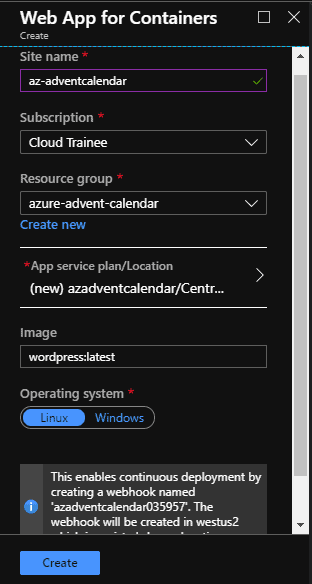
Now provide the parameters to deploy the web app for containers:
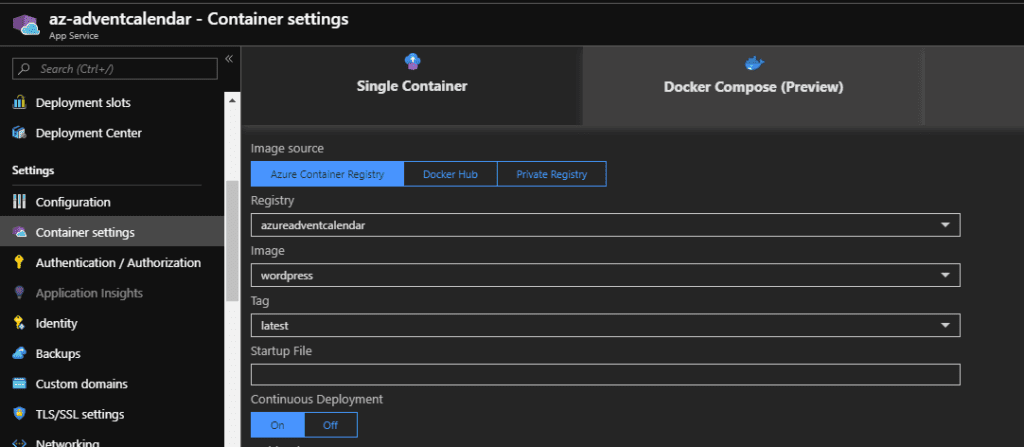
Once the resource is provisioned you could take a look at the container settings within the web app:
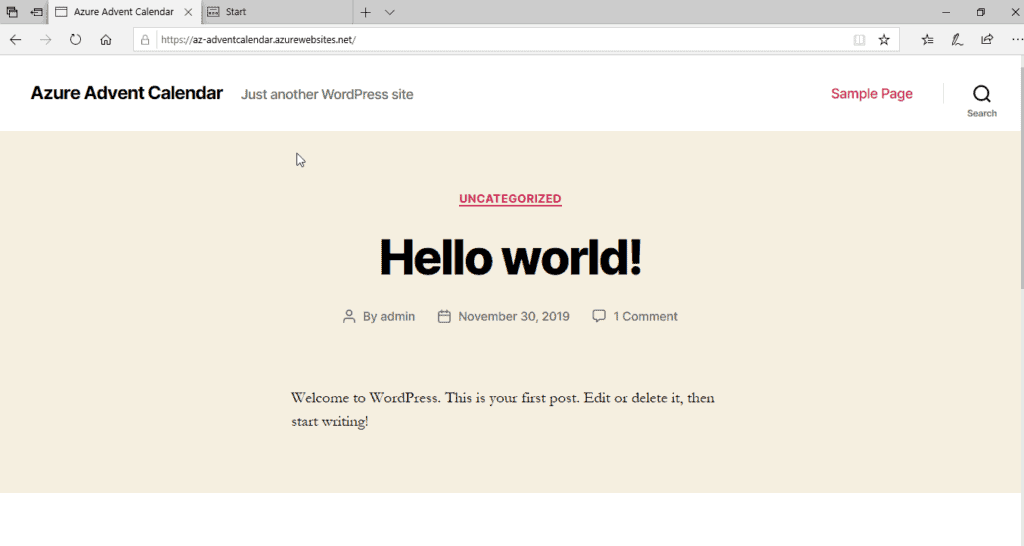
Now let´s finish the deployment by browsing to the URL:
az-adventcalendar.azurewebsites.net
After a few mins you should see the wordpress setup:
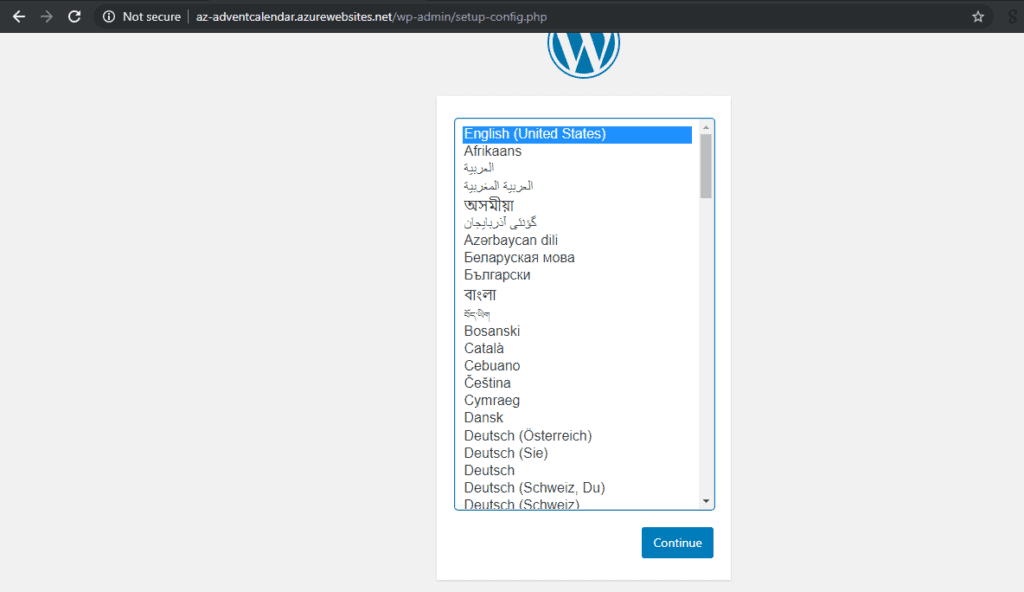
Now you have successfully deployed your wordpress Docker container to Azure web apps for containers!
Conclusion
Along this article we reviewed how to effectively make use of container technology using Docker and Azure Container Registry service.
We also reviewed how to start from scratch with Docker, the installation process, then we moved on to the build process of a custom container image and how to leverage Azure Container Registry service to deploy your containerized application on top of the Azure web apps for containers service.
About the Author:
Hello Everyone! I’m Dave Rendon, Microsoft Azure MVP for 6 consecutive years. As an IT professional with more than 10 years of experience, I have a strong focus on Microsoft technologies and moreover on Azure since 2010.
Currently serve as Solutions Architect for US / Latam region at Kemp.ax. Helping Professionals to increase the skills required to advance your career through Cloud & AI. I also provide support to Microsoft Partners worldwide on technical guidance and Azure training deliveries. 📘 https://amzn.to/2slssEn
🌐 https://wikiazure.com/blog
🎙️ https://azurelate.show
Reference:
Rendón, D. (2019). Build, Run, Deploy Docker Container to Azure Container Registry and deploy it as Web App for Containers. Available at: https://wikiazure.com/devops/build-run-and-deploy-docker-containers-to-azure/ [Accessed: 18th AMy 2020].