Office 365 plans comes with support for public facing websites. No matter if you are using Small Business Plan (P Plan) or one of the Enterprise Plans (E Plans), you can create exactly one public facing website. The difference between plans is the fact that for P plan public website is created automatically at the root level immediately after you establish your account, and for the E plans it have to be created manually.
In this blog post I’ll show you how easy is to create and customize a public facing website hosted inside your SharePoint Online services.
How to create a new public facing website…
…in 5 easy steps:
1.Open the Microsoft Online Services administration center
(https://[account_name]-admin.sharepoint.com).
2.Click on the Manage site collections link.
3.Click on a Public Website action in the New dropdown on the Site Collections ribbon.
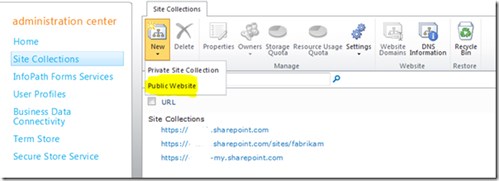
Manage site collections link – Public Website
4. A Create Your Website dialog will be opened. There are few options you need to configure in order to create a new public facing website:
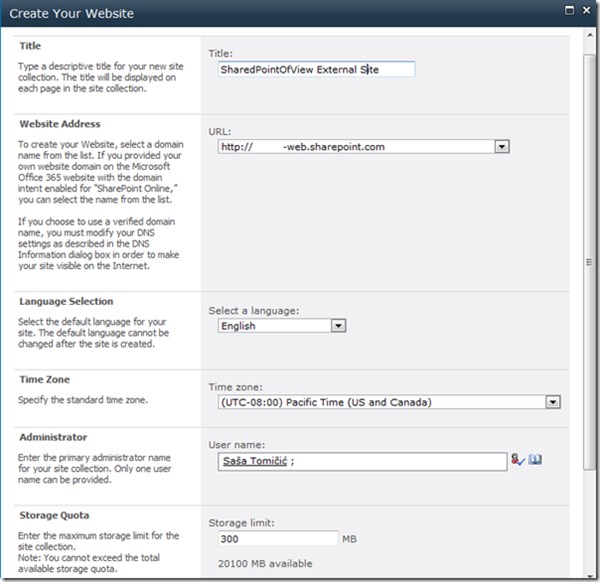
Manage site collections link – Create Your Website
Title – title for the new site collection.
URL – cannot be changed unless you configure alternate DNS settings in the Microsoft Online Services administration page.
Localization options – Language, Time Zone.
Administrator – one and only user, represents primary site collection administrator.
Storage Quota – maximum storage limit for the site collection, 300 MB should be enough.

5. Commit the changes and wait for the site collection to be created. Once created, you’ll be able to navigate to the newly created website.
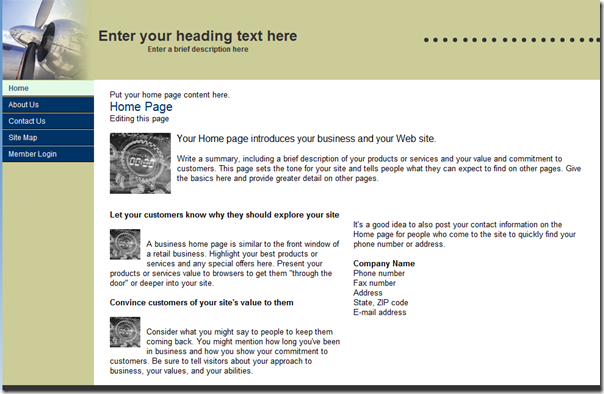
Site collection created
Behind the scenes
It’s interesting to see what was created behind the scenes. On the first sight, public web site doesn’t look like a SharePoint site. However, it’s a simple site with a Page Library on it. Each link represents one page in the Page Library. To see the files in edit mode, you’ll need to click on the Member Login link.
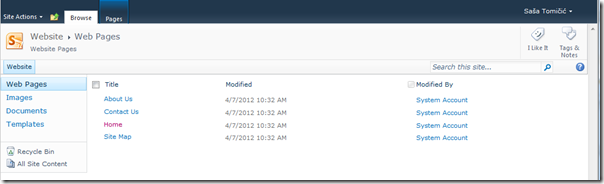
Page Library
Page customization
If you open the Home page in edit mode, you’ll see that it looks pretty different from standard SharePoint pages. There are zones similar to web part zones, but here stops any similarity.
First, if you click anywhere in the header area, a header customization dialog will appear. Using this dialog you’ll be able to edit page title, description and logo.
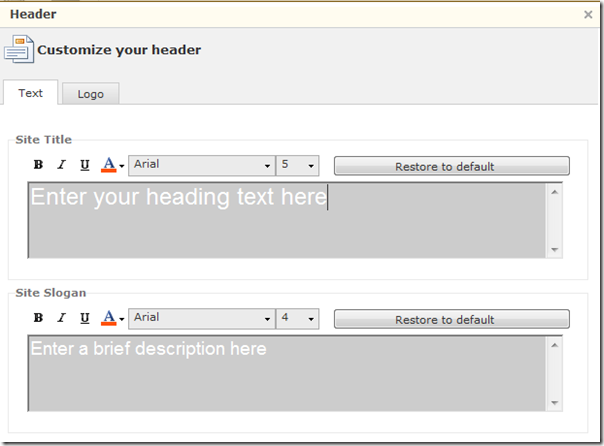
Open the Home page in edit mode
Page content can be edited using standard text manipulation tools available on the Home ribbon tab.
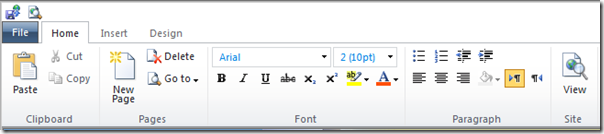
Home ribbon tab.
Using the Insert tab, you’ll be able to insert some standard object such us an image, line, hyperlink or table.
However, that’s not all you can put on you page. There is a set of gadgets you can insert on your page, e.g. Slide Show, HTML, Map & Direction, Video, Contact Us form or Weather gadget.
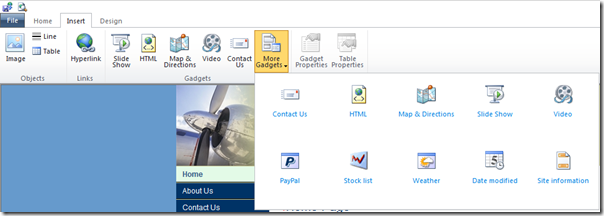
Insert gadgets on your page
The very last tab contains a set of Design tools that can be used to change the look and feel of your page. There you can change page size, color scheme, background, layout, style sheet and much more.

Design tools that can be used to change the look and feel of your page
We’ll dig into design options in one of the future blog posts. See you soon.
Sasa Tomicic IS a .Net & SharePoint consultant with 11+ years of experience. His blog shares his thoughts about SharePoint and .Net programming technics and the solutions about the challenges and issues I hit on the real-world projects.
Stay tuned for more content by joining our community or by following us on twitter or facebook.