This article shows you how to create Web Part in Visual Studio and deploy to Office 365 SharePoint.
To create SharePoint Web Part fir Office 365 SharePoint.
- You must have Office 365 SharePoint SDK installed
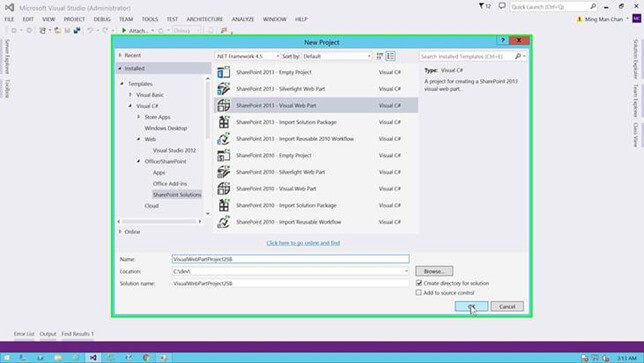
- Go to pull down menu File -> New -> Project…
- Select Office/SharePoint -> SharePoint Solutions -> SharePoint 2013 – Visual Web Part.
- Use the default name then click OK.
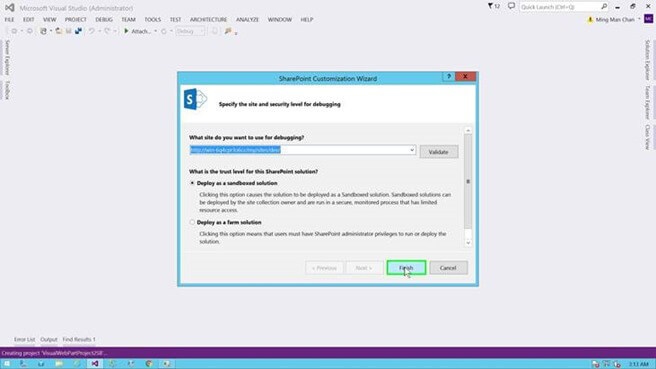
- Choose Deploy as sandbox solution.
- Click on “Finish (button)” in “SharePoint Customization Wizard”.
7. Open VisualWebPart1.ascx and add the following HTML tag to the bottom of the file.<asp:Label ID=”Label1″ runat=”server” Text=”Title”></asp:Label> <asp:TextBox ID=”TextBox1″ runat=”server”></asp:TextBox> <asp:Button ID=”Button1″ runat=”server” Text=”Save” OnClick=”Button1_Click” />
8. Open VisualWebPart1.ascx.cs and add the following method to the code.
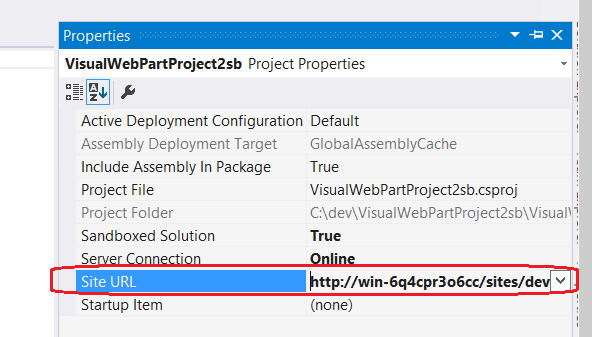
protected void Button1_Click(object sender, EventArgs e)

{

SPWeb spweb = SPContext.Current.Web;

SPList list = spweb.Lists[“Approval List”];

SPListItem listItem = list.Items.Add();

listItem[“Title”] = TextBox1.Text;

listItem.Update();

}
9. Change your Project site url to Office 365 SharePoint url.
- Go to Build -> Deploy solution.
You then will find a file with wsp extension in your solution folder. Go to Office 365 SharePoint Site -> Site settings -> Solution (Web Designer Galleries). Upload Solution to upload the wsp file then Activate it. The Visual Web Part will now in your Office 365 SharePoint.