What is favicon?
It is an icon associated with a particular website, typically displayed in the address bar of a browser accessing the site or next to the site name in a user’s list of bookmarks.
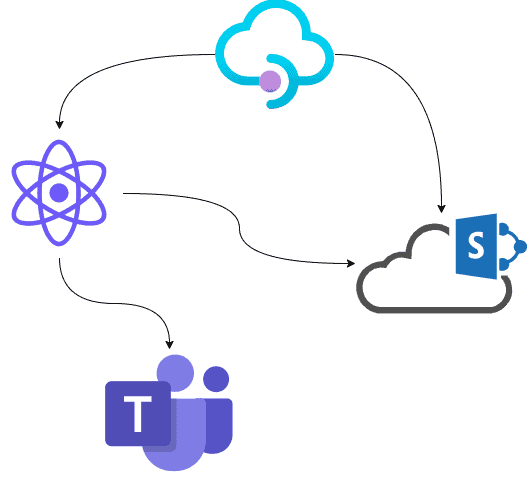
To change the default favicon in classic SharePoint is straight forward process that basically involves a modification of the master page. For modern sites – master page modification option is not available. Though it is possible by using Application Customizers a type of SPFx Extensions.
In this article I will explain how to use SPFx Extensions – Application Customizers to modify/change favicon on modern SharePoint sites.
Note: Find more details on SharePoint Framework Extensions if you are new to SPFx.
Let’s get started by creating a new extension project
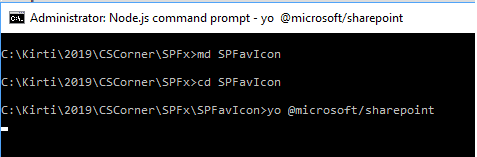
- Create a folder with the name of the project (i.e.SPFavIcon)
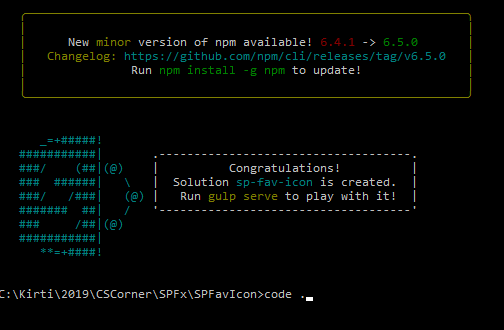
- Type the command yo @microsoft/sharepoint
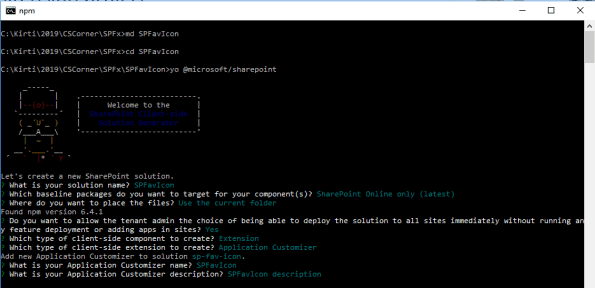
- When prompted provide the necessary information as below:
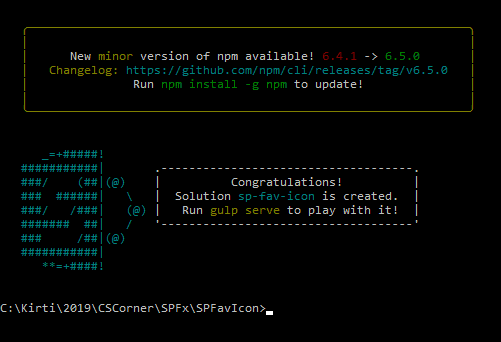
- It will take some time to download necessary files and prompt you with successful message like:
- Open the project in Visual Studio code editor using code . command (you can use other code editor as well). Project structure for extensions and Client Side Web Parts are same apart from few additional folders.
Type code . to open the project (this will open visual studio code but you can use another editor). The structure of the extension project is like the SPFx web parts projects.
Update the code
- Open ts the file is located under src–>extensions–>SpFavIcon
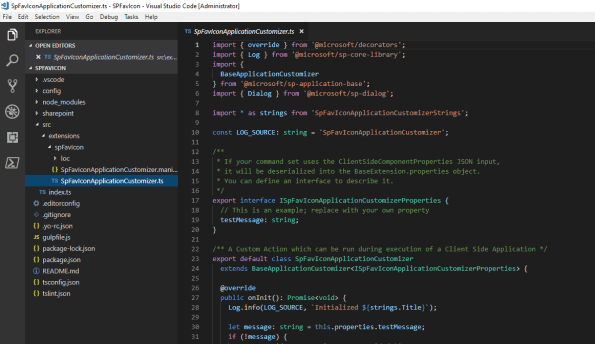
- OnInit method is responsible to change the fav icon for the site. Locate OnInit method and replace the original code by the code below:

- To add your custom variable which can store path for your fav icon URL – add new variable (or use out of the box available variable name ‘testMessage’) “favicon:string” as below:

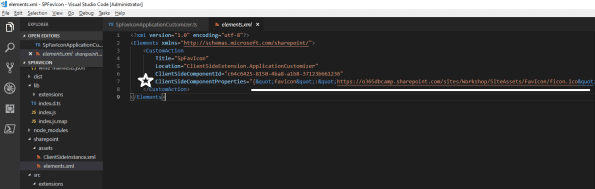
- To add the icon path – open an element.xml file from folder SharePoint—>assets—>xml–>CustomAction

Note: I have used SiteAssets library for this solution.
Execute/run/debug an extension project
- Use command gulp serve –nobrowser to compile the code.

- To test an extension, we need an id of the solution. Go to the src folder–>Open {xxxx}manifest.json and copy the id
- Go to your modern page and add the following query string to the URL. (Note: Replace id by your solution id value)

- Choose load debug scripts
- Your new favicon on your browser tab is available

Package the Solution
- Run gulp bundle –ship command to package the solution
- Run gulp package-solution –ship to get the installation package of the solution
- This will create solution folder under sharepoint and *.sppkg file will be available.

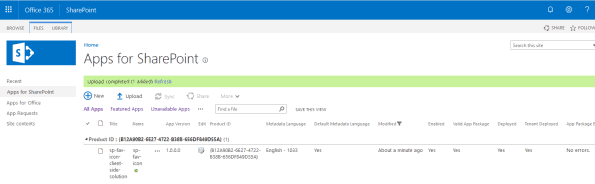
- Drag & Drop or upload the package file to app catalog.

About the Author:
I am SharePoint Certified Professional, I has been architecting and developing web based application with SharePoint.
Reference:
Prajapati, K. (2019). SPFx Application Customizer – How to change favicon on Modern SharePoint sites. Available at:
https://mysharepointsolution.wordpress.com/2019/01/10/spfx-application-customizer-how-to-change-favicon-on-modern-sharepoint-sites/ [Accessed: 15th May 2019]