It started with a tweet
As with many things in my life it started with a tweet
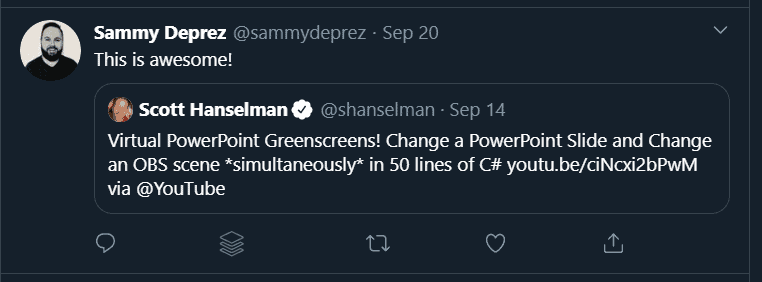
That looks awesome, I thought, so I watched the YouTube video.Scott has written a C# application that would change the scene depending on some text in the PowerPoint slide notes. Then, by applying a Chroma filter to the display capture and placing the webcam capture appropriately, when the slide changed, the Obs scene changed and the webcam became embedded in the slide!!!!!!!https://www.youtube.com/embed/ciNcxi2bPwM
It is truly awesome but it is for Obs and I use StreamLabs and I wondered if it could be done with PowerShell.
(If you just want the code, you can find it here)
Listen to PowerPoint Events with PowerShell
Create a Com Object
The first thing that we need to do is to find out when the PowerPoint Slide has changed.
You can create a PowerPoint Com Object with
$Application = New-Object -ComObject PowerPoint.Application
and make it visible with
$Application.Visible = 'MsoTrue'
Get the Slide Number and Notes
Next step is to get the slide number. It is not truly required for the code, but I like to print it out so that I know which slide I was on for trouble shooting.
Looking at Scotts code here I worked out that the slide number via PowerShell was
$slideNumber = $PowerPoint.SlideShowWindows[1].view.Slide.SlideIndex
The notes (by looking at code) can be accessed at
$notes = $PowerPoint.SlideShowWindows[1].View.Slide.NotesPage.Shapes[2].TextFrame.TextRange.Text
then parse the notes to get the scene name which is defined as OBS:SceneName
$SceneName = ($notes -split "`r")[0] -replace 'OBS:', ''
The first part gets the first line and it was thanks to Andreas on twitch who got this working, Thank you Andreas.
Listen to an Event
With PowerShell, you can subscribes to events and take action when they fire. The event that we are going to subscribe to is called SlideShowNextSlide
$subscriber = Register-ObjectEvent -InputObject $PowerPoint -EventName SlideShowNextSlide -Action $action
We have defined an $action variable in the code but we need to provide an action and this is where things got a little tricky.
Automating StreamLabs OBS
In Scotts code he uses OBS.WebSocket.NET to control OBS. Excellent, PowerShell and .NET.Unfrotunately, StreamLabs uses an RPC-based API https://stream-labs.github.io/streamlabs-obs-api-docs/docs/index.html
This documentation specifies
You can access services’ methods and properties by sending JSON-RPC messages to the named pipe slobs.
Thank you Keith Hill
So Rob traversed a rabbit warren of investigation to understand how to send messages to this API with PowerShell and eventually stumbled across the marvelous Keith Hill blog twitter and a blog post from 2014
Create a connection and send and receive messages
Now I had everything I needed to create a connection to SLOBS via named pipes. SLOBS needs to be started here!
# Create Client
$npipeClient = New-Object System.IO.Pipes.NamedPipeClientStream($Env:ComputerName, 'slobs', [System.IO.Pipes.PipeDirection]::InOut, [System.IO.Pipes.PipeOptions]::None, [System.Security.Principal.TokenImpersonationLevel]::Impersonation)
$npipeClient.Connect()
$npipeClient

# Create Reader and writer and send and receive message
$pipeReader = New-Object System.IO.StreamReader($npipeClient)
$pipeWriter = New-Object System.IO.StreamWriter($npipeClient)
$pipeWriter.AutoFlush = $true

# Send message
$pipeWriter.WriteLine($scenesMessage)

# Receive message
$pipeReader.ReadLine()
Which messages?
Next I needed to get the messages to send formatted correctly. Looking at the API docs I saw
{
  "jsonrpc": "2.0",
  "id": 1,
  "method": "getScenes",
  "params": {
      "resource": "ScenesService"
  }
}
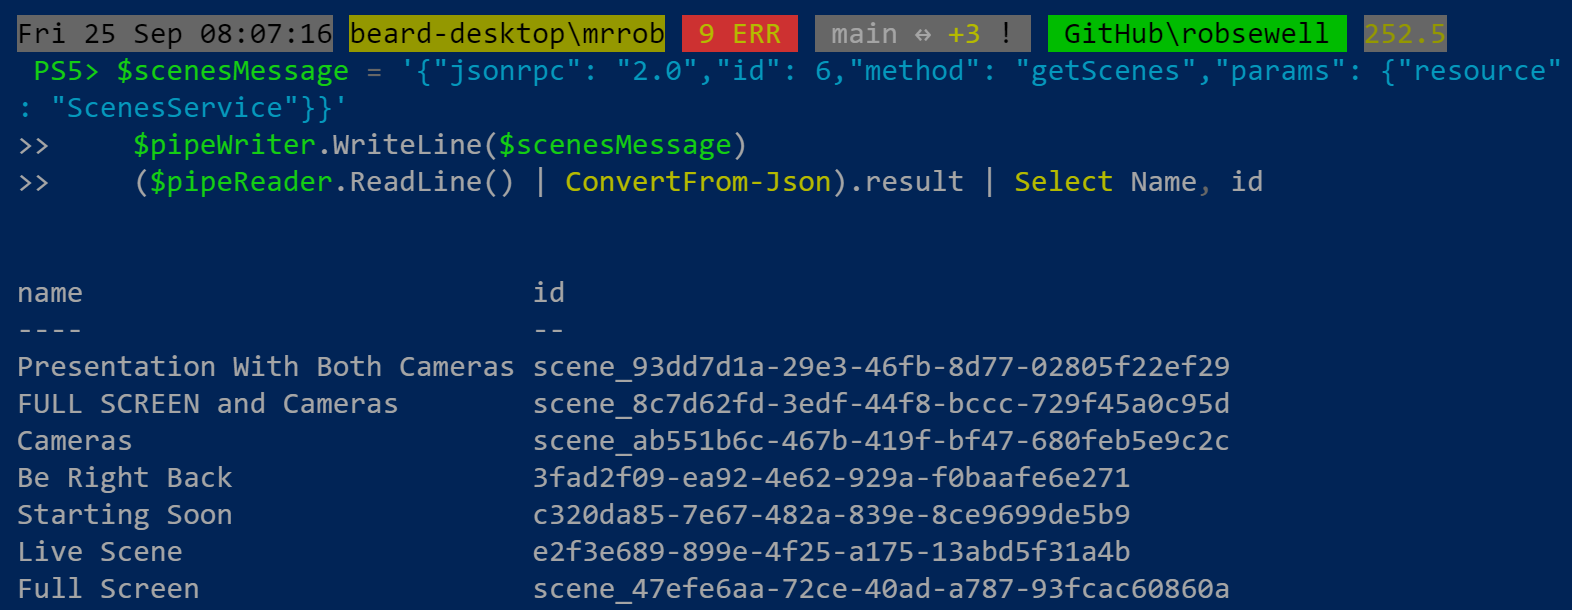
So I was able to get the current available scenes with
$scenesMessage = '{"jsonrpc": "2.0","id": 6,"method": "getScenes","params": {"resource": "ScenesService"}}'
$pipeWriter.WriteLine($scenesMessage)
($pipeReader.ReadLine() | ConvertFrom-Json).result | Select Name, id
Change Scenes
The last part of the jigsaw was to change the scene via the named pipe connection
$scenesMessage = '{"jsonrpc": "2.0","id": 6,"method": "getScenes","params": {"resource": "ScenesService"}}'
$pipeWriter.WriteLine($scenesMessage)
$scenes = ($pipeReader.ReadLine() | ConvertFrom-Json).result | Select Name, id
$SceneId = ($scenes | Where Name -eq $SceneName).id
$MakeSceneActiveMessage = '{    "jsonrpc": "2.0",    "id": 1,    "method": "makeSceneActive",    "params": {        "resource": "ScenesService","args": ["' + $SceneId + '"]}}'
$pipeWriter.WriteLine($MakeSceneActiveMessage)
$switchResults = $pipeReader.ReadLine() | ConvertFrom-Json

Setting up PowerPoint and Scenes
With the PowerShell set up, we next need to set it up to use the scenes. I followed Scotts example and used OBS:SceneName as the reference to the Scene. I added this to the first line of the notes on a slide
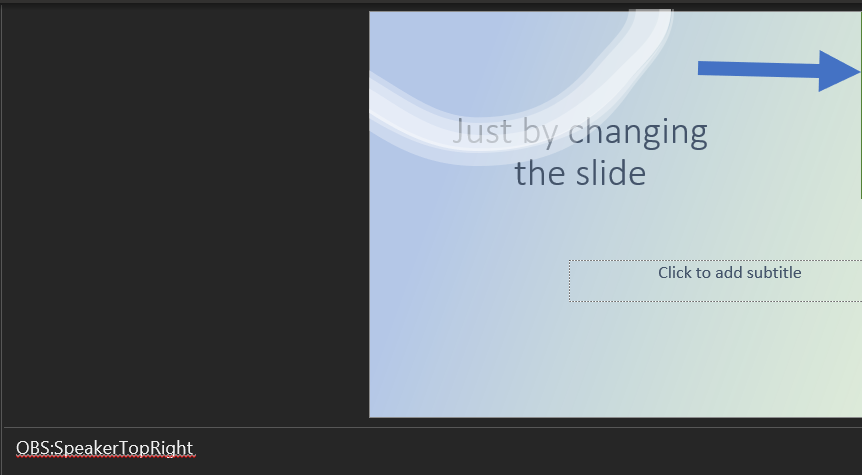
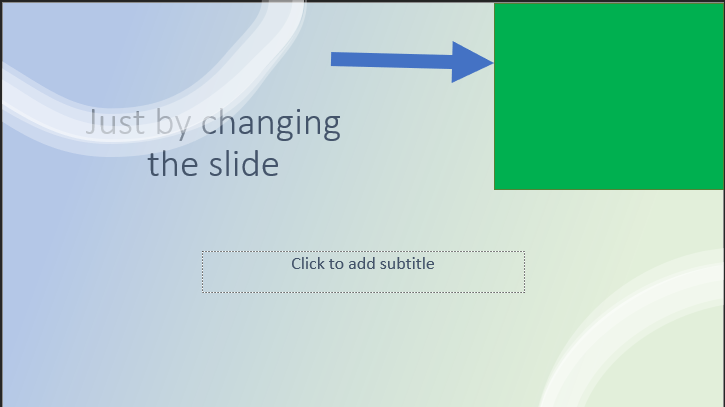
and then created a text box with a green fill
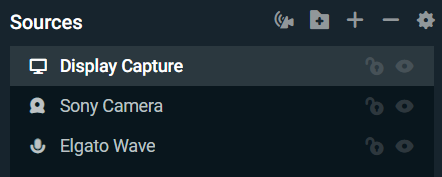
In StreamLabs, I set up the scene with the same name, the order of the sources is important. They are displayed from top to bottom, front to back so the Display Capture will be on top of the Sony Camera here
Then I right clicked on the Display Capture and chose Filters
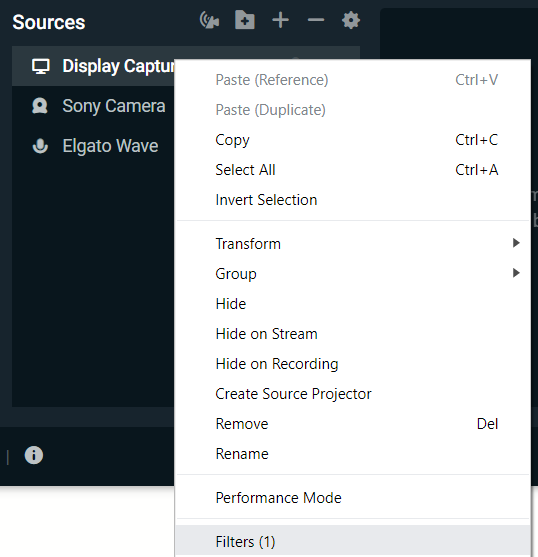
and chose a Chroma Key filter
With the PowerPoint in SlideShow mode, I set the Chroma Key filter colour to match the colour of the green box, placed the camera source in the correct location and saved.
The image below shows form left to right, the Chroma Key settings, the scene in SLOBS and the PowerPoint slideshow

Normally, I would do this on seperate screens of course!
I set up each slide like this and then I closed the PowerPoint and ran the code, you can find it here,)leaving PowerShell running in the background. This opened PowerPoint and I opened the deck and started the slide show and as I navigate through the slide, the scene changes and so does the webcam position 🙂
You can see a test run belowhttps://www.youtube.com/embed/7a22pymG4XQ and the demo pptx can be found here
For more great content, click here
About the Author:
Rob was a SQL Server DBA.
Now he just helps people with Powershell, Azure, Automation, and Data.
He is a Cloud and Data Center MVP and a Data Platform MVP, co-leader of Data South West UK user group and PSConfEU organiser. One of the Admins for Data Saturdays https://datasaturdays.com
He is a proud supporter of the Data and Powershell communities.
He has a fabulous beard.
Reference:
Sewell, R. (2021). Using PowerShell to Automate StreamLabs OBS and Show Your Webcam in PowerPoint. Available at: https://blog.robsewell.com/blog/powershell/slobs/using-powershell-to-automate-streamlabs-and-show-webcam-in-powerpoint/