As you might have seen, the new Project started rolling out a few week ago but the official release was October 29th, here is the blog post from Microsoft: https://www.microsoft.com/en-us/microsoft-365/blog/2019/10/29/new-microsoft-project-rolls-out-worldwide/ If you didn’t see the earlier Microsoft blog post announcement about the start of the rollout it can be found here: https://techcommunity.microsoft.com/t5/Project-Blog/The-new-Project-is-rolling-out/ba-p/909721 In the blog post there are a few links that are worth spending time reading both as Project partner and a Microsoft Project user.
In this blog post we will take a look at the new Project.
How do I access the new Project?
Once the new Project has reached your tenant, creating new projects is via the Project Home, the same place new Roadmaps are created: https://project.microsoft.com/
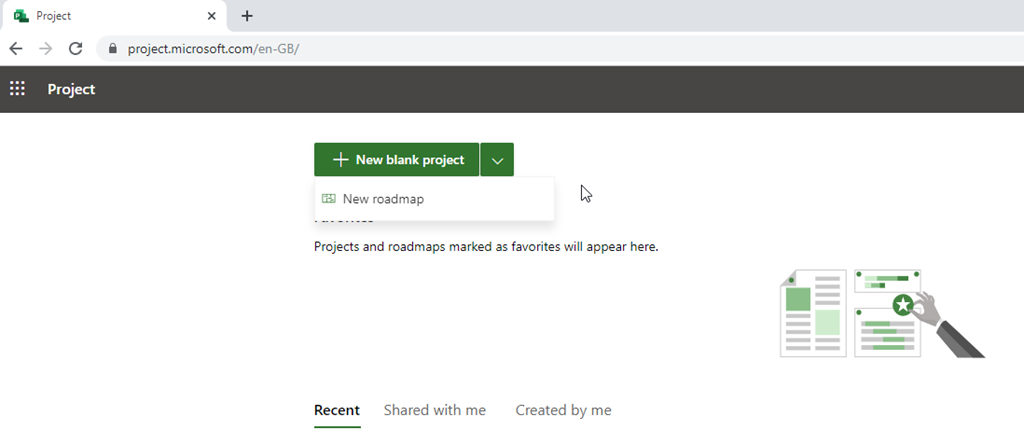
You can also access this via the Dynamics interface as seen later on in this post.
Clicking the + New blank project button will launch the page:

Building the project schedule
Straightaway you you can start creating tasks on the grid. The first thing to do is give the project a name – click the “Untitled project” and the project name panel will launch:
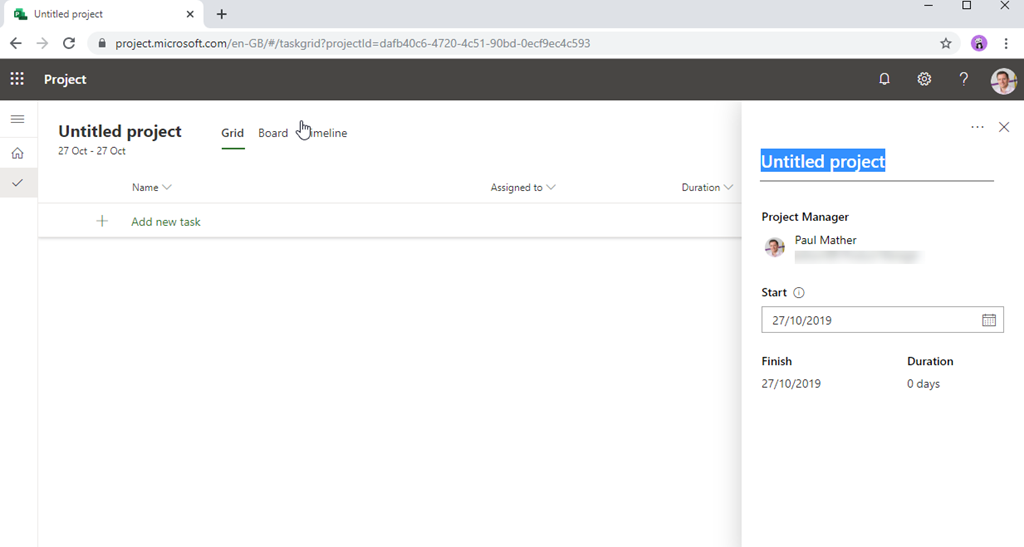
Here you can give your project a name, change the project owner and project start date if required. Click the “Add new task” row and you can enter the the first task:
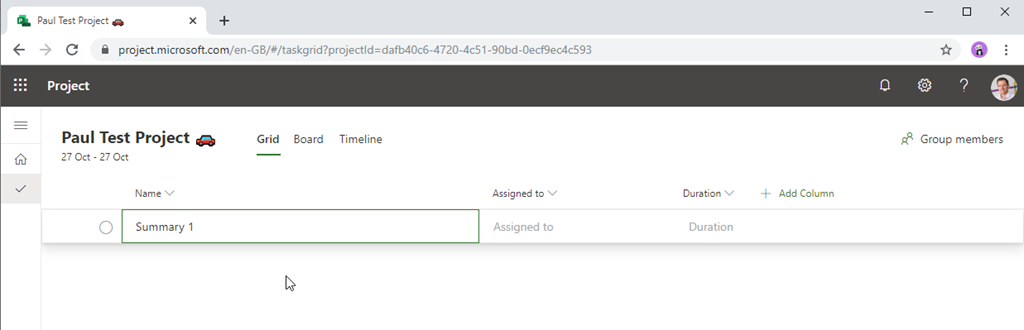
Enter the tasks as required:
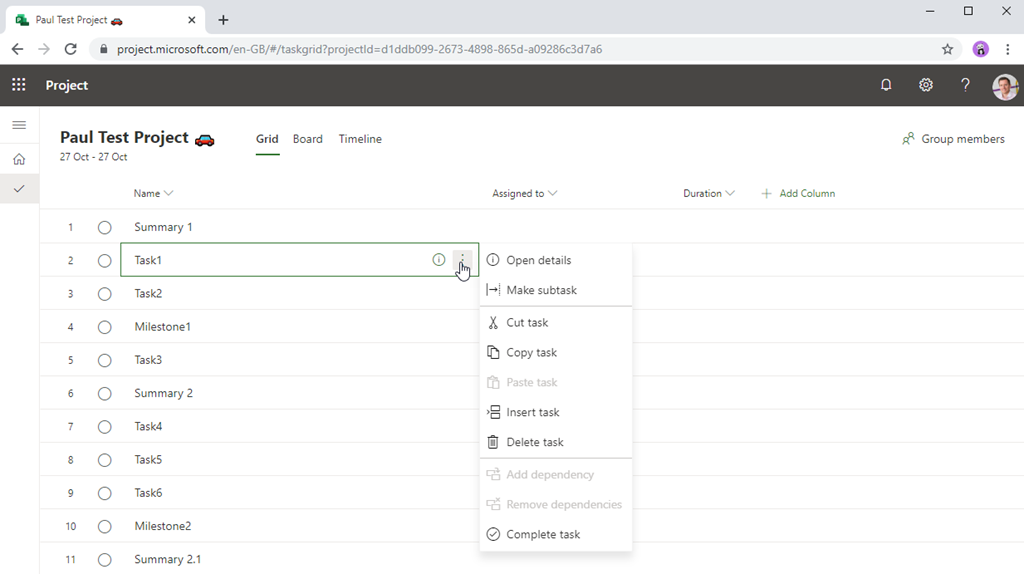
Hover over the task and you you will see an i icon and an ellipsis, clicking the ellipsis launches the task callout with actions for the task – you can also right click on the task to see the task callout:
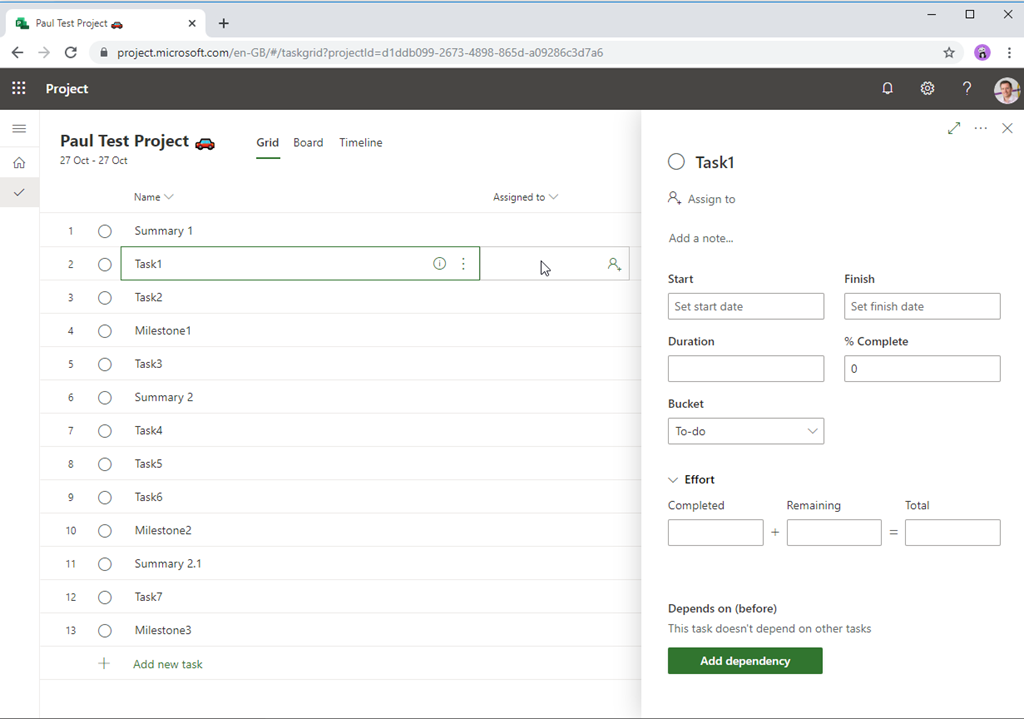
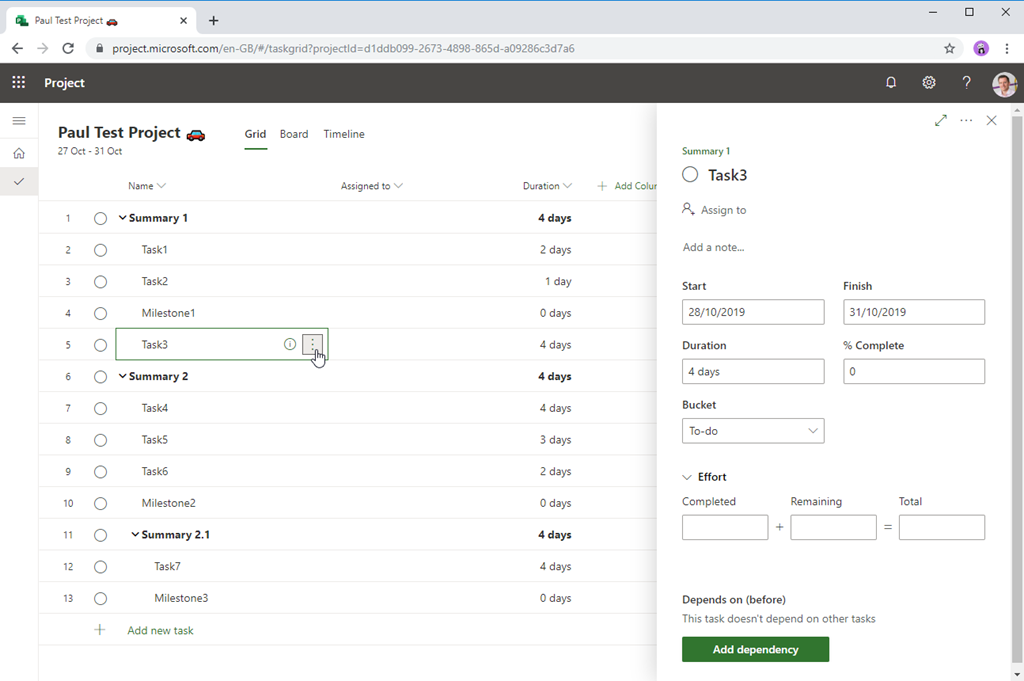
Clicking the i icon or the Open details on the task callout launches the task details panel:
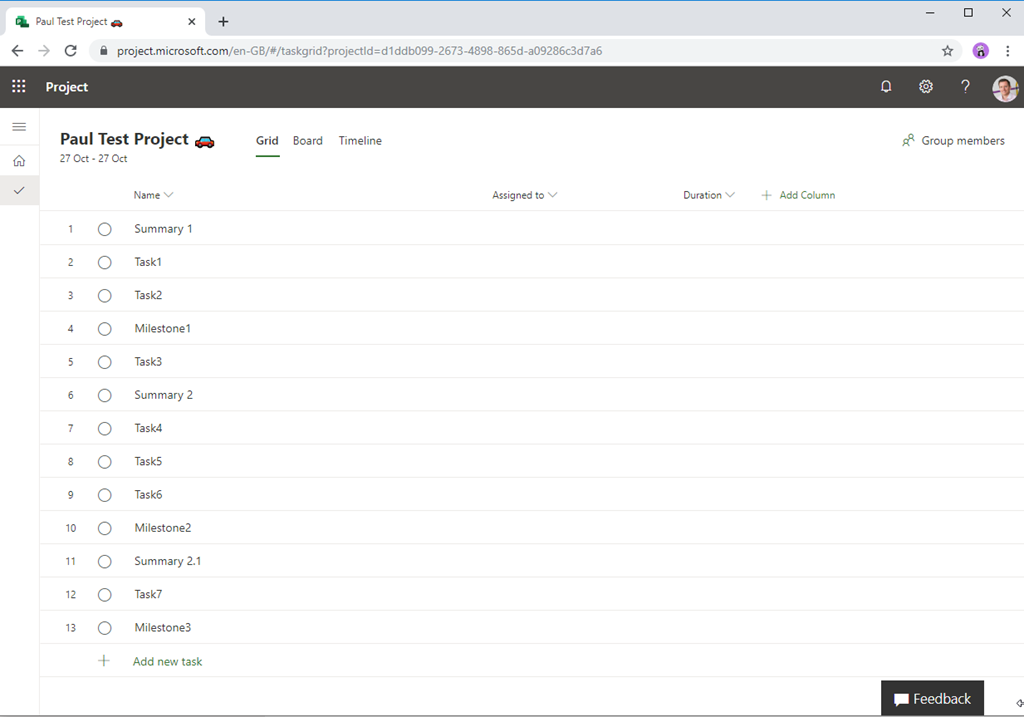
Build the schedule as needed, here is my simple example:
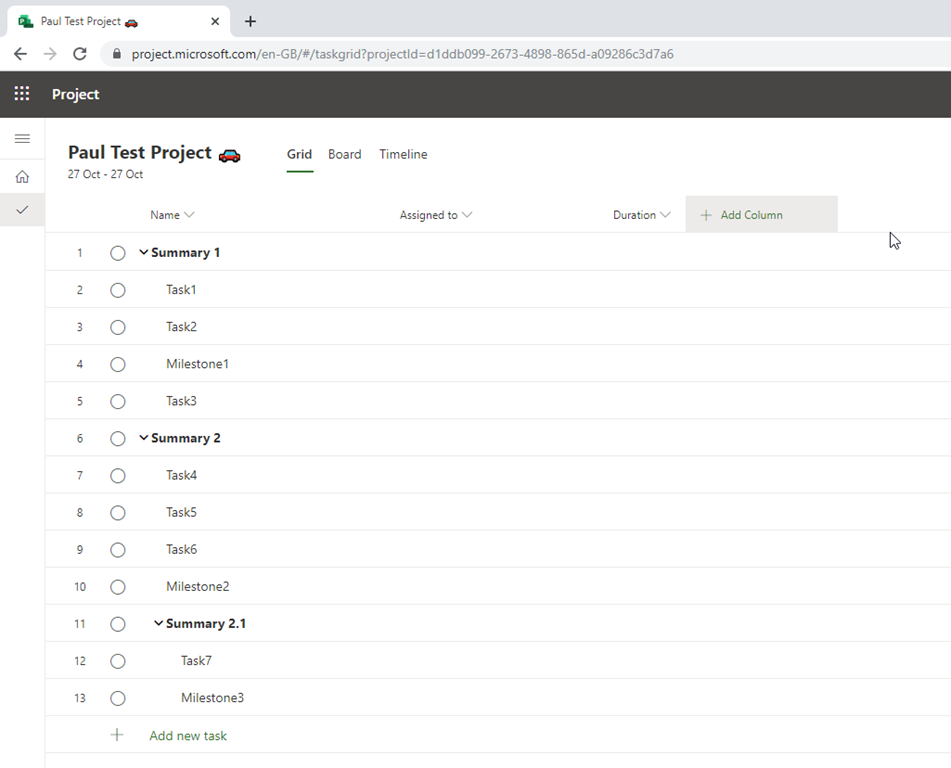
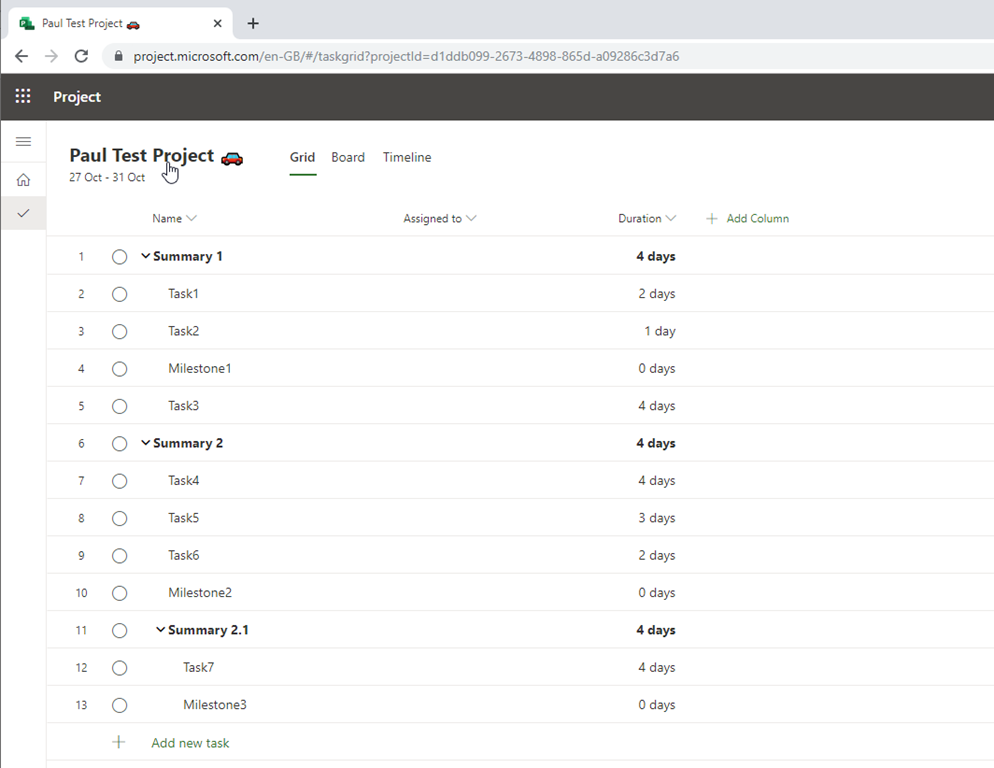
At this point there are no dates associated with the tasks. I will now add some durations as this will add start and finish dates to the tasks:
So we now have some tasks, durations and dates, what about the other information like task links, % complete etc.? These columns can be added by clicking the + Add column button:

Add in the columns required – notice that Successor and Predecessor have been renamed. Here I have added in the columns I want:

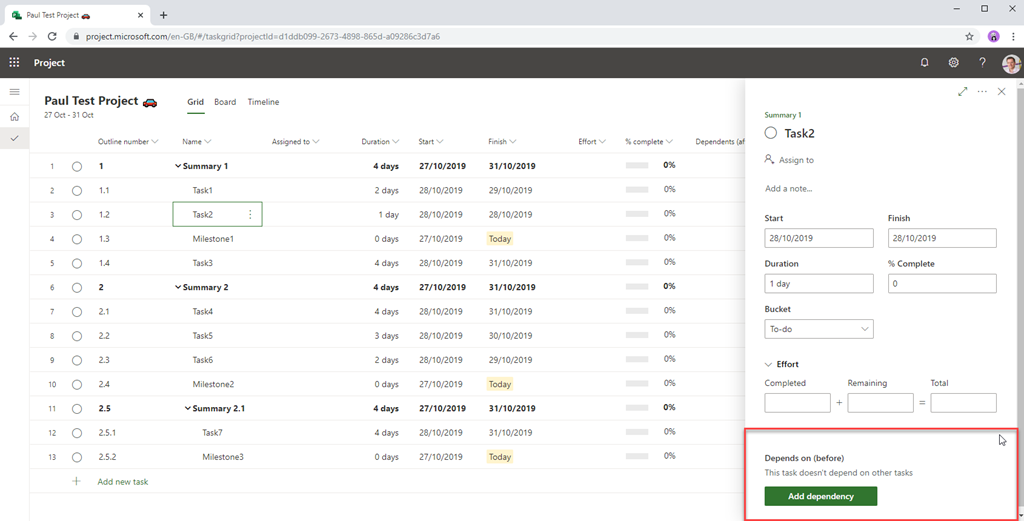
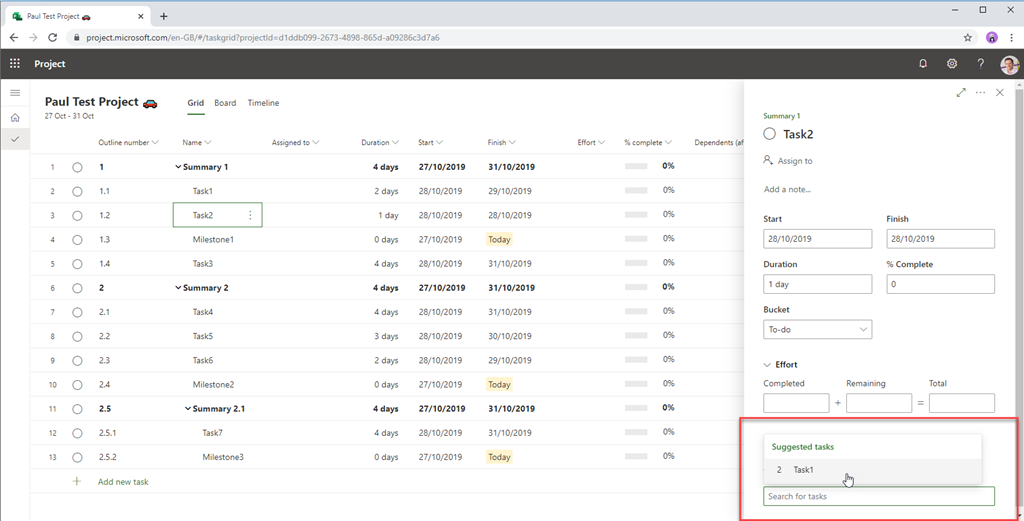
Columns can be reordered by dragging the column to the required position, column widths can also be adjusted as needed too. The columns added here and the ordering is persistent for this project for all users who have access to it. Let’s add some task links. There are several way to do this, from the Task Details panel using the Add dependency button:
Click it and you can select a task:
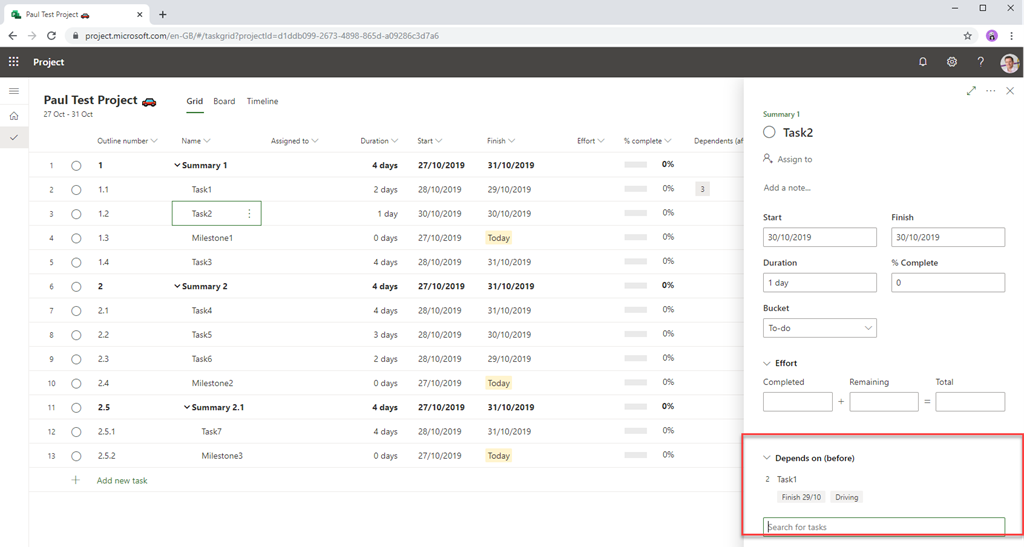
Now the Task Details panel updates to the show the linked task with the finish date of the linked and a label to show the task is “Driving”, Task1 in this case is driving Task2:
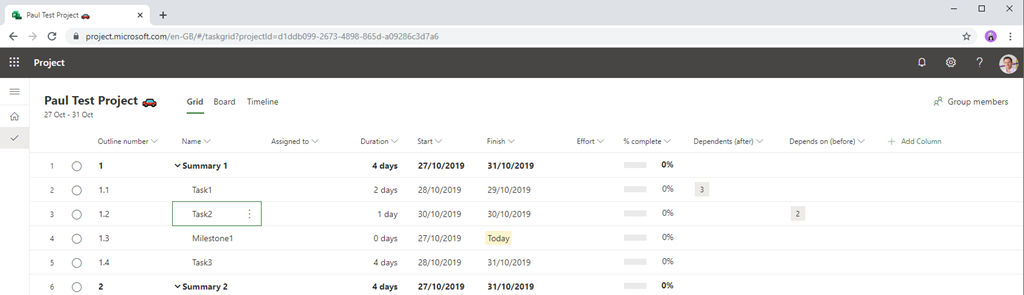
The Grid has also updated to show the task IDs for the task links in the Dependents (after) and Depends on (before) columns:
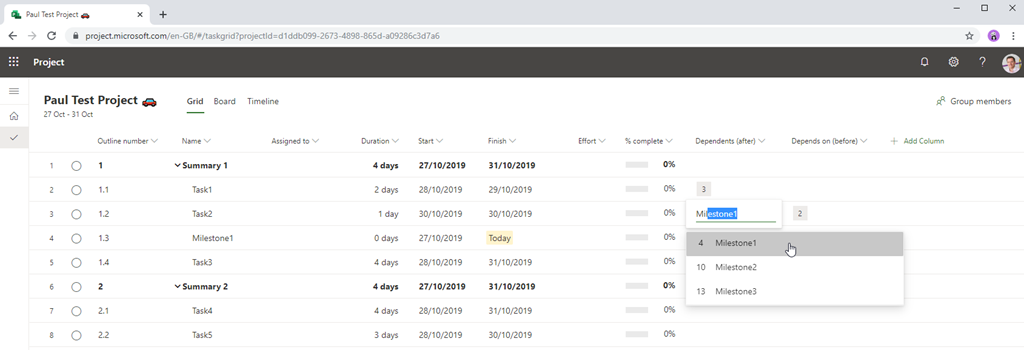
You can also create task links by directly clicking in the Dependents or Depends on cells and select the task/s from the list:
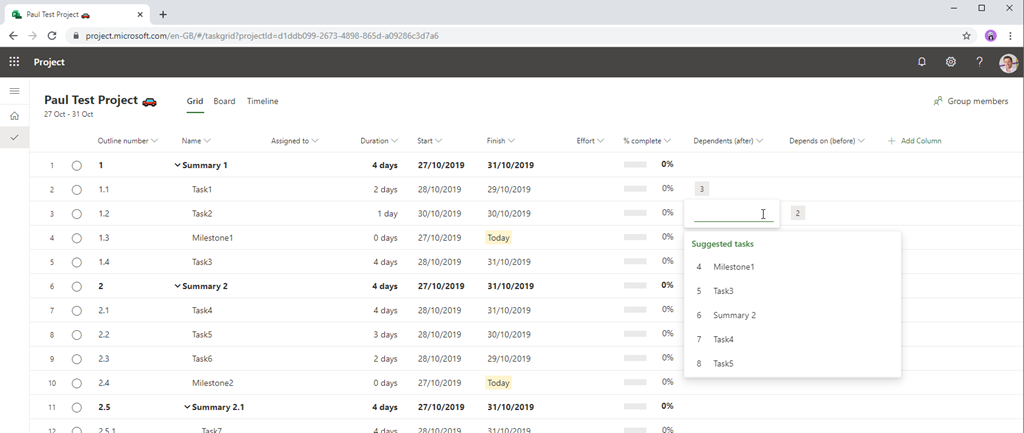
Or type the task ID or task name in the cell:
The other way I want to show you is the slickest way by far, click the Timeline button next to the project name. This loads the interactive Gantt chart:
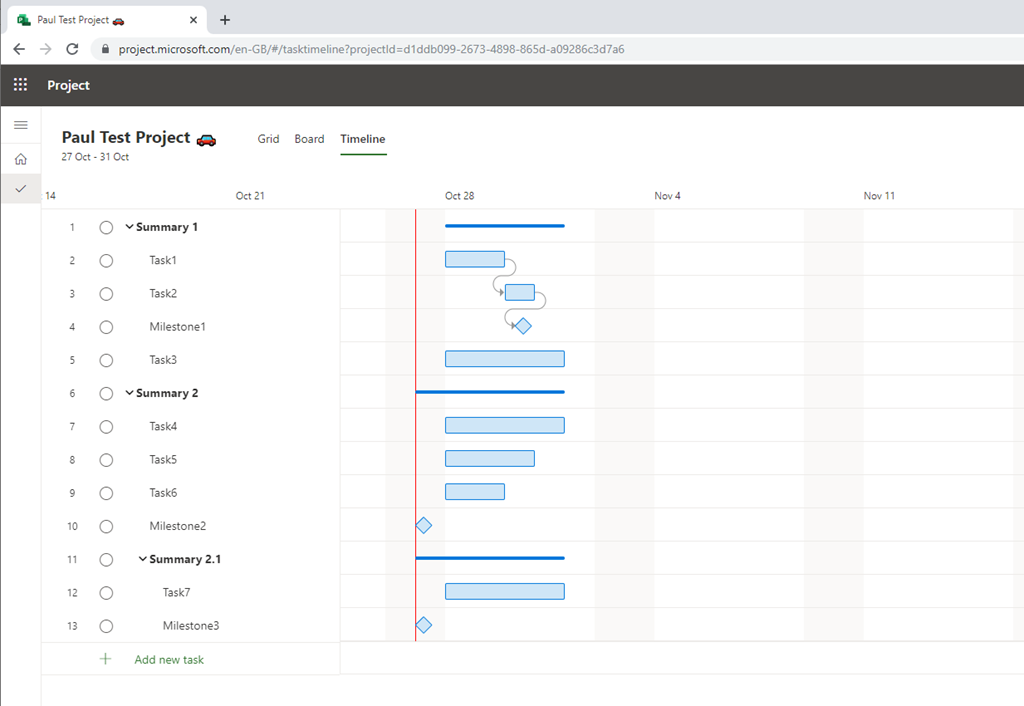
As you hover over a task bar on the Gantt you see controls appear:
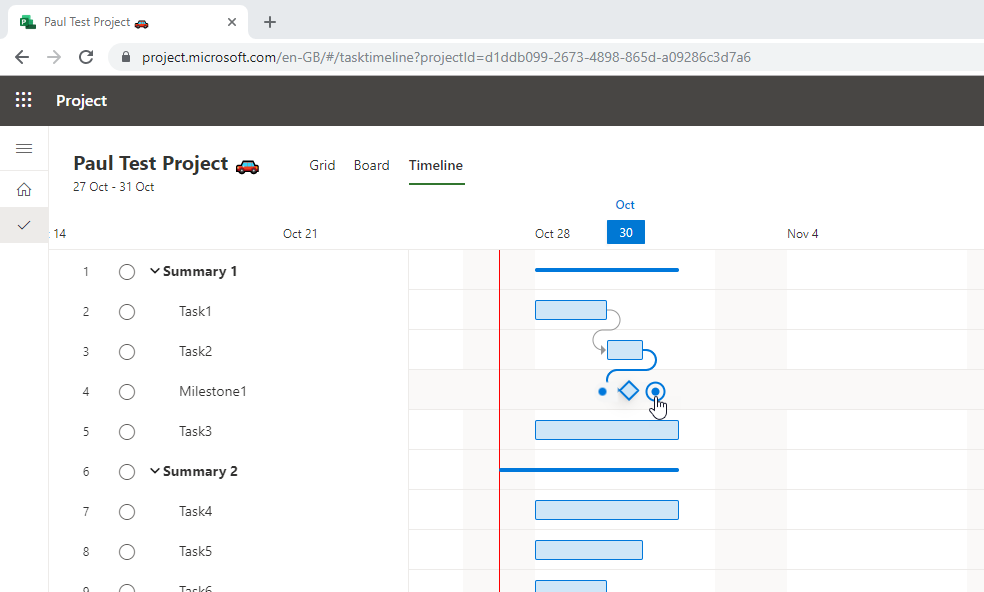
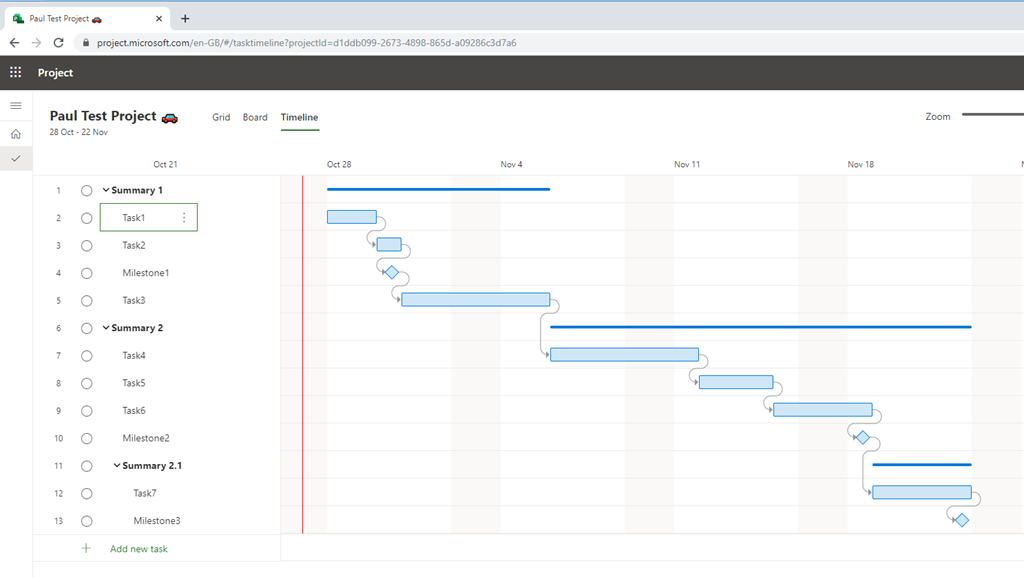
Here I can drag the end of one task to the start of another to create the task link:
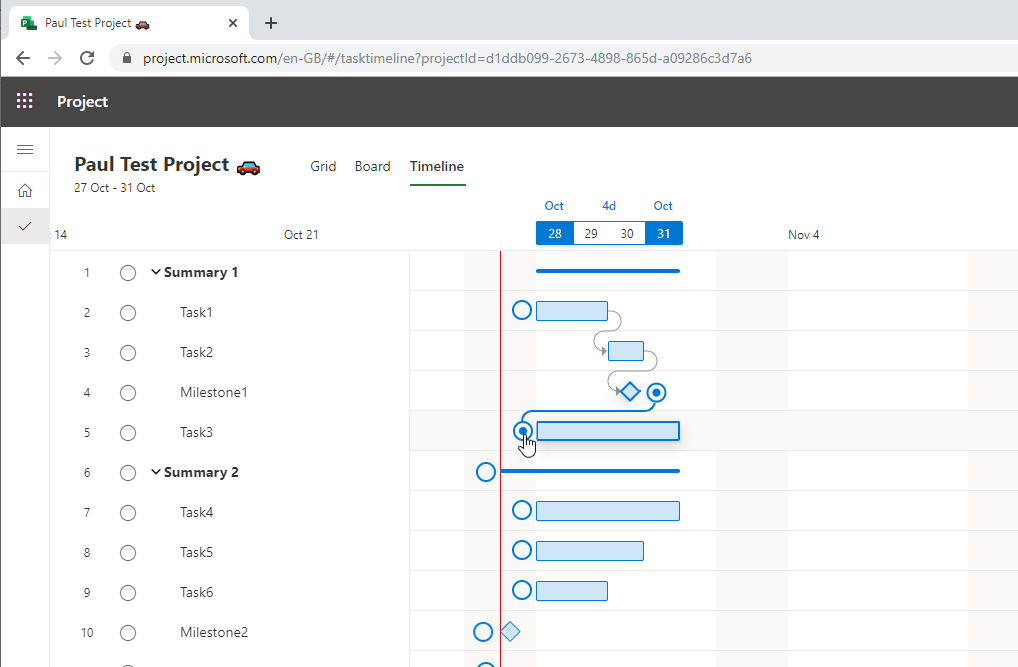
The Gantt will then update to move the tasks as required:
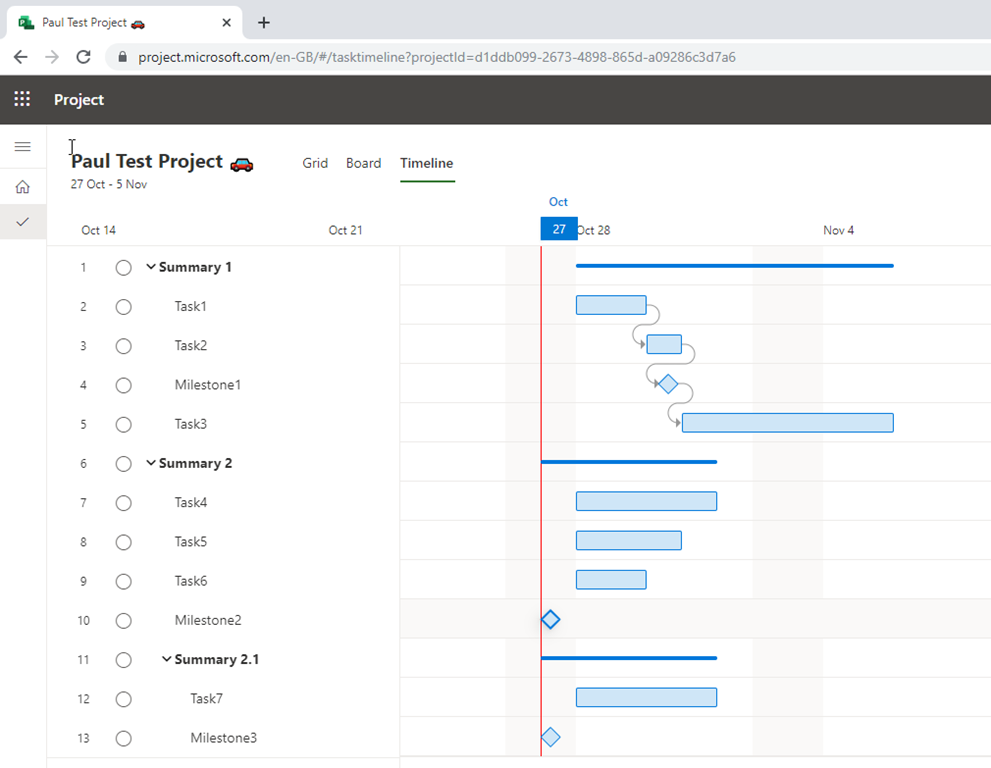
I have now created my simple project task schedule:
Assigning Resources
Who used to get fed up having to build the team to be able to assign an enterprise resource? Well not anymore! Hover over the Assign to cell next to the task and click the + person icon:
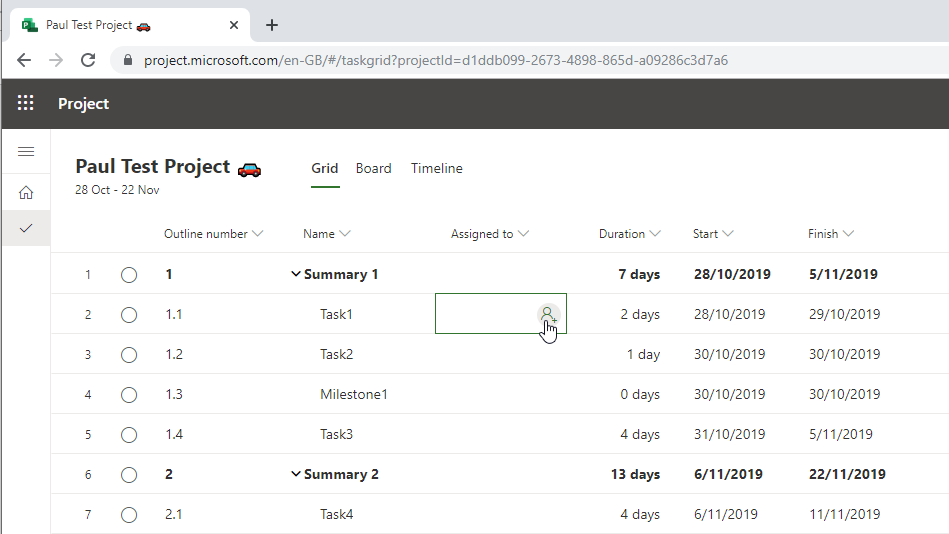
This launches the control to add a resource:
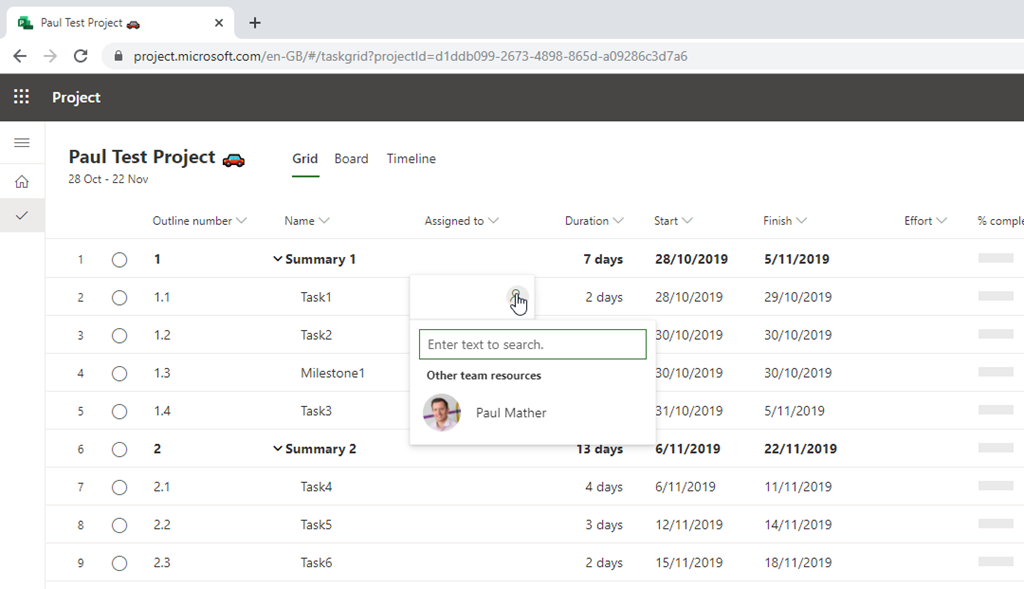
Now simply start typing the name of the resource to search the tenant directory and click the resource to add them:
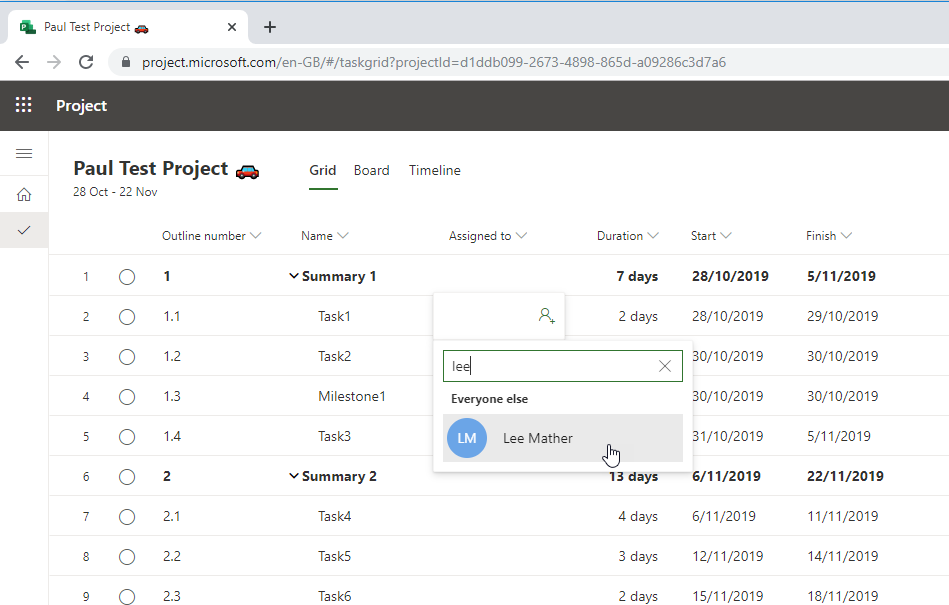
Clicking the user will launch a modal pop up:
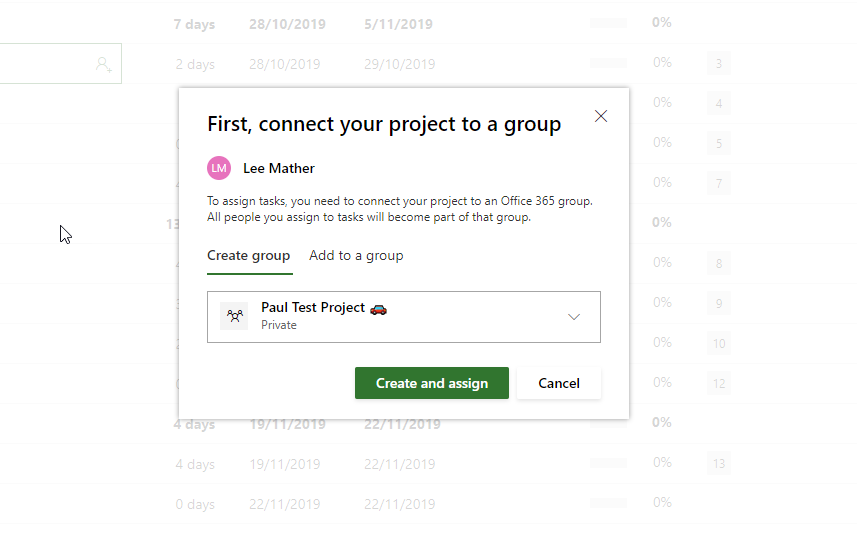
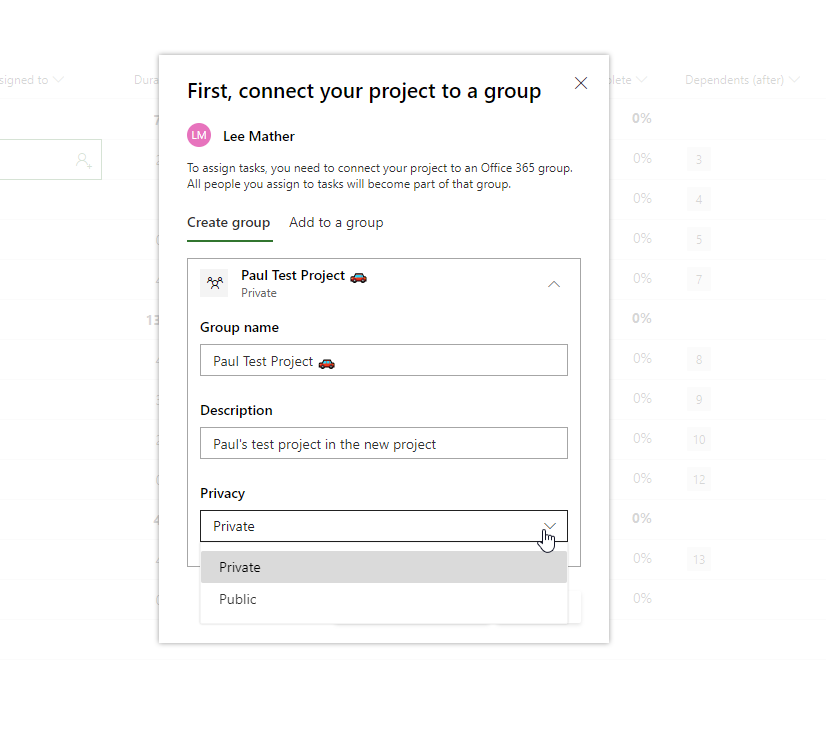
As you can see from the pop up, I firstly need to connect my new project to an Office 365 Group. I can either create a new Office 365 Group or link to an existing one. For this project I will create a new Office 365 Group. Clicking the proposed group name loads the Office 365 Group menu – update as required:
Then click Create and assign to assign the resource. When adding other resources to the project, you will see another modal pop up:
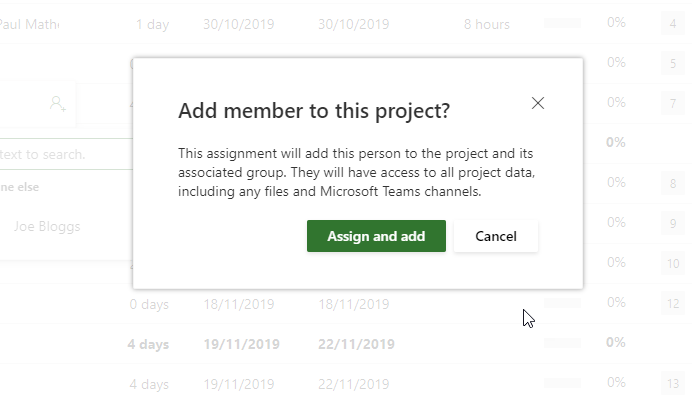
This is just to warn you that the user will be added to the group and have access to the project data, groups files and Microsoft Teams etc. – more on this in the Project Access Model. One point to note, you can no longer assign anyone to a summary task:
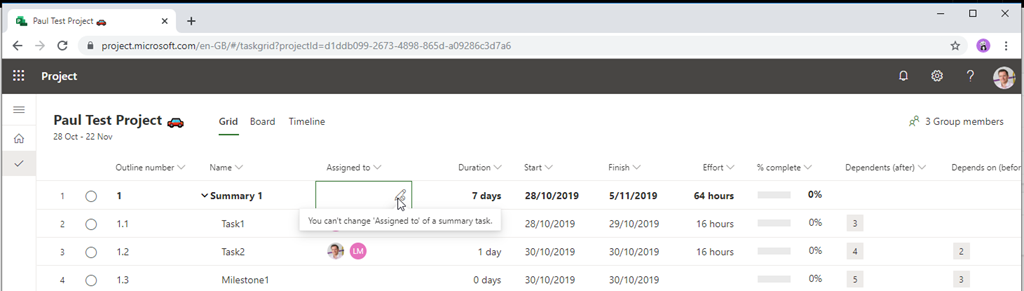
This was bad practice anyway but it’s great Project now prevents this!
You might also want to plan and manage your plan in an Kanban type task board, this is covered using the Board view, this is accessed by clicking the Board button next to the Project Name:
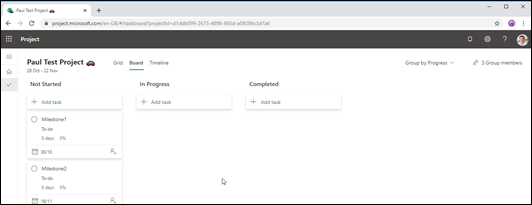

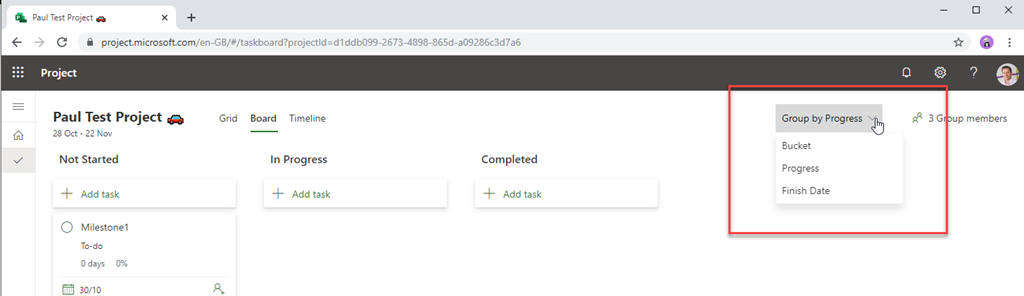
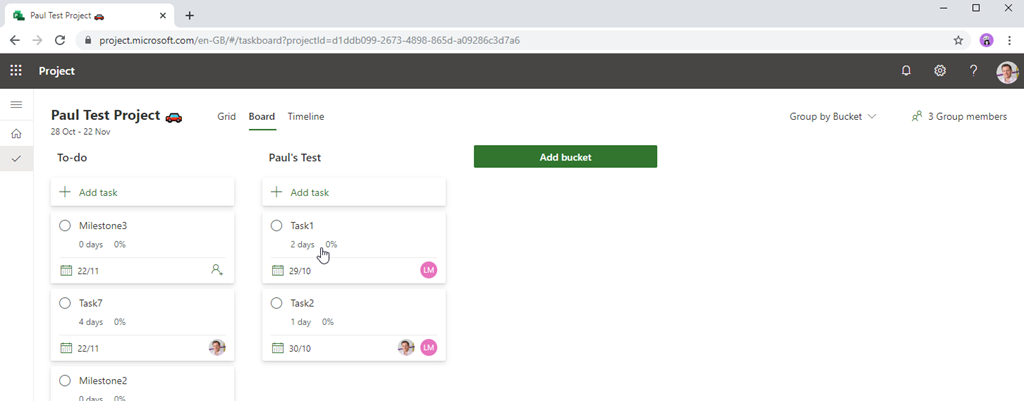
The default view is the “Group by Progress” view which has 3 fixed columns for Not Started, In Progress and Completed – more on this view when we cover task progress. Switching to the Bucket view, new buckets can be added:
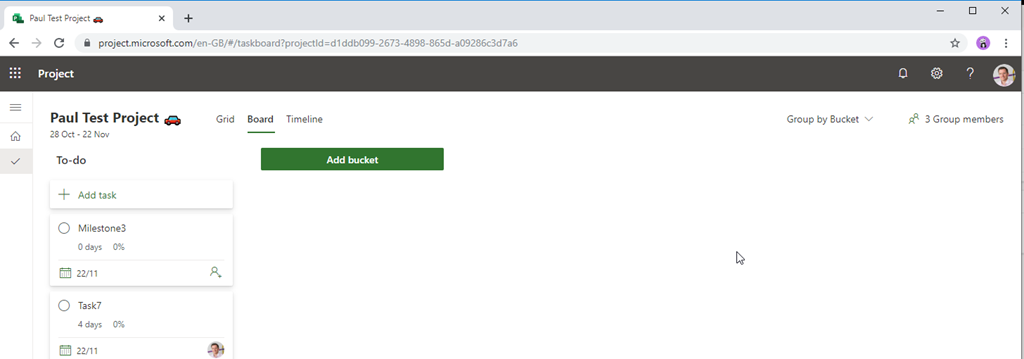
Click the “Add Bucket” button to create a new bucket. Task cards can then be dragged into the new bucket/s:
Switching to Group by Finish Date and you see the Task group in Next Week and Future:
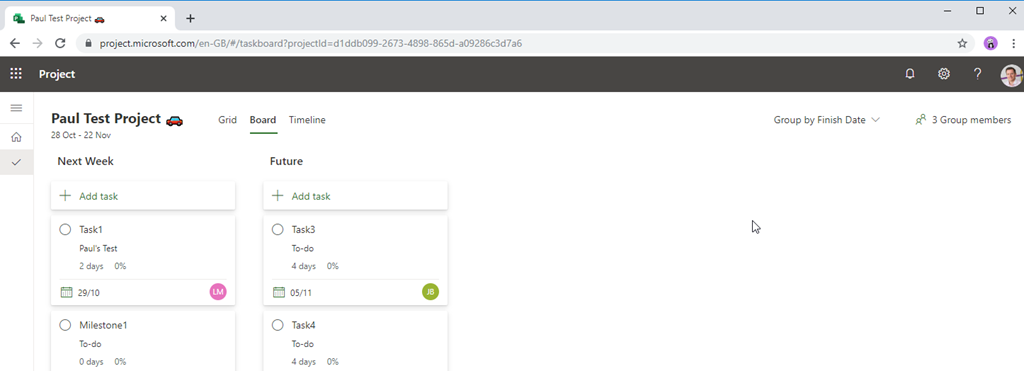
Just note, if you drag a task from the Next Week column into the Future column, this will update the task’s and any linked dependent task’s Finish dates to the future. Notice on all of the Board views, Summary Tasks are filtered out.
Project / Task Progress
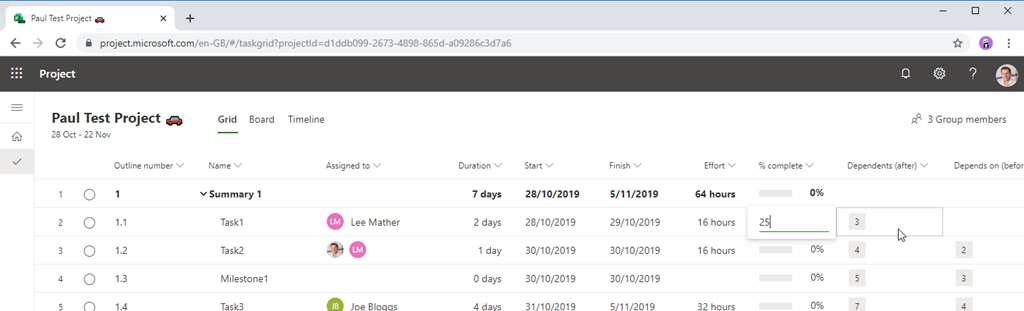
There are several ways to progress a task in Project. Starting with the Grid view, you can click in the % complete cell and type:
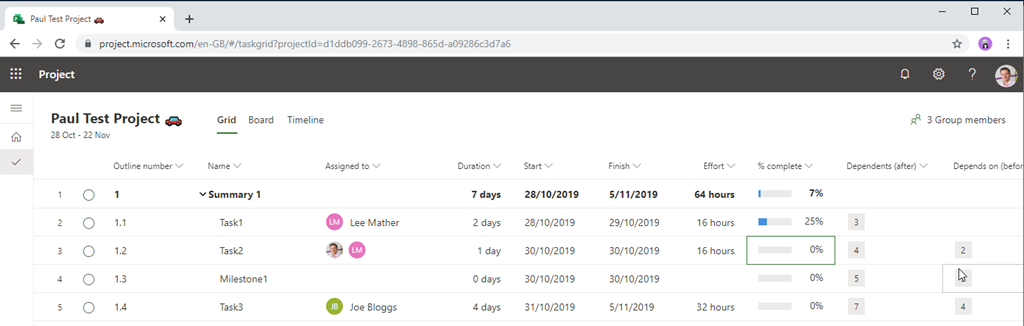
Click out of the cell and you will see the progress:
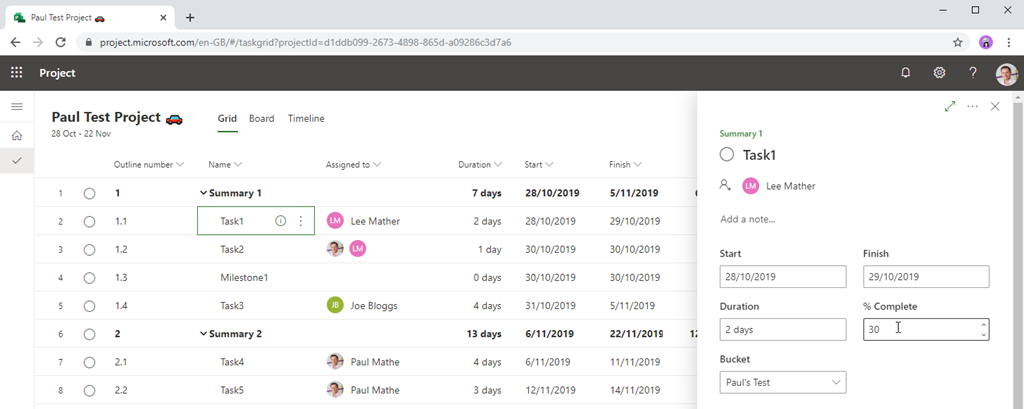
You can open the Task Details panel and type the progress in the % Complete input:
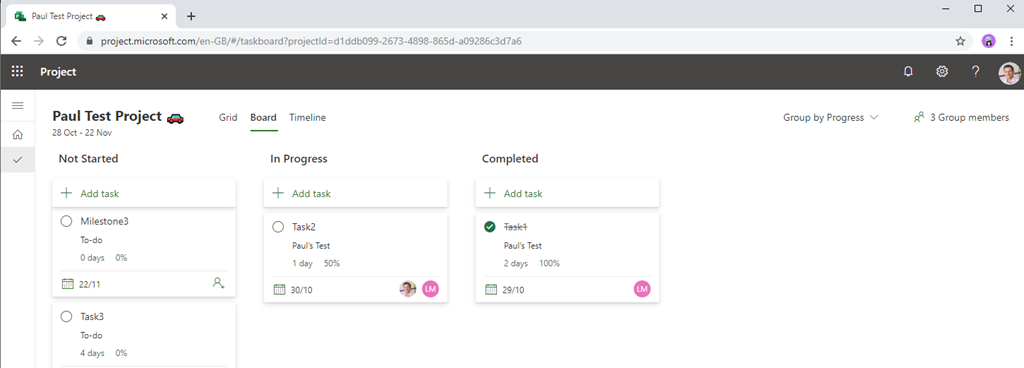
In the Board view using the “Group by Progress” view, you can drag a task card to “In Progress” and this will update the task % complete to 50% or drag a task card to the Completed and this will update the task % complete to 100%:
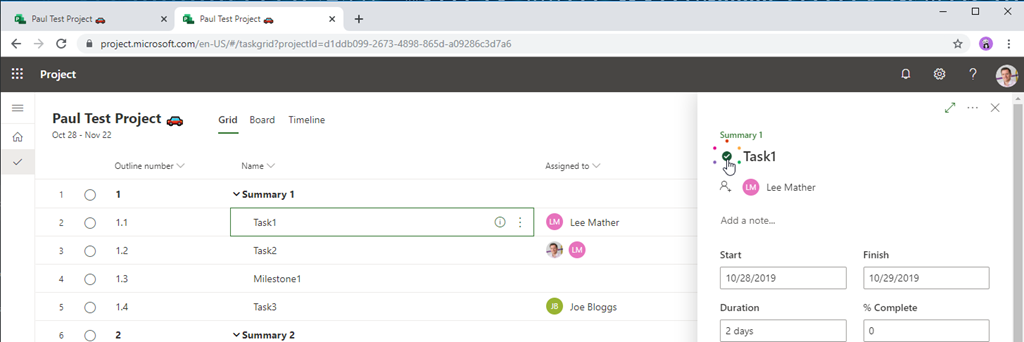
You can also click the empty circles you see next to the Task names on all views, when you hover over these you see a tick appear inside:
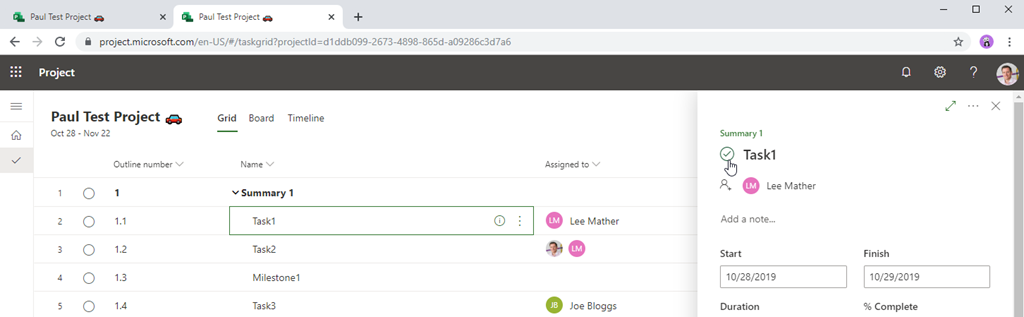
Clicking the empty circle marks the task as complete, the same feature that exists in Microsoft To-Do:
Project Saving and Editing
The project auto saves so no need to worry about saving and the concept of publishing no longer exists – how cool is that! Need to undo / redo something, just use Ctrl + z to undo and Ctrl + y to redo.
The new Project also supports co-authoring so multiple users can edit the project at the same time!
Project Access Model
The security for the new Project is built on the Office 365 Groups model – just like Project Roadmap. When you assign a user to a task, they are added to the Office 365 Group. All users in that Office 365 Group have edit access to the project. You can check group access very easily via the Group Members button in the top right corner:
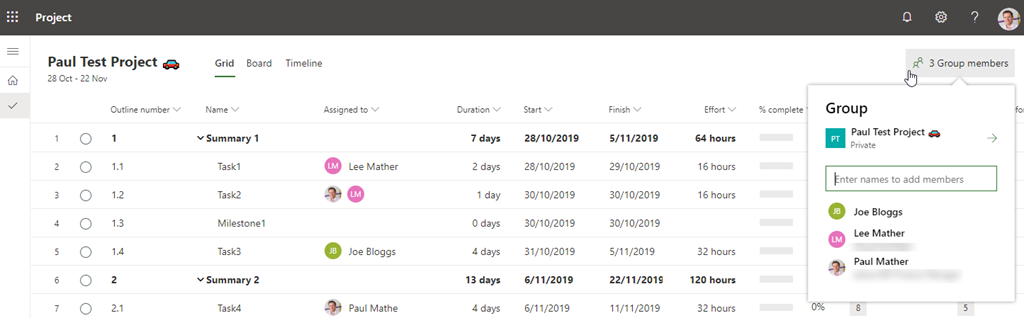
It is a very simple access model, you either can access and edit the project by being in the Office 365 Group or not access to the project at all.
Access via Dynamics 365
As mentioned at the start of this post, you can create new projects via the Project Home but also via the Dynamics interface. Access the Dynamics home https://home.dynamics.com and click the Project app, this will load the Project app:
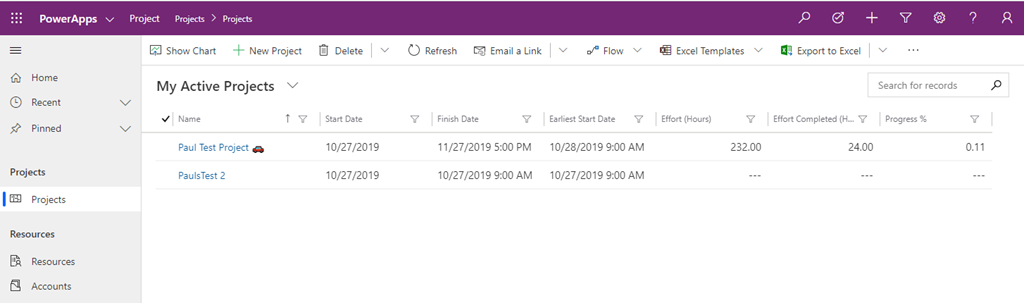
From here you can create new projects or edit / view existing projects, see below my test project opened in the Dynamics interface:
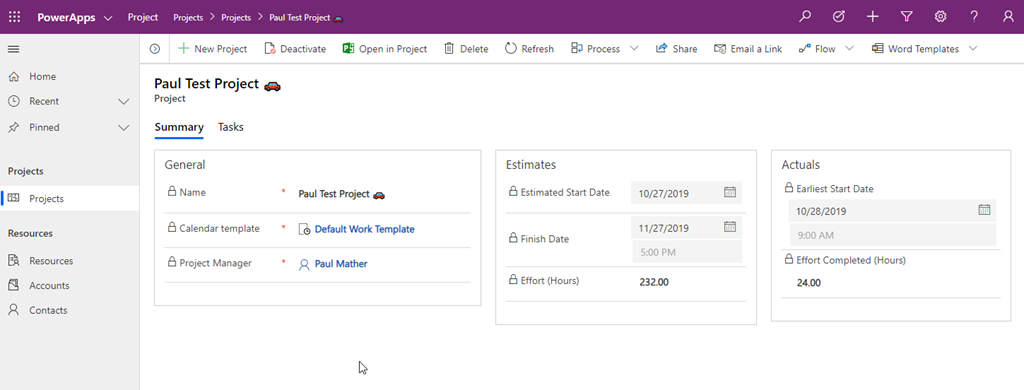
Summary View:
Tasks View:
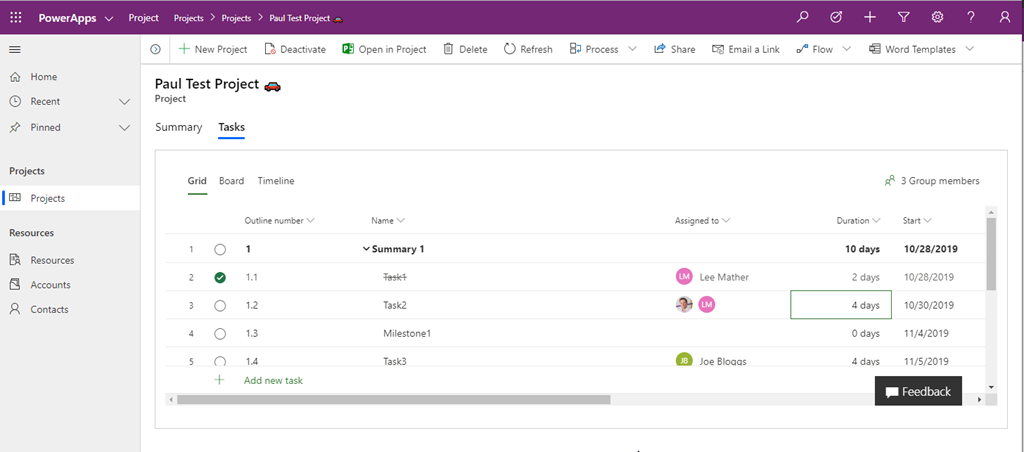
I can edit the project directly here or for a better experience, click the “Open in Project” button to edit in the full page experience this post has covered. I will cover more of the Dynamics interface in future posts.
Extensibility Options
As the new Project is built on the Power Platform Common Data Service for Apps (CDS), you have the power of the Power Platform to extend / build on top of Project using PowerApps, Flow and Power BI. I will have many posts in the future for extending / adding features for the new Project, maybe even one or two later this week / early next!
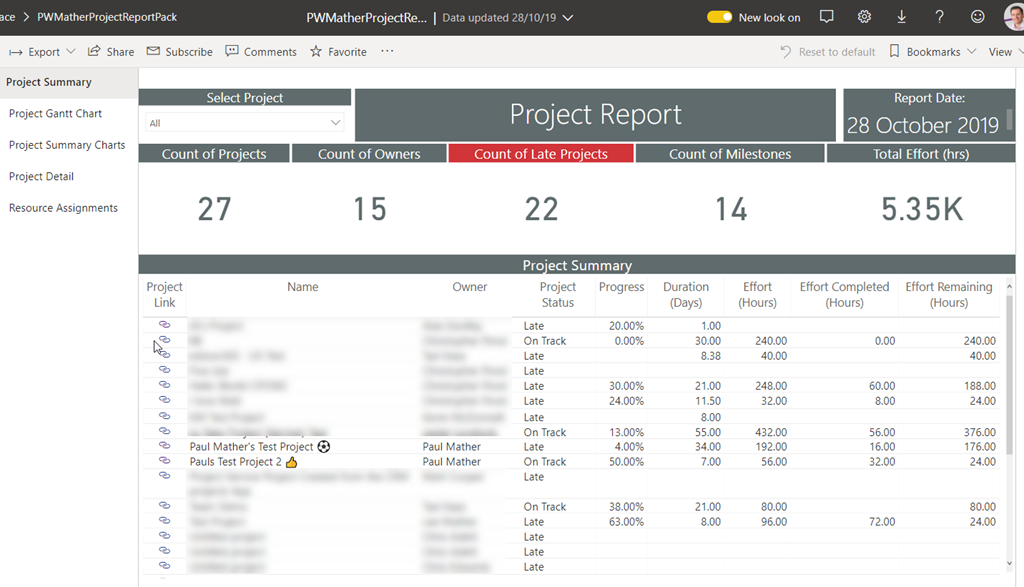
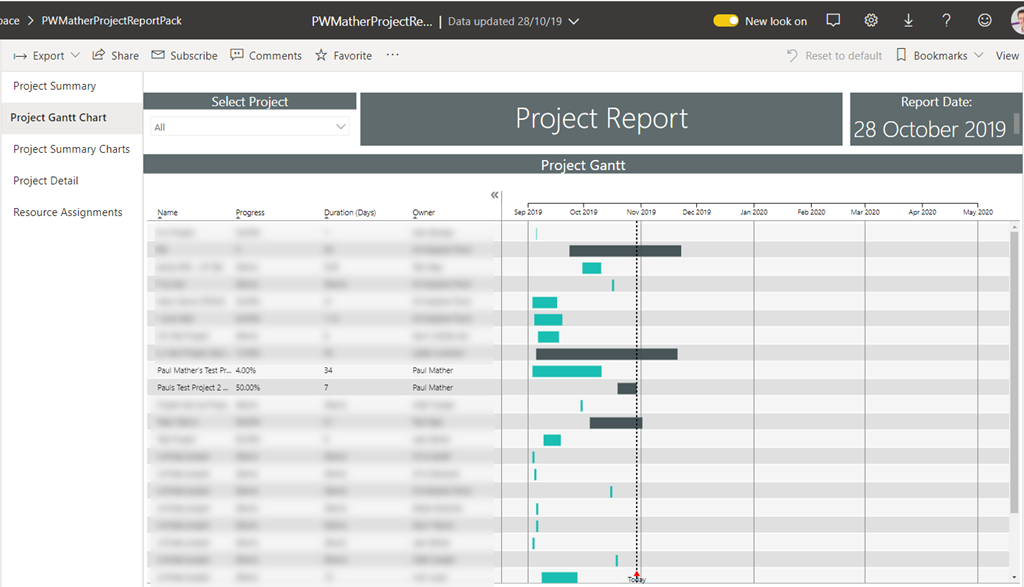
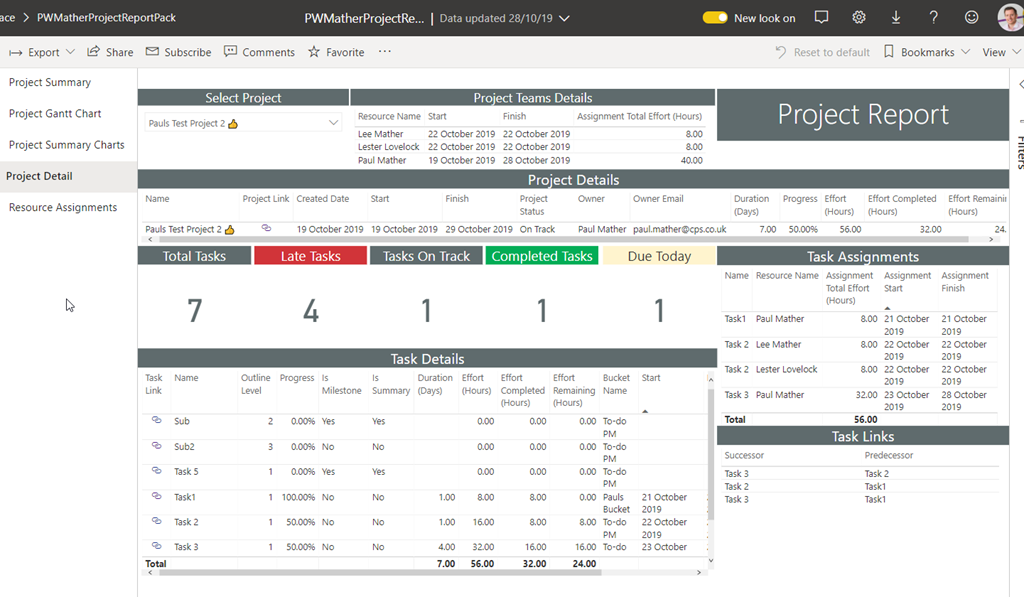
Reporting
All of the data is stored in entities in the CDS so reporting is very simple from tools like Power BI. I do have a Power BI report pack for the new Project, this can be downloaded here: https://gallery.technet.microsoft.com/Power-BI-Report-Pack-4506f183 In part 2 of this getting started series I will cover the Power BI Report pack. Here are some screenshots of the reports:
You can also add Projects from the new Project (I wonder how long I will keep calling it that!) into Roadmap.
I have also created a Power BI report pack that displays both Project (CDS) and Project Online data in the same reports to help with the transition where you might be using both applications side by side, this can be downloaded here: https://gallery.technet.microsoft.com/and-Online-Power-BI-Report-d1fbca1b The reports look very similar the the Project reports above.
Summary
Well the wait is finally over, the new Project is here, go give it a try! This post covers most of the end user features, in part 2 I will cover the backend. Project Online will still be a part of the Microsoft PPM offering so I will still continue to include blog posts / videos for Project Online. I have also published an intro video here: https://youtu.be/4OeegM8ScMk
About the Author:
Paul Mather is Microsoft PPM consultant and Microsoft Project MVP based in the UK working for Corporate Project Solutions (CPS). Paul has been involved in successful Project Server / Project Online and SharePoint deployments since 2007 working with all Project Server versions and other supporting Microsoft technologies in Office 365 and Azure. Paul regularly blogs at https://pwmather.wordpress.com and can be found on Twitter here https://twitter.com/pwmather
Reference:
Mather, P. (2019). Welcome to the new Project – getting started Part 1 #MSProject #PPM #Office365 #PowerPlatform #ProjectMangement #ModernWorkManagement #CDS #PMOT #PMO. Available at: https://pwmather.wordpress.com/2019/10/29/welcome-to-the-new-project-getting-started-part-1-msproject-ppm-office365-powerplatform-projectmangement-modernworkmanagement-cds-pmot-pmo/ [Accessed 6th November 2019].