
Remove the mystery for your co-workers. Introduce yourself by creating a SharePoint page that’s all about YOU!
Moving away from the “WHO, who, WHO, who?” as Pete Townsend has sung. Let us let others get to know more about the YOU, you, YOU, you — the authentic you; humanity and trust follow with a sprinkling of fun in the workplace.
The genesis of this article stems from two recent stimuli:
- SharePoint pages are for communications, big and small. So, what’s a good use case that represents “small” comms? The idea: A page that introduces you to your team; a thoughtful, fun “About you” page. And hey, maybe it plays a dual purpose: When it comes time for people to grab your preferred name, title, biography, and profile photo – have all that in there, too (including a hi-res version of your photo; not a crappé, low-res version someone might find in the depths of an online search).
- I’m pleased to announce that I joined Sympraxis Consulting, today (Oct. 1, 2025), as a Principal Microsoft 365 Consultant: 🧔🏻♂️💼 (at your service). And so, put your money where your mouth is, right? Or is it put your money where your metadata is? Either way, I wanted to share this news with everyone who might be interested. I look forward to representing them online and at events. And I’m bringing this use case to bear; I’m building the below screenshot-demo portion from my real-world scenario — I just published the below Who is: Mark Kashman page to the internal Sympraxis intranet. Practice what you preach. Or in this case, practice what you post.
OK, on to the how to create a SharePoint page to introduce yourself out to your team members/organization/company AND generate a link about you that you can send to anyone internally to share your common details for various events and communication purposes.
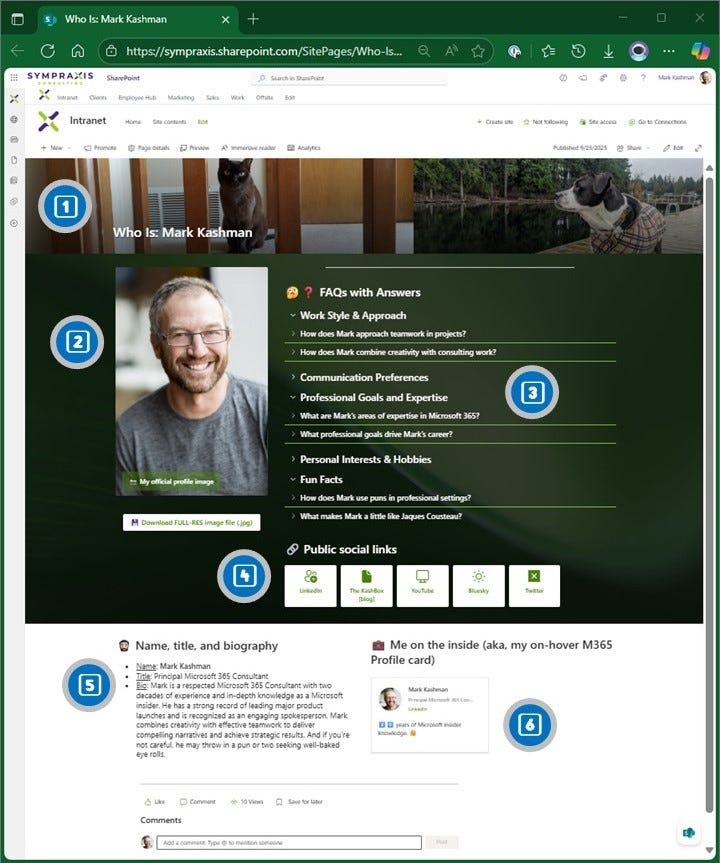
Who is: [You] [[Hey, that’s me below]]
Let’s take a look at the real-world example I just published. Below, I’ll take you through each of the six numbered segments and share context of choices I made throughout the page and relevant tech insights behind doing it. And remember, it’s SharePoint. You can do pretty much whatever you want for the way you want to introduce yourself. I went with a Banner style title region and two sections below it: The top section uses a One-third left layout, and the bottom section uses a Two columns layout.
#1 The title region: Keep it simple. Keep it visual.
First impressions are everything, so make it quick and easy for people to get the “who really is this person” right off the bat. There’s a lot you can do with the title region of a SharePoint page, similarly what you can do for the header of a site – it’s all choices you make to really set the stage for what to comes as someone begins to scroll The Who of you.
For my title region, I kept it simple. I made a combination of two images, saved as a wider banner-style .jpg. I took a picture of my old friend, Echo Kitty 😻, and my newest friend, Peanut 🐶. It was a no brainer, if you want to start to get to know me, know that four-legged friends play a big part in my heart. And hey, doesn’t everyone like pets in the workplace – in the background of Teams calls and top billing on my “About me” page. A picture is worth a thousand purrs (and wags).

Again, there are many choices for this part of the page. Choose from various styles, add an image, put in your page title, add author, date, etc.. I kept the author off this one (since it’s about me, by me — you simply “x” out the author and don’t put someone’s name in) and I chose to not show the date — so it’s more evergreen.
And that’s it for the title region. Make your choices and move on to the core content.
Learn more how to customize the title area of a SharePoint page.
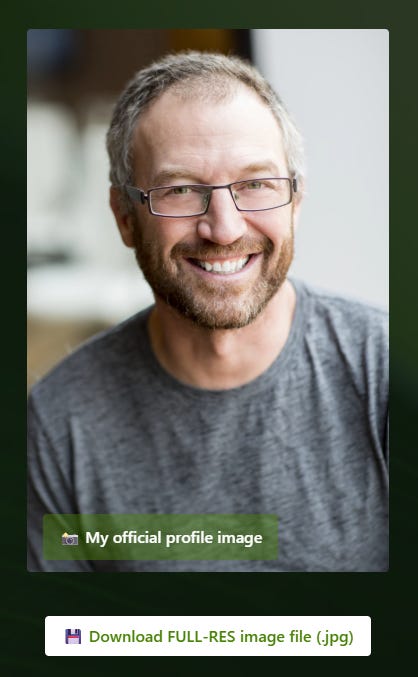
#2 Your preferred profile picture: Visible and downloadable. 🤳
This is a twofer section for me. First, I wanted to have my image a little bigger – bigger than the standard way people might see you in an on-hover Profile card (more on that below) or a small image on a title slide you once published or among the really tiny images of you and 30 other people on an org-chart-eye-chart-slide some lucky person created for an all-hands PowerPoint. So, I went with a bigger view of me AND it’s my preferred image I chose to have represent me — not just what’s aging in the GAL.
The second reason was to have this work for me for those scenarios where someone needs my headshot for an event or newsletter. It’s right here for them to reference and download in hi-resolution. In fact, I added a button below the Image web part that takes the person directly to download the full MarkKashman_Profile-image.jpg file. And it’s the same file I uploaded into SharePoint – into the Image web part; the URL download path is simply a “Copy link” off the file where SharePoint put it once I added via the Image web part; hint, it gets stored here: Site contents > Site Assets > SitePages > [Name of your page] > [Name of your image] (then … Copy link).
Again, a twofer — two-birds-one-image-stone kinda thing.
#3 FAQs that get into the details of YOU. ⁉️
Now it’s time for people to get to know me, to get to know me better through a few frequently asked questions that cover everything from my professional background to my personal interests and working style. And so, I leveraged the new FAQ web part and trained it on me, that I then could tailor and tune to what I wanted to share and sprinkle in a bit of my personality.
I selected a few questions people commonly ask about other people, to learn about a person’s work experience, their approach to work, and what makes them tick. And since this was about me, I treated it like an ice breaker at an offsite or workshop and had fun with it. “OK, for the next 5 minutes, we’re going to get to know Mark. Hi, Mark. Tell us a bit about yourself.” Can you hear, and see, the ice breaking?
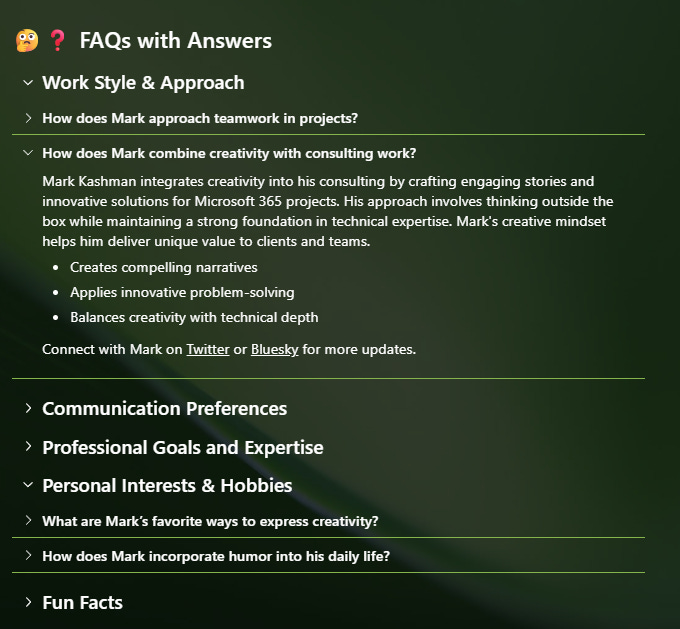
The FAQ web part allows you to quickly generate structured FAQs with a little AI-powered assistance from Microsoft 365 Copilot, either from scratch or by analyzing existing documents and content. You can then refine, reorder, and customize the questions and answers before publishing them on your SharePoint page. It becomes an a-sync on demand AMA; in my case an Ask Mark Anything (with tailored questions Mark asked himself).
Learn more how to use a FAQ web part in SharePoint. Note: A Microsoft 365 Copilot license is required to create and edit the FAQ web part, but viewers don’t need any special licensing to read the published FAQs.
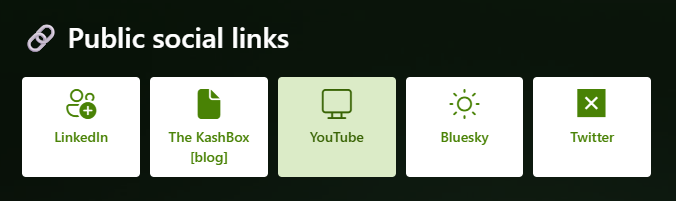
#4 Important links where you share, or what you care about. 🔗
What about pulling in existing sources of information — about or by you; things like your LinkedIn profile, Twitter feed, your blog, Instagram posts, etc…? No problem. Choose whatever you want to link out to so people can learn more about you, follow your work, or grab the info for others. Take the opportunity to program in the ones you want to put front and center AND take the guess work out of others finding your correct social feeds.

Learn more how to use the Quick Links web part.
#5 The basic ‘grab and use’ information. ℹ️
This is the most basic, most time-saving choice I made, to have a section that has my primary pay-it-forward details: My preferred name, title, and bio – right under my preferred image. It’s a huge time saver to point someone here to grab it themselves, any time, instead of repeatedly copy/pasting it into an email or chat. Send a link and let ‘em grab what they need knowing it’s already approved, and managed, by you.
I used the simple and powerful Text web part. And kept it simple: Emoji and title using the Heading 2 style for the top text and then a bulleted list with light formatting — all within a single Text web part.

Learn more how to add text, tables, and images to your page with the Text web part.
Extra bonus tip: If your manager or skip-level manager often speaks or gets quoted, create a similar page for them, and validate it with them and their business manager or exec admin. They then have an approved set of info that can be more easily managed, found, and shared. It’s easy to use the one you created for yourself as a “template” — Choose Copy of this page (of your “About me” page) to create a new “About them” page that has the same web parts and content as the existing page – then adjust all text, links, image(s) to be about them, get it approved, and publish.
#6 The power of the on-hover Profile card within the People web part. 👤
You might want to sit down for this #6 segment; it might get a little meta (with a lowercase “m”). Profile cards in SharePoint and throughout Microsoft 365 appear when you hover over (on hover) or select someone’s name or profile picture; it pops-up and expands to reveal contact information, org relationships and documents they have been working on; essentially you get a Microsoft Graph view of key details about people (who they work with, what they work on) without leaving your current page, and without breaking any information or document permissions.
Here’s the meta moment: The Profile card is a company-managed glimpse “About you” within your self-created “About me” page. Beyond inception, Profile cards bring in your day-to-day actions, plus your office location, telephone number, etc. — it’s what you get from the service, alongside what you design for the sections of your page. By including it, people viewing my page get more of me, on hover, with fewer things I need to manage or add to the page. Profile cards are dynamic, tied to Microsoft Graph, showing a slice of your work at any given point in time; and they are, imo, a hidden gem in Microsoft 365 — designed by a creative engineering team.
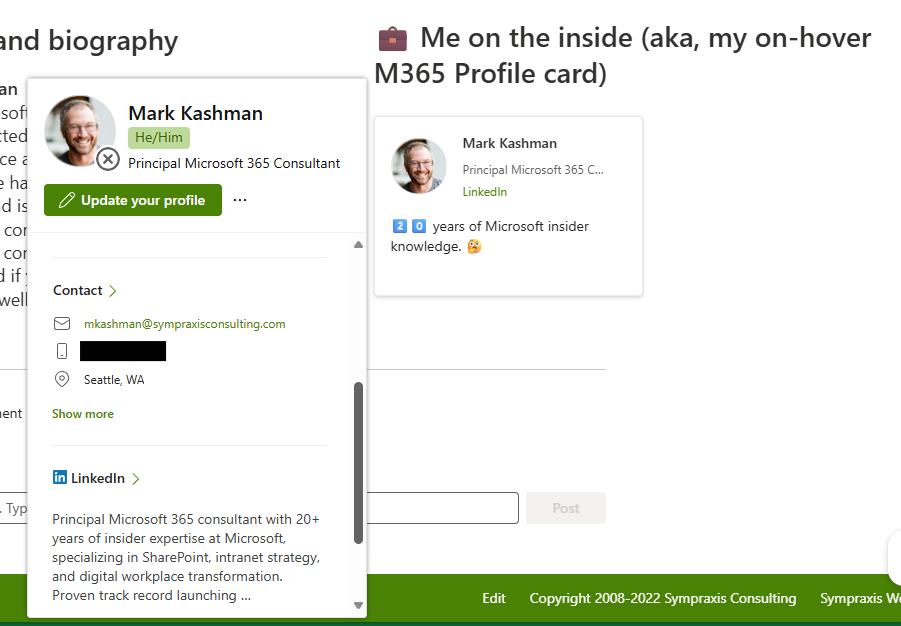
To get a Profile card to appear on a SharePoint page, you add a People web part to display a selected person, you, on to the page. Once you have the People web part on the page, type in your name. It does a real Global Address Lookup (GAL) as you type, and you select your name. You can then choose between Small, Medium, and Large layout options to show less or add more; I chose Medium so I could add my LinkedIn profile link AND type in a short tagline about me: “2️⃣0️⃣ years of Microsoft insider knowledge. 🤔” (see above screenshot)
Learn more about Profile cards in Microsoft 365.
And then, when you’re feeling confident… 🗞️
… publish your page as a SharePoint news article: 📢 Promote > 📰 Post as News on this site. It remains as a page where you created it, but as news (now) that gets pushed out to various internal news feeds; greater visibility. 👀 And when anyone asks about you or needs your particulars, grab the page link and send it to ‘em. Done!
In the end…
It’s the you of being you and letting people in on the surprise — and joy — directly from the you who is YOU! I’m grateful to Sympraxis for taking me into their circle of trust AND hope they get to know me a little more today (or whenever they might read my now-published Who is: Mark Kashman news post that started as a SharePoint page).
It only takes a few minutes. And who knows, you might inspire a co-worker to do the same. And then lucky you, you get to learn a little something about them in return. A less mysterious co-worker is oft someone you’re more likely to collaborate with. Remember, you get to introduce yourself how you like. So, get creative and have fun — there’s a ton of SharePoint web parts and ways to configure them to present the creative, multimedia YOU that you want to share.
Fewer silos. More insights. That just might make the work world go ‘round with a little less guess work. And if you are inspired to design and publish your own “About me” page, would love to see it (at least know about it). Post-a-pic and/or at-mention me on LinkedIn, Twitter, and/or Bluesky; don’t forget/redact to cover the bits you can’t share.
Cheers, Mark “The You’est YOU you can be” Kashman 🧔🏻♂️
About the Author

Mark Kashman
Microsoft 365 Consultant. 20 years of Microsoft insider knowledge. Proven track record launching major products. Trusted adviser. Dynamic spokesperson. Creative powerhouse and team player, driving impactful narratives.
Reference:
Kashman, M (2025). Who are you (at work)? – by Mark Kashman – The KashBox [Accessed: 11th October 2025].


