Since SQL Server 2012 SP1 you’ve been able to backup and restore SQL Server using Azure Blob storage. This can be useful to have offsite replicated backups or if you need to move data securely between sites, and now with Azure hosted SQL Server (of various stripes) it makes it easy to get data into those systems.
I’m just going to run through creating an Azure Blob Storage account for use with SQL Server using the Azure Portal. Another post will walk through doing the same thing using PowerShell. I normally use the PowerShell versions (no surprise there), but sometimes the graphical version is good way of understanding what’s going on under the hood.
First up, there are 2 ways that you authenticate your SQL Server with Azure storage:
Storage Account Identity with an Access Key
This is the original method introduced with SQL Server 2012, but it has been deprecated since SQL Server 2016. So it will still work, but will disappear at a time of Microsoft’s choosing.
With this method you’re handing over your Access Key, which gives the end service full rights over your storage account. As you can only have 2 active at any time, it can be hard to revoke a key if it’s being misused
Shared Access Signature
This is the more modern way of granting access to your storage. You can create as many signatures as you want, restricting to them only accessing parts of your storage account, different permissions, different expiry dates and they can be revoked individually.
So you could create one SAS for backup with create/write permissions and another for restore with read permissions to keep everything lined up.
Creating the Storage Account
Go into the Azure Portal, and find Storage Accounts (I prefer to start typing in the search box):
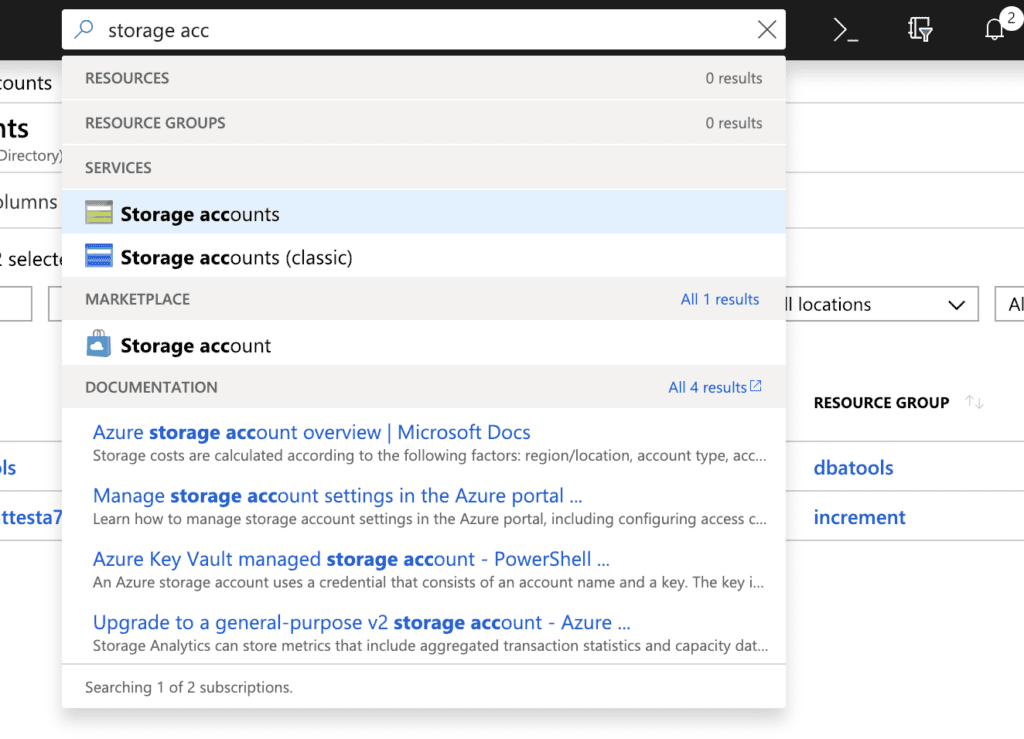
Ignore the ‘Classic’ option as that won’t work here. We should now have the Storage Accounts blade up:
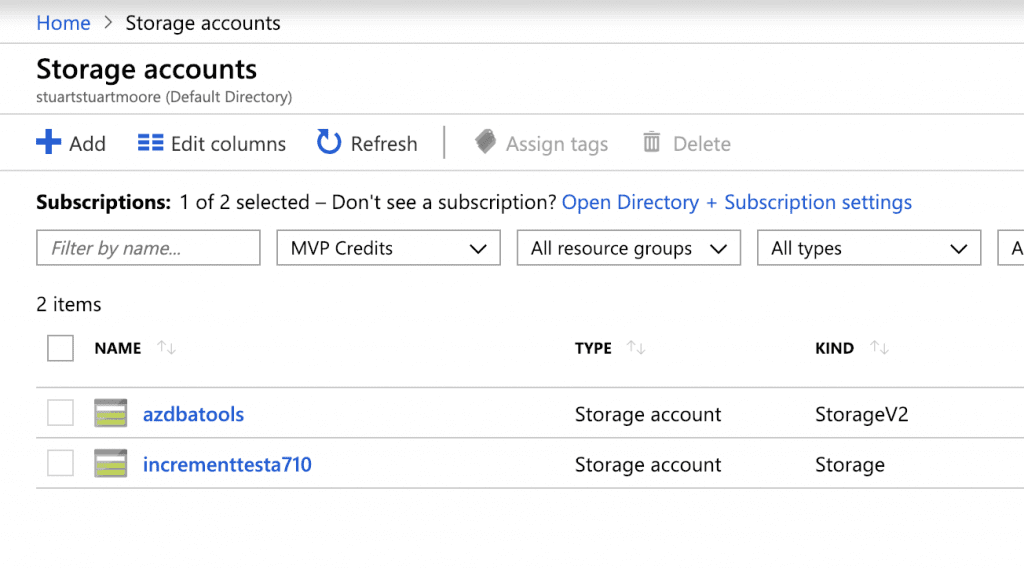
Select Add to create a new storage account
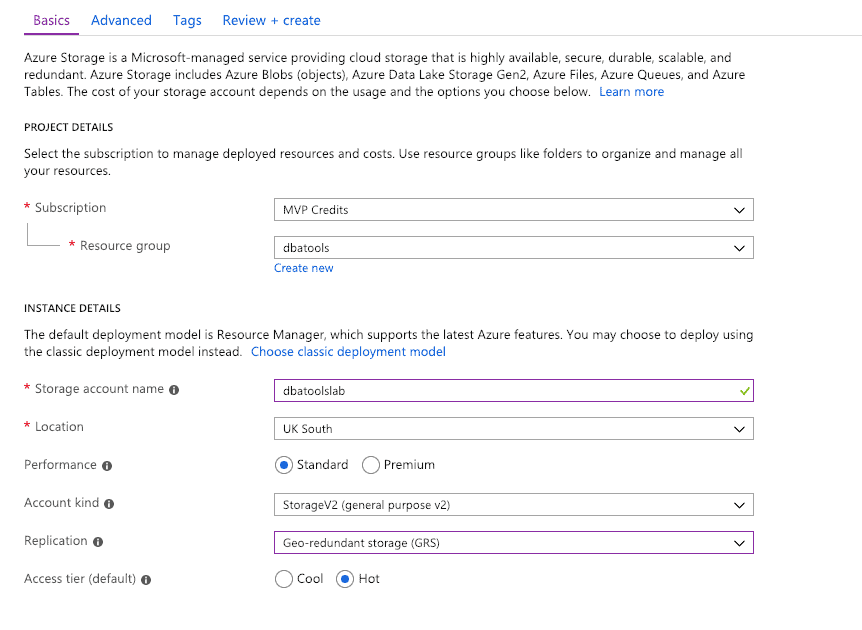
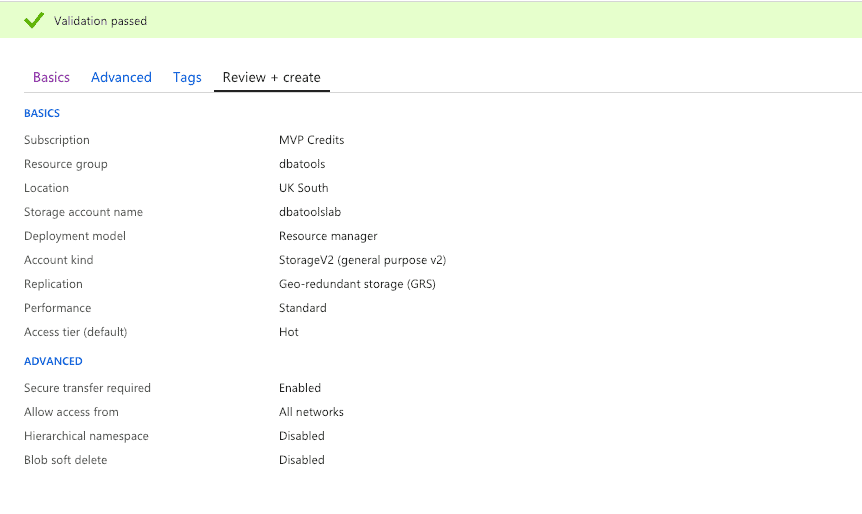
Select which subscription you want to use. You can reuse an existing resource group or create a new one. You need to give your new account a name, which must be unique in the *.blob.core.windows.net namespace. The rest of the settings you can leave along, unless you want to have a better spread of replication
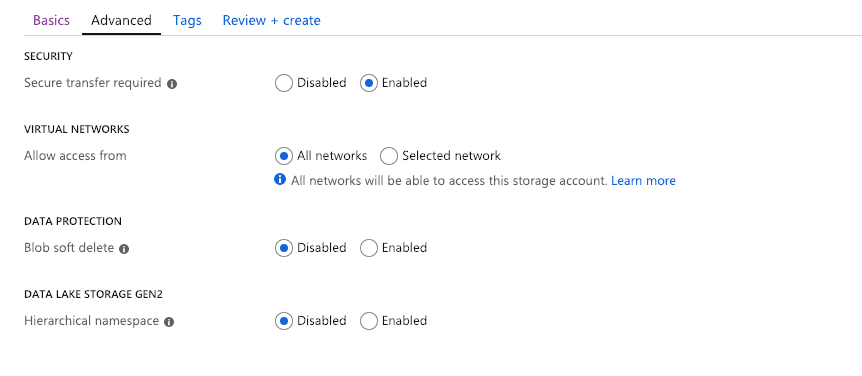
Under advanced you have a few more options. Enabling Secure transfer is a good idea, and is the default. If you need to restrict access to specific networks (if you’re using ExpressRoute for example), then you can specify them here.
Once you’ve clicked next you’ll have a chance to review your choices, and Azure will check they’re right as well.
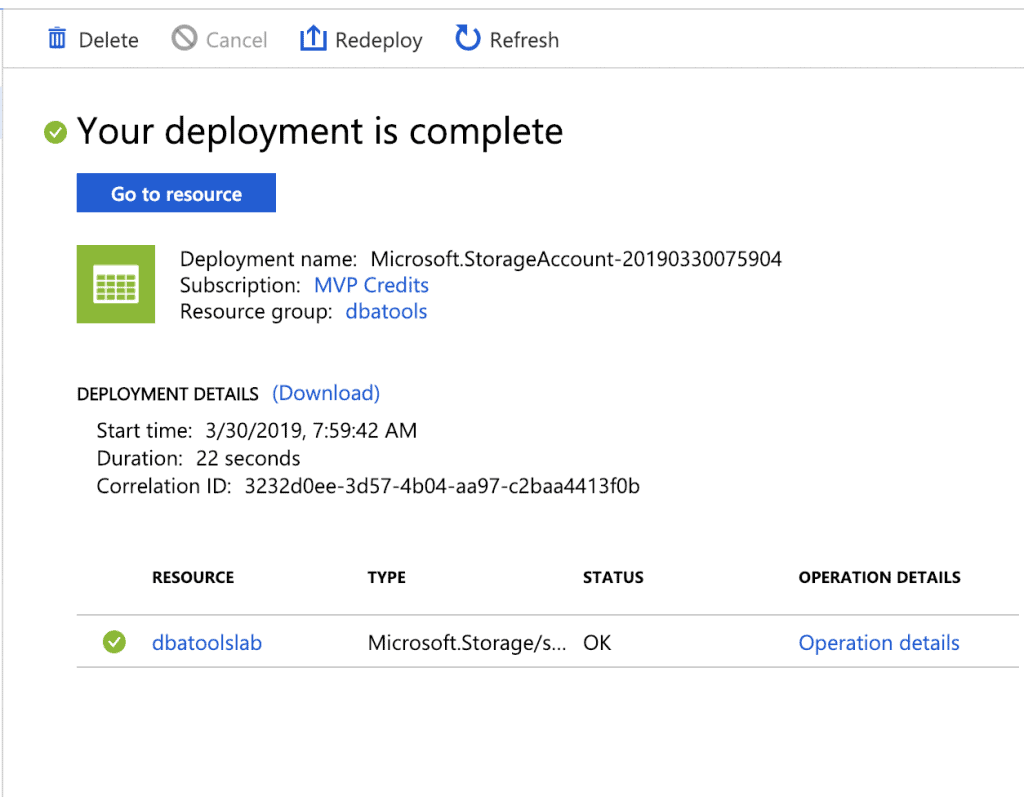
Click create and things will whir away in the Data Centre of your choice. After a minute or 2 your deployment will be complete.
Creating a Blob container
Click on the Resource Name and you’ll be taken to your fresh new storage account
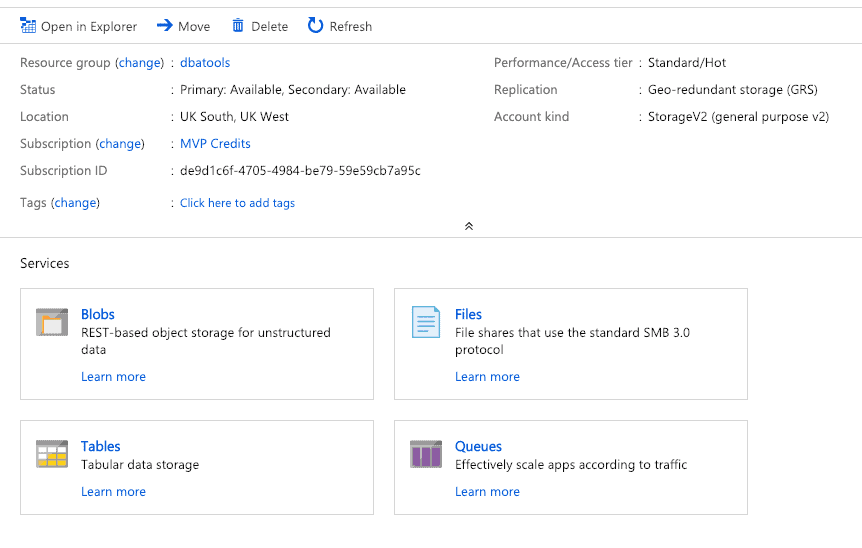
Next thing we need to do is to create a container. Click on Blobs, and then on the ‘+ Container’ link
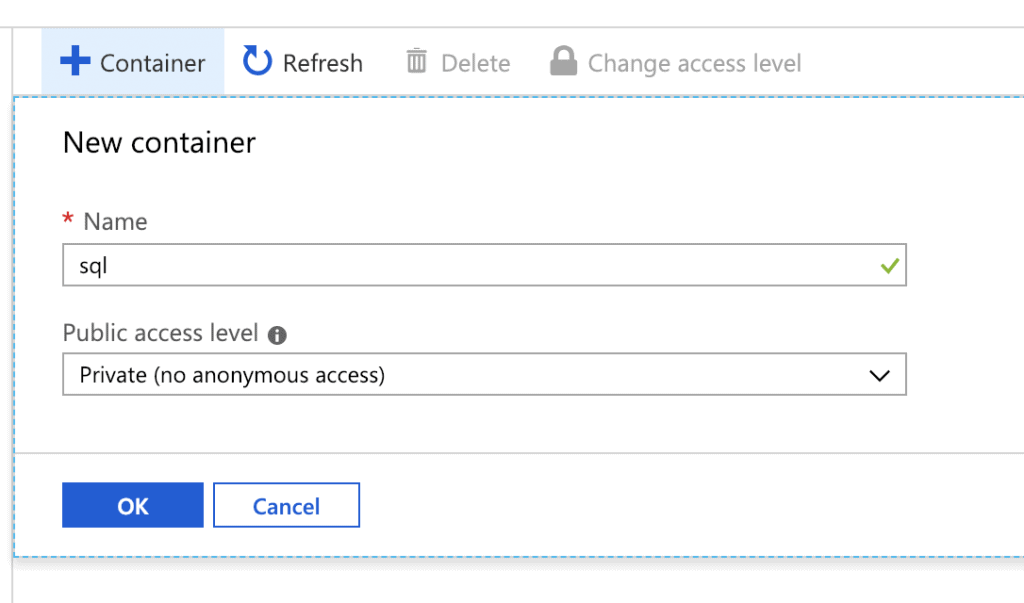
Think of the container as a sort of folder, so give it a name. And as best practice don’t allow anonymous access unless you really want to share your backups with the world!
Access Key Authentication
Now, if you’re using the older Access key method of authenticating you’re almost done. On the Storage account main page select Access Keys under Settings:
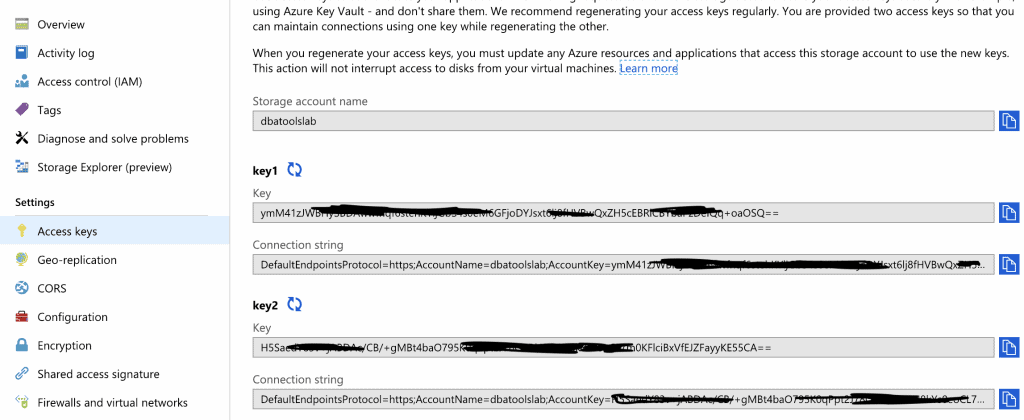
There you have your 2 secure access keys. Be very aware that these keys give anyone who has them TOTAL access to the storage account. There is nothing they can’t do once they have these keys. You can only have 2 active keys at any one time. You can generate a new key at any time, but it will invalidate the old one immediately. This is why you have 2 keys, so you can move over to the alternate key and then regenerate the original.
To create the credential you use the following T-SQL:
CREATECREDENTIAL <CredentialName>WITHIDENTITY= '<StorageAccountName>',SECRET = '<Secure Access Key>'

CREATECREDENTIAL dbatoolslabWITHIDENTITY= 'dbatoolslab',SECRET ='OPoyubf7gK+aIKDXm6NurzYWlv7tb2GvRb4e1qddq5E5k/2O6KcaQ9+hnRopbrJqT7eWG/h2gwKrrBgDpssPrw=='
You can call the credential whatever you want, but if you’ve multiple azure accounts then using the same name helps make sure you’re using the one you want.
Shared Access Signature authentication
For Shared Access Signature authentication we’ve another step to go. On the Overview page for you storage account, select the Shared Access Signature on the left hand side:

Here you can adjust the access that the SAS will grant to the holder. By default they are created with a life span of 8 hours which you can expand as you want. As you can generate as many SAS as you want you can create them with different permission sets for different access rights or for different services/offices via allowed IP addresses. When you hit generate you’ll be presented with:

The SAS token is the value you want. But without the leading ‘?’, that’s there for easy appending to a HTTP querystring, you want to start with ‘sv’
To create the SAS credential you use the following T-SQL
CREATECREDENTIAL [https://<storageaccount>.blob.core.windows.net/<container>]WITHIDENTITY='SHARED ACCESS SIGNATURE', SECRET = 'SAS token'
So in our example that would be:
CREATECREDENTIAL [https://dbatoolslas.blob.core.windows.net/sql]WITHIDENTITY='SHARED ACCESS SIGNATURE', SECRET = 'sv=2018-03-28&ss=b&srt=c&sp=rwdlac&se=2019-04-03T17:20:25Z&st=2019-04-03T09:20:25Z&spr=https&sig=PLpxNQCW%2FftHsC2NFgR3f4UUSIGGOtRRPLyLG5G90Ak%3D'
Common mistakes when creating this type of credetial are:
- leaving a trail space on the URL in the name
- Not removing the ? at the start of the SAS token
- Case insensitivity in the SAS token
- Not setting the IDENTITY value correctly, it must be SHARED ACCESS SIGNATURE
And you’re done.
This is a bit long winded, so in the post I’m going to show the quicker way of doing this via PowerShell.
If you run into any problems or anything isn’t clear hit me up in the comments or on Twitter and I’ll give you a hand.
About the Author:
Stuart Moore
T – @napalmgram
Stuart had spent 20+ years pushing data around many platforms using whatever tools he can find, mainly using SQL Server, PowerShell and Azure these days. Has been a Microsoft Data Platform MVP since 2018. Spends lots of time contributing to the dbatools project. In his copious spare time he also organises DataRelay, Nottingham SQL Server User Group and PowerShell Usergroup, and Nottingham Global Azure Bootcamp
Reference:
Moore, S. (2019). Creating Azure Blob storage account for SQL Server Backup and Restore via the Portal. Available at:
https://stuart-moore.com/creating-azure-blob-storage-account-for-sql-server-backup-and-restore-via-the-portal/ [Accessed 26th July 2019].