

Popular Posts

Aug 19 2024
Microsoft Fabric reference architecture

Aug 15 2024
Business Intelligence with Power BI

Aug 19 2024
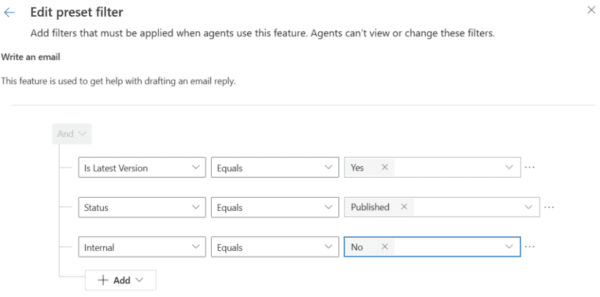
Copilot – Filters
