1. Introduction
The usage of Azure resources, as the Azure Kubernetes Service or the Azure Container Registry, etc. enable a transition or an extension of the workbench to the Azure cloud. Therefore it would be great if you can provision such resources in the Azure Portal and it would be even more great if you could do that in an automated way. An option for the automated provisioning would be Terraform. Terraform allows you to provision/adapt/destroy infrastructure and it works great combined with Azure. In this post I’d like to explain how an Azure Container Registry can be provisioned and deleted by using Terraform.
2. Prerequisites
Azure Subscription
You need an Azure subscription for allocating and using Azure resources, like an instance of the Azure Container Registry in that case. For that, an account has to be created (a valid credit card has to be provided), which allows you to use $200 credit for the first 30 days. After the first 30 days, you’ve to upgrade your account – this does not allocate any costs. Costs are just allocated for resources, which need e.g.: cpu or memory usage, that would be for instance an Azure Kubernetes Service or a Virtual Machine, etc. The link below refers to the start page for creating an Azure free account.
Microsoft – Azure: Create free Azure account
Azure CLI
The next prerequisite is the Azure CLI command-line tool. It allows you to establish a connection to the Azure cloud.
Microsoft – Azure: Install Azure CLI
Terraform Installation
Finally the third and last prerequisite is about to get Terraform installed. Use following link below to get details about the installation regarding to your used operating system. As I’m a Windows user, I’ve decided to install Terraform with Chocolatey on Windows.
3. Login to the Azure Portal
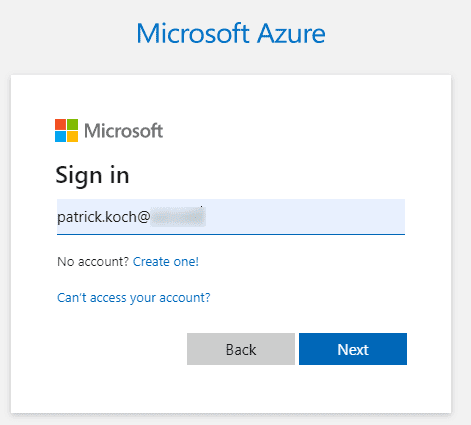
Let’s login to the Azure Portal. In the Azure Portal you can create the different resources in a manual way, using proper wizards, which provide you the possible settings. The goal of this post is of course to provision a resource in an automated way – the first step would be to login with the Azure CLI, for establishing a connection to your Azure free account. Therefore, start PowerShell and use following command to perform the login:
az login

Your default browser should be opened, requesting to enter the credentials of your Azure free account. Enter them to conduct the login.
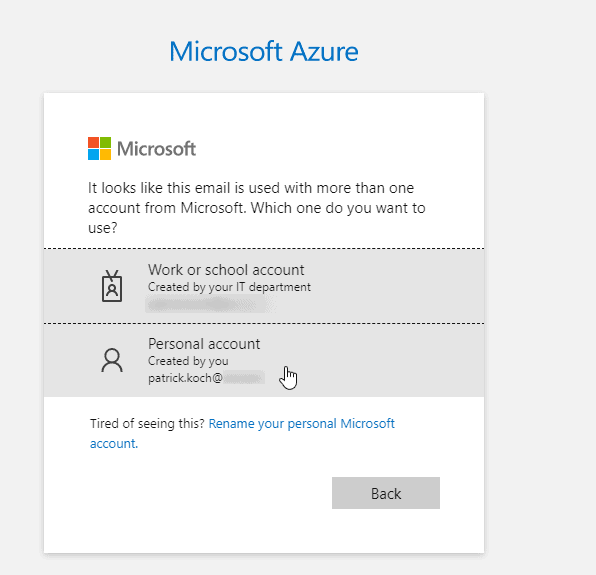
Be careful if you’re using different accounts. In my case it would be my personal account:
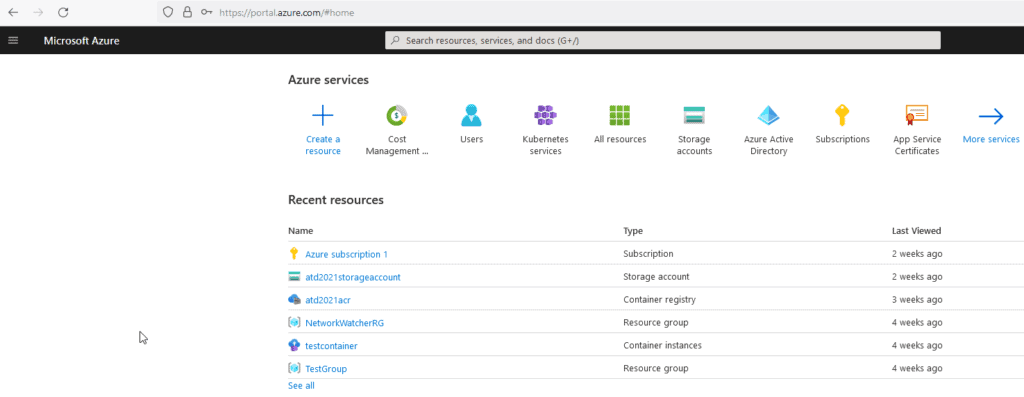
Finally, you can enter the Azure Portal by using: https://portal.azure.com
The first page, to which you’ll be linked should look like that:
Prove the logs in the terminal, whether it is the correct subscription – verify your name/mail address and the name of the subscription:
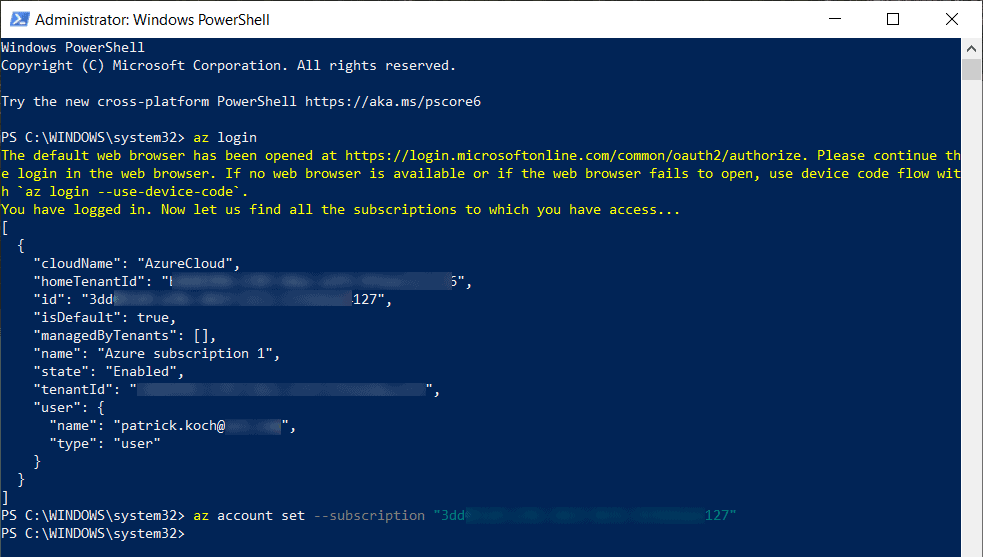
In case you’d like to work with multiple subscriptions, you can set a specific subscription – which will receive the Terraform commands – by using following Azure CLI command:
az account set --subscription "<your subscription id>"
4. The Terraform File
The Terraform file, which I’m going to use for provisioning the Azure Container Registry can be seen in the snippet below. Detailed information about the different kind of blocks – Terraform, Providers and Resources can be read at https://learn.hashicorp.com/tutorials/terraform/azure-build?in=terraform/azure-get-started
 terraform {
  required_providers {
    azurerm = {
      source  = "hashicorp/azurerm"
      version = "~> 2.65"
    }
  }

  backend "azurerm" {
    resource_group_name  = "patricksdemostorage"
    storage_account_name = "patricksdemostorage"
    container_name       = "blogtfstate"
    key                  = "acr.demo.tfstate"
  }

  required_version = ">= 0.14.9"
}

provider "azurerm" {
  features {}
  subscription_id = "3dd***********127"
}

resource "azurerm_resource_group" "rg" {
  name     = "blog_demo_resource_group"
  location = "westeurope"
}

resource "azurerm_container_registry" "acr_demo" {
  name                = "blogcontainerregistry"
  resource_group_name = azurerm_resource_group.rg.name
  location            = azurerm_resource_group.rg.location
  sku                 = "Standard"
  admin_enabled       = false
}
4.1 Explanation of the resources
I’m using hashicorp/azurerm as provider’s source for the azurerm, which can be seen in the Terraform block. I’m also refering to a dedicated Storage Account, named “patricksdemostorage”, at which the Terraform State Files will be stored in a Container.
The second block, the Provider block, is about the dedicated provider. In that example the provider is azurerm. Adding the subscription id ensures that the resources will be allocated for that specific subscription (in case you’re using multiple subscriptions).
The third block defines a resource group, named “blog_demo_resource_group”, the location is set to “westeurope”. Each resource, like an Azure Kubernetes Service or an Azure Container Registry needs an assigned resource group.
The last block is finally about the Azure Container Registry itself. The registry will be named “blogcontainerregistry”.
4.2 Creating a Storage Account and Container for the State File
I’m refering to a Storage Account, which contains a Container for storing the Terraform State Files – this Storage Account does not exist yet. This subsection is about to show how to create such an account. But what’s the intention of that account anyway? Terraform needs the State Files to know the current state of the resources – so whether it is already provisioned, or e.g.: whether it is already destroyed.
Imagine you’re provisioning a resource with PowerShell from your laptop – this will create the resource. Furthermore, a colleague is using the very same Terraform file for allocating/adapting/destroying this specific resource. Terraform needs to know the current state, to prevent to create the resource, if it is already created. That information can be get out of the State Files. Therefore, it would be best practice to store the State Files at a global and unique place – in a proper and dedicated Storage Account.
Let’s create the Storage Account and the Container, which will manage the State Files.
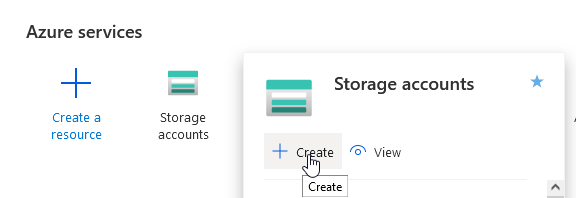
In the Azure Portal go to Storage account and click at the “Create” button:
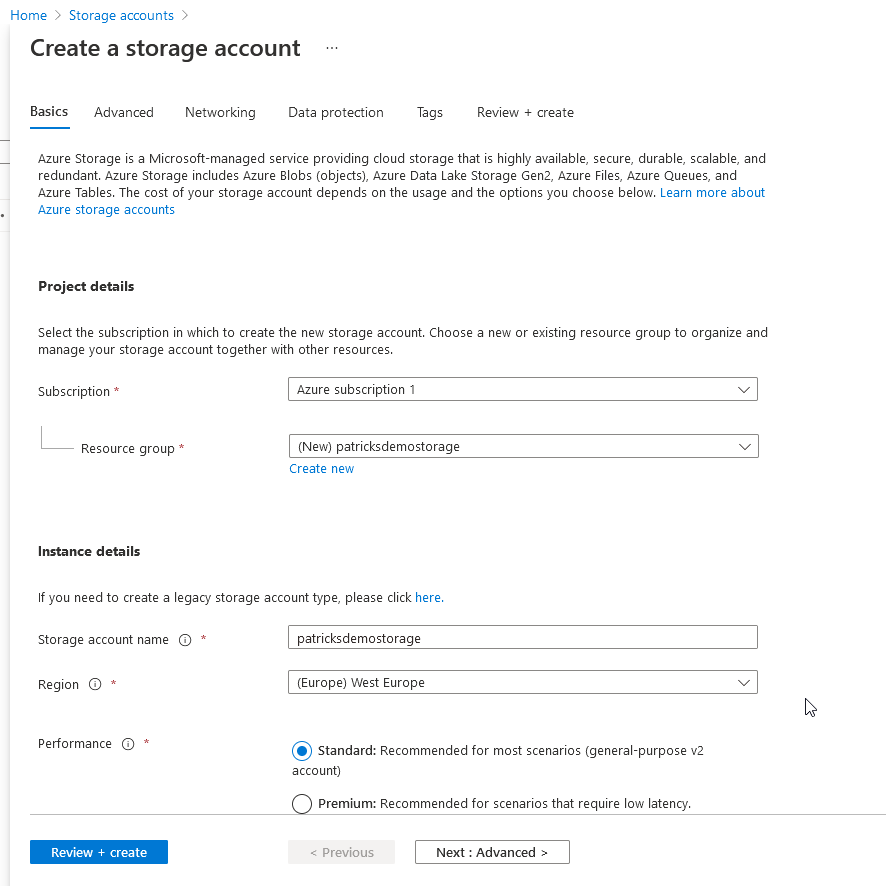
Create at “Resource group” a new group and provide a name of your choice – I’ve named it “patricksdemostorage”. In additon, provide a name for the “Storage account name”, choose a proper Region and finally review and create it.
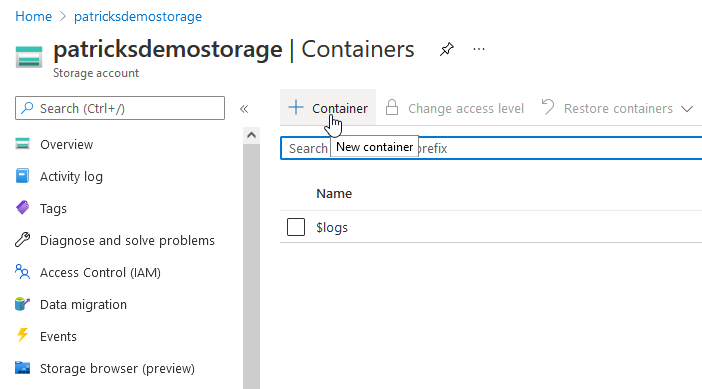
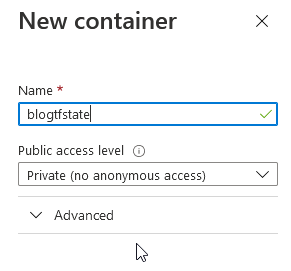
If the Storage account is created, add a new Container and provide again a proper name…
…in that example the Container is named “blogtfstate” – it will contain the State Files.

5. Provisioning and Deletion of an Azure Container Registry
In this section, the Azure Container Registry is going to be created and deleted. In addition, it is proved whether the State Files are stored properly.
5.1 Performing the Initialization Command – Init
Change the directory to the location of the stored Terraform file, including the content explained in section 4. The very first command is the “Init” command – it establishes a connection to the backend “azurerm”:
terraform init
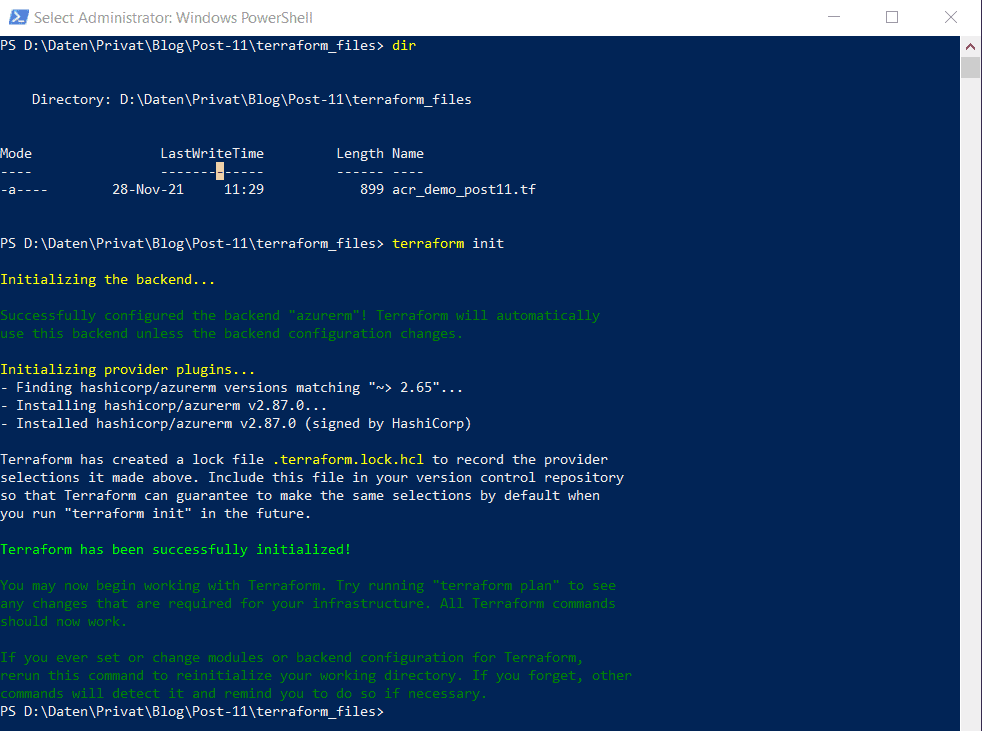
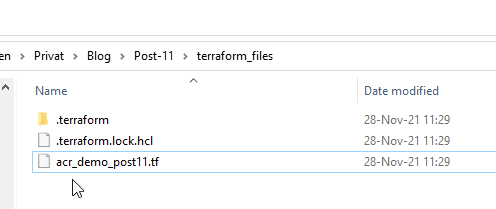
Ensure, that a “.terraform” directory and a “*.lock.hcl” file occurs in your directory:
5.2 Performing the Validation Command – Validate
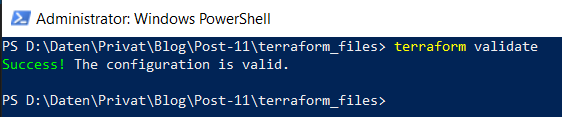
Prove that your Terraform file is alright by entering the validation command:
terraform validate
5.3 Performing the Apply Command – Apply
Now comes the best part – finally we’ll get a newly created Azure Container Registry, by using the “Apply” command:
terraform apply

Confirm that you really would like to create the resources by entering a final “yes”.
The provisioning of the resource is done if following occurs:

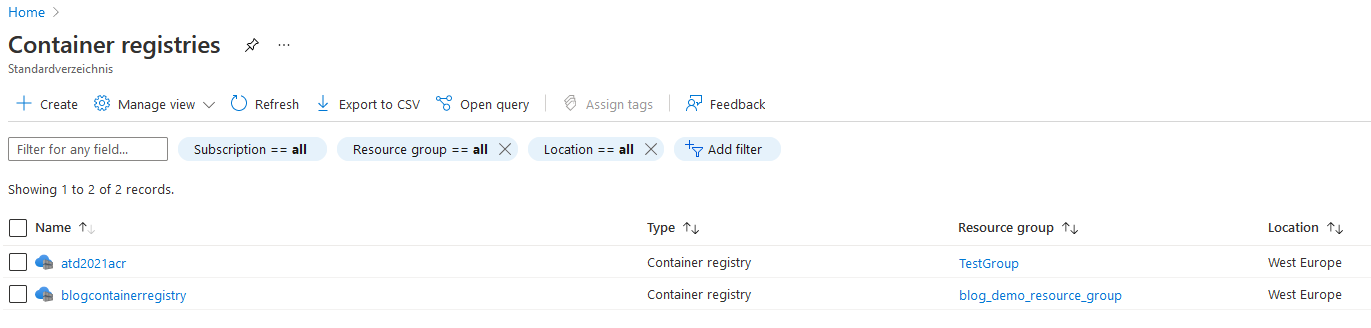
You can switch back to the Azure Portal, select the “Container Registry” section and prove that it appears in the list – in that case, the newly created registry is “blogcontainerregistry”.
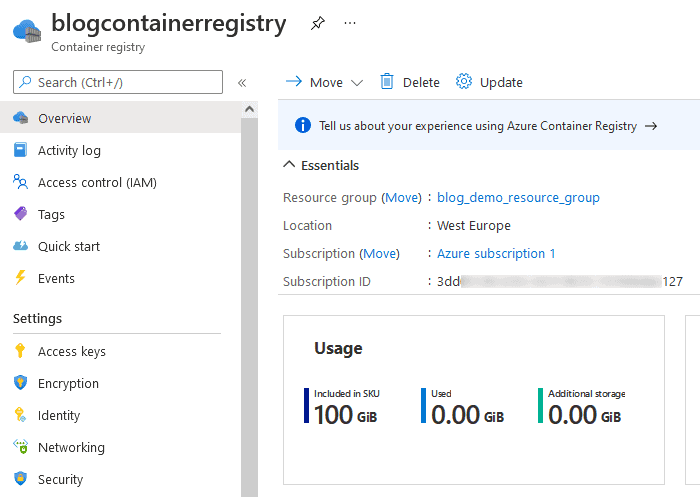
Click at “blogcontainerregistry” for getting the details of the registry:
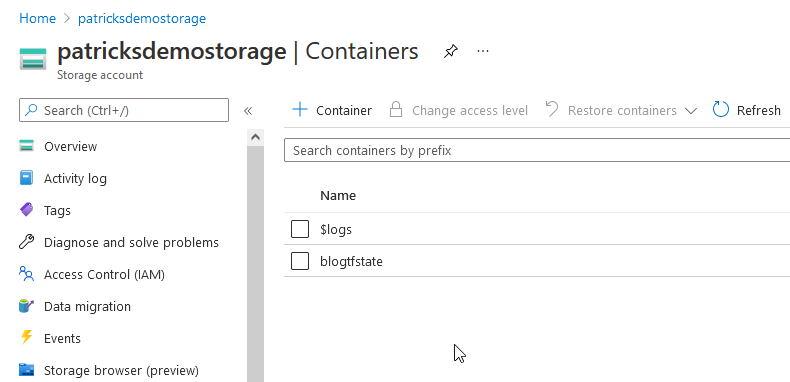
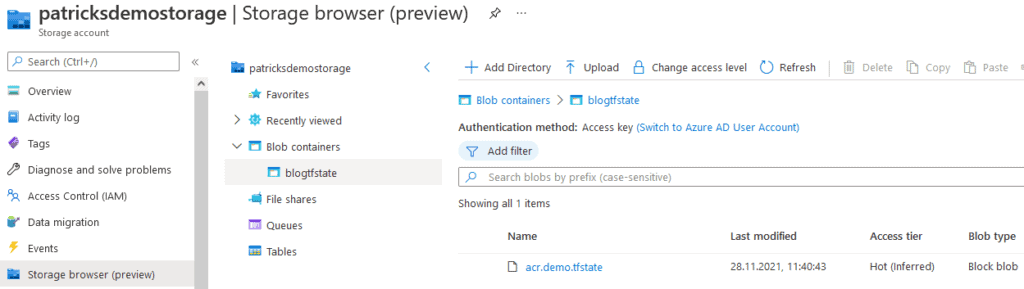
Let’s also prove whether the State Files are stored inside the Container of the Storage Account – switch to it and verify the content of the Container named “blogtfstate” – it should reveal that the State File with the key “acr.demo.tfstate” is available:
5.4 Performing the Destroy Command – Destroy
The Azure Container Registry can be as easy destroyed as it has been created, using the “destroy” command:
terraform destroy
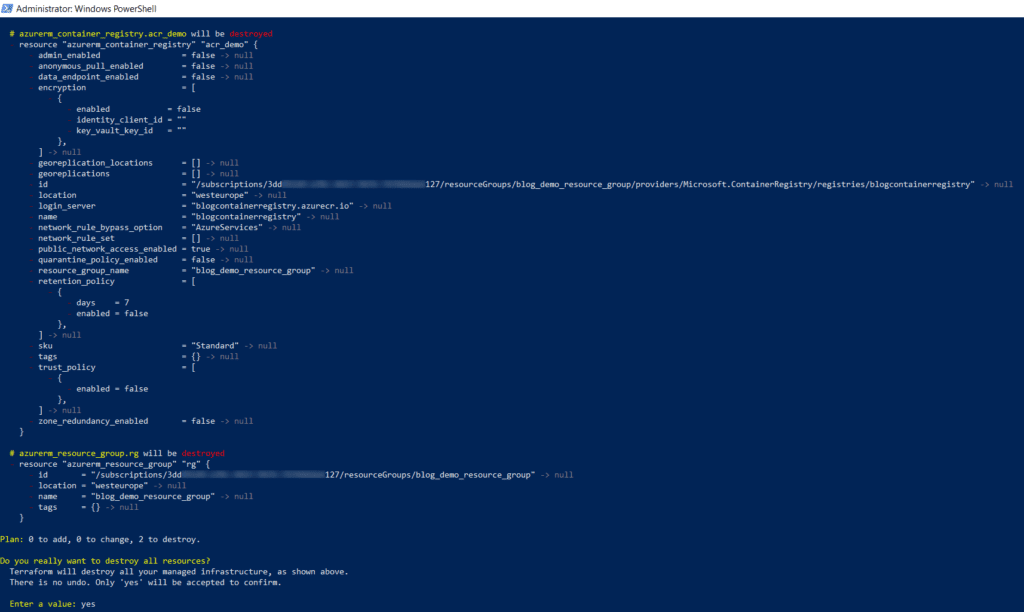
Confirm it again, by entering “yes”.
6. Conclusion
I’d recommend the provisioning/adaptation/deletion of resources in Azure using Terraform, as
- the structure/syntax of the Terraform files is easy to understand
- it is also simple automate it, by using pipelines, e.g.: of the Azure DevOps Server
- it saves costs, as you just allocate your resource when you need it
Follow the dedicated guidelines (in case you need much more than one simple registry), which are well documented.
References
Microsoft – Azure: Create free Azure account
Microsoft – Azure: Install Azure CLI
Hashicorp – Terraform Recommended Guidelines
Find more great blogs here
About the Author:
Patrick is a DevOps Engineer, blogger and lecturer. He loves to automate everything. His interest in DevOps came at an early age, while studying software development at the Technical University of Graz. In addition, he joined a Free and Open Source Software non-profit project at that time. Since 2014, he responsible for CI-CD/Cloud/Container/Kubernetes/etc. topics in his department. He runs his own blog about DevOps and has given lectures and workshops at international conferences for several years.
Reference:
Koch, P. (2021). Azure – Provisioning an Azure Container Registry using Terraform. Available at: https://www.patrickkoch.dev/posts/post_11/ [Accessed: 9th February 2022].