Azure Kubernetes Service aka (AKS) is a managed service provided by Microsoft Azure to deploy micro-service applications quickly and managed those apps with less administrative efforts.
With a Kubernetes release of v1.14 it enable the production level support for windows nodes and containers. With this announcement, AKS team announce the Windows server container support for the v1.13.5 and v1.14.0. With this enables now we can run Linux and Windows node pools within the same cluster.
Prerequisite
- Azure Account
- Azure CLI – version 2.0.61 or later
Note – Don’t enable preview features on production subscriptions. Use a separate test or development Azure subscription for testing preview features.
Limitations
- Multiple node pools are available for clusters created after you’ve successfully registered the WindowsPreview. Multiple node pools are also available if you register the MultiAgentpoolPreviewand VMSSPreview features for your subscription. You can’t add or manage node pools with an existing AKS cluster created before these features were successfully registered.
- You can’t delete the first node pool.
- The AKS cluster can have a maximum of eight node pools.
- The AKS cluster can have a maximum of 400 nodes across those eight node pools.
- The Windows Server node pool name has a limit of 6 characters.
- Windows Server node pools are not available in Canada regions at this time.
Install AKS Preview CLI extension
As of this features are preview first we need to enable preview feature in Azure CLI to access them. If this is the first time using Azure AKS preview features, run below command to enable extension.
az extension add --name aks-preview
If enabled the preview feature previously use below command to update the aks-preview extension to latest version.
az extension update --name aks-preview

Enable Windows Preview Feature
First enable the WindowsPreview feature on your subscription. This feature uses multi-node pool cluster and VMSS to manage the Kubernetes nodes.
az feature register --name WindowsPreview --namespace Microsoft.ContainerService

This will take few minutes to complete. We can verify the status of the registration from below command.
az feature list -o table --query "[?contains(name, 'Microsoft.ContainerService/WindowsPreview')].{Name:name,State:properties.state}"

After feature is registered refresh the the registration from below command.
az provider register --namespace Microsoft.ContainerService

Create Resource Group
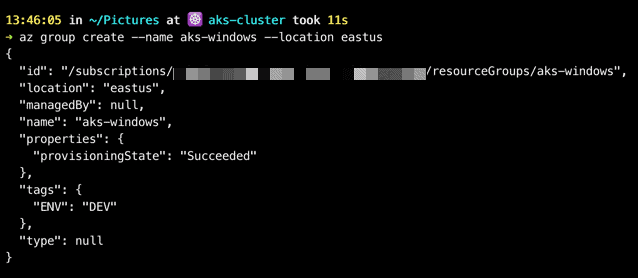
When deploying resources to Azure each resource should be deployed to a resource group. Resource group is a logical group in which Azure resources are deployed and managed. Following Azure CLI can use to create new resource group.
az group create --name aks-windows --location eastus
Create AKS Cluster
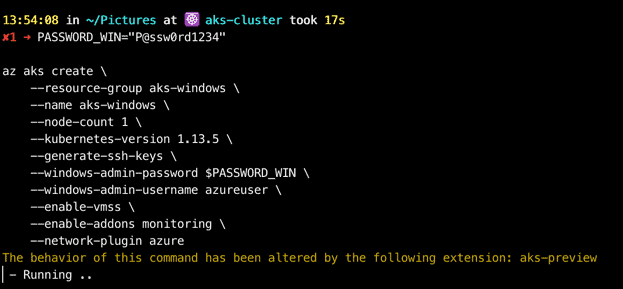
For creation of AKS cluster to support windows containers we need to use Azure CNI as the network plugin. When we create a AKS cluster for windows container default it creates a Linux node pool as the default. After creation of the cluster we’ll add the windows node pool to support windows containers. With following command we can create cluster.
PASSWORD_WIN="P@ssw0rd1234"

az aks create \
    --resource-group aks-windows \
    --name aks-windows \
    --node-count 1 \
    --kubernetes-version 1.13.5 \
    --generate-ssh-keys \
    --windows-admin-password $PASSWORD_WIN \
    --windows-admin-username azureuser \
    --enable-vmss \
    --enable-addons monitoring \
    --network-plugin azure
In above we use PASSWORD_WIN=”” variable to store the password. Its important to have a strong password with complaint with Azure password policy, otherwise the cluster creation will fail with below error.

If the cluster creation succeeded you can see slimier output as below.
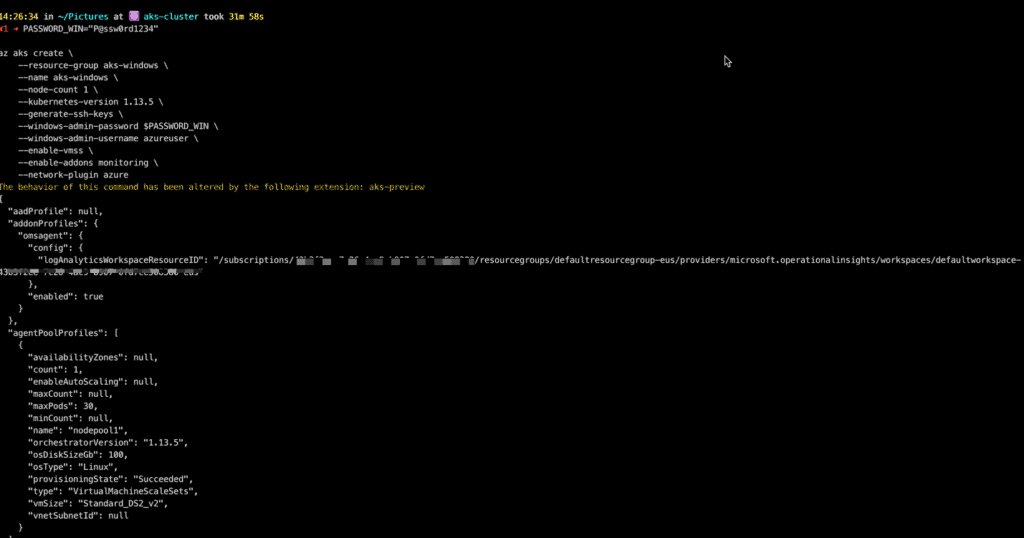
It will take few minutes to complete the cluster creation.
Add Windows Server Node Pool
By default AKS use Linux node pool to create a cluster we can add windows node pool from bellow command.
az aks nodepool add \
    --resource-group aks-windows \
    --cluster-name aks-windows \
    --os-type Windows \
    --name npwin \
    --node-count 1 \
    --kubernetes-version 1.13.5

If the provisioned is succeeded we can see two nodes with Windows and Linux. To verify the nodes first we need to download the credentials to access the API server. Following command can use to download credentials.
az aks get-credentials --resource-group aks-windows --name aks-windows

Next we can verify the nodes by using kubectl command.
kubectl get nodes -o wide


Run the Application
We can use following sample app to run windows container inside the windows node. We use nodeSelector:”beta.kubernetes.io/os”: windows property to specify the windows node inside the YAML.
To deploy application, we can use following kubectl command
kubectl create -f ./aks-windows-app.yaml

In above YAML it create Deployment & LoadBalancer Service. To create a load balancer it will take few minutes as it allocate a public IP.
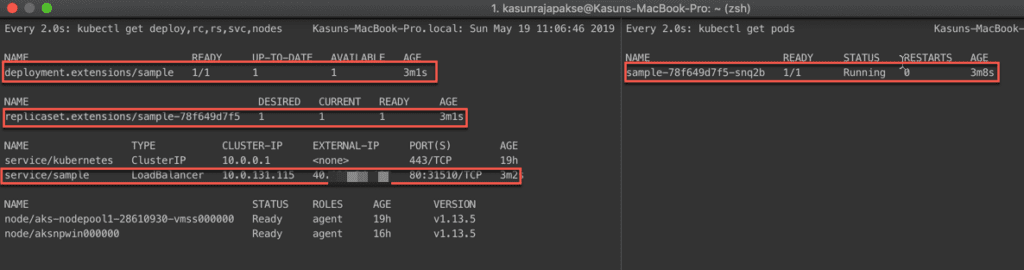
Deployment & LoadBalancer Service
We can test the application by accessing the public IP. If the deployment succeeded we can access the app as below.
For additional resources follow below links
- Create a Windows Server container on an Azure Kubernetes Service (AKS)
- Announcing the preview of Windows Server containers support in Azure Kubernetes Service
- AKS Documentation
About the Author:
Consultant with 4+ years of experience in Windows technologies, Networking, Cloud Computing, Server Administration & etc.
Currently I mainly focus on System Center Product such as Operations Manager, Microsoft Operation Management Suit, Azure & AWS. Previous experience includes works with customers from manufacturing & IT service providers.
I like to share my knowledge with others
Twitter :- @KasunSJC
Dream big, Start small, Act now. – Robin Sharma
Reference:
Rajapakse, K. (2019). Available at:
http://www.allaboutwindowssl.com/2019/05/windows-server-container-on-an-aks-azure-kubernetes-service-preview/ [Accessed 10th July 2019].