Hey guys!
In today’s post we are going to see how we can use current user information with the Office 365 connector on Power Apps to make our application more integrated.
Let’s go!
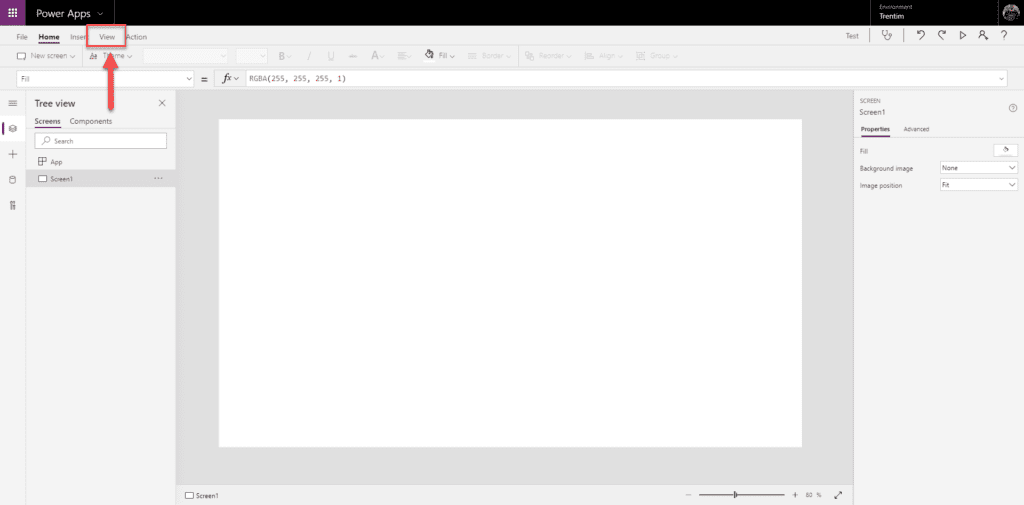
Go to http://make.powerapps.com and create an app (or open an existing one), I will use the Tablet version just to have something bigger.
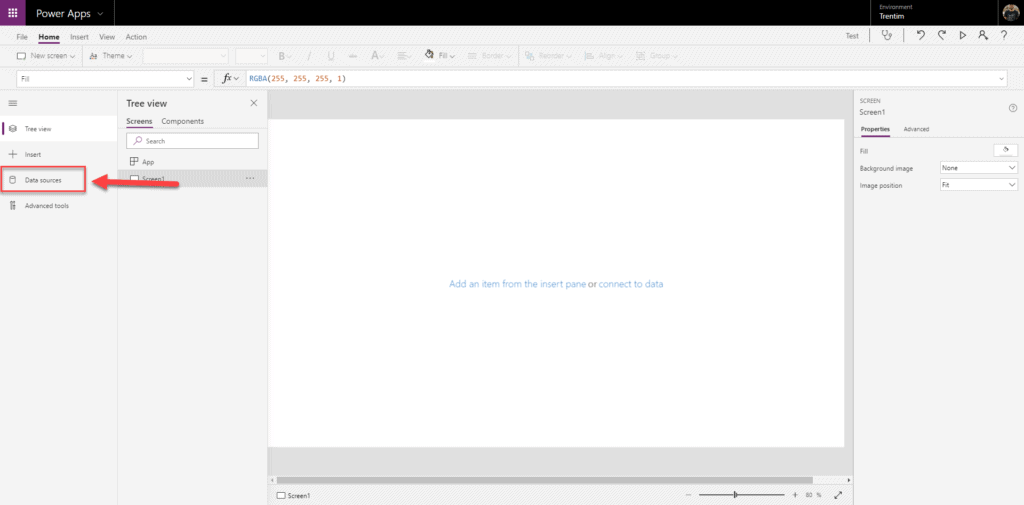
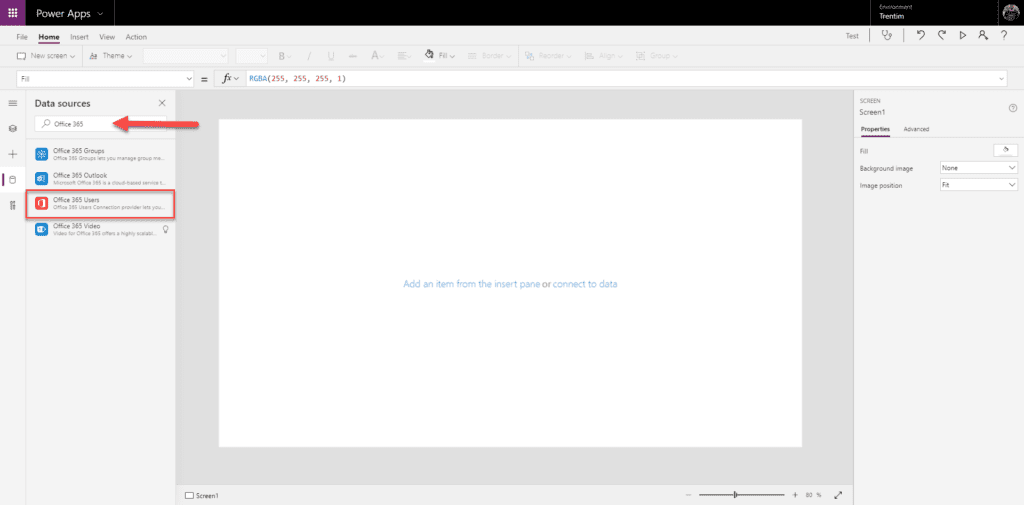
Once you app is open, in the top menu, go to View > DataSources, or in the left menu, click on the DataSources icon:
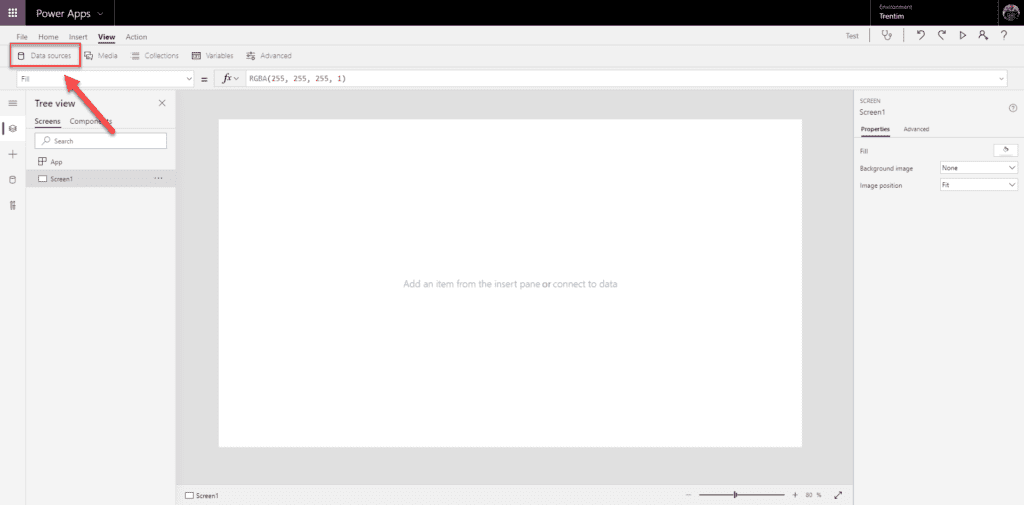
In the search box, let’s search for “Office 365 Users”:
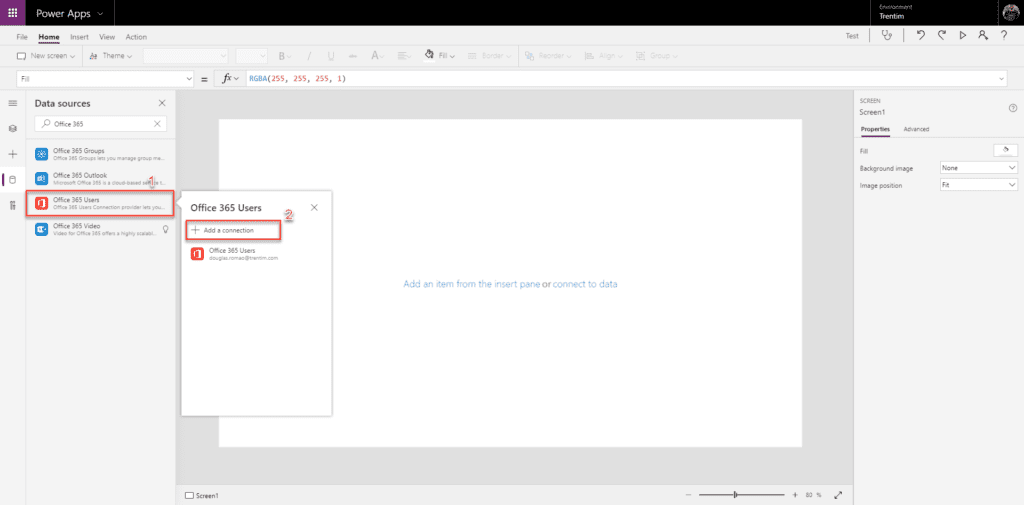
Click on the Office 365 Users button and then go to Add Connection (or if you already have a connection, you can just click on the connection name)
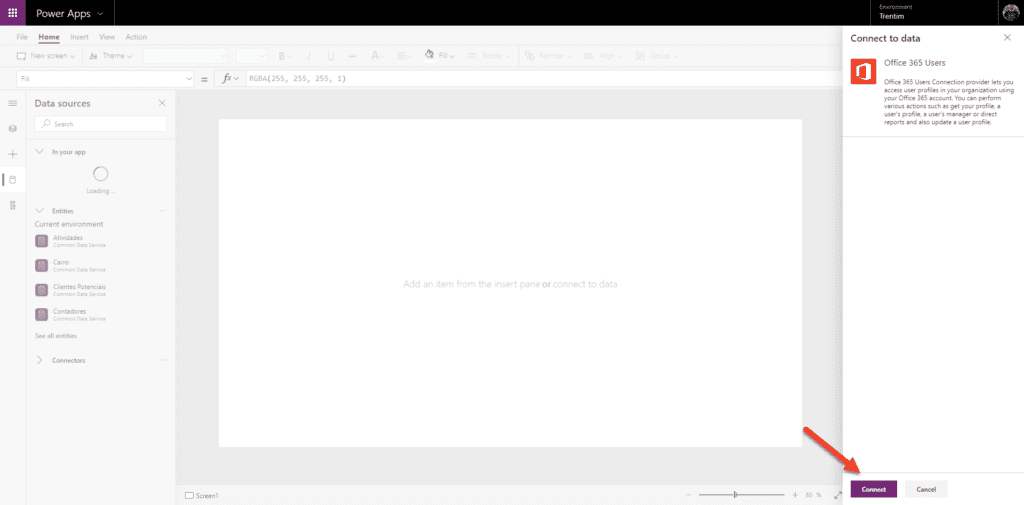
Click in “Connect”:
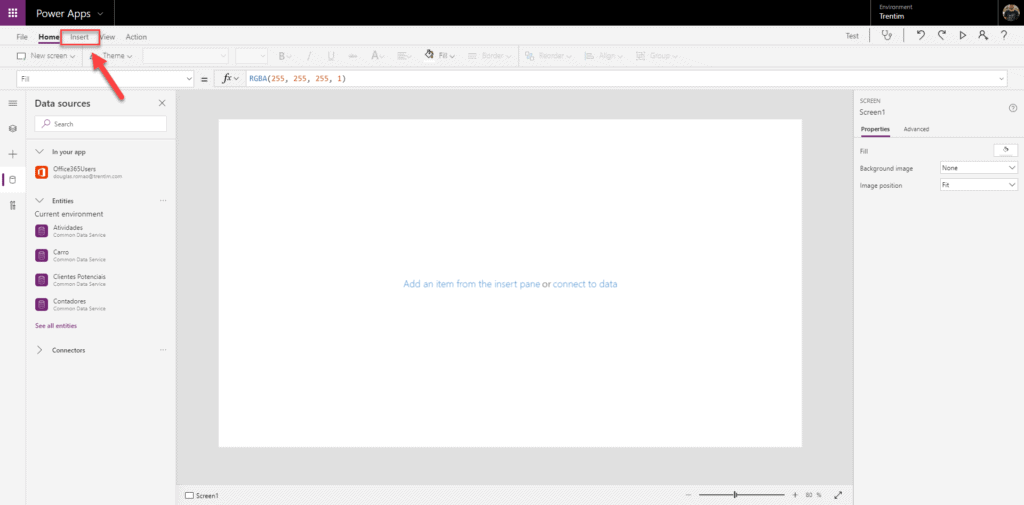
Now we are ready to use the connector to get the data from Office 365 about our profile.
We can use that to display the profile information from the current user using the App and display image, name, job title and other important things.
We are going to create a card with the Name, Image and JobTitle for this current user.
On the top menu, go to Insert > Media > Image:

Click in the image component, go to the Properties dropdown, select Image and in the Formula bar, type the following formula:
Office365Users.UserPhoto(Office365Users.MyProfile().Id)
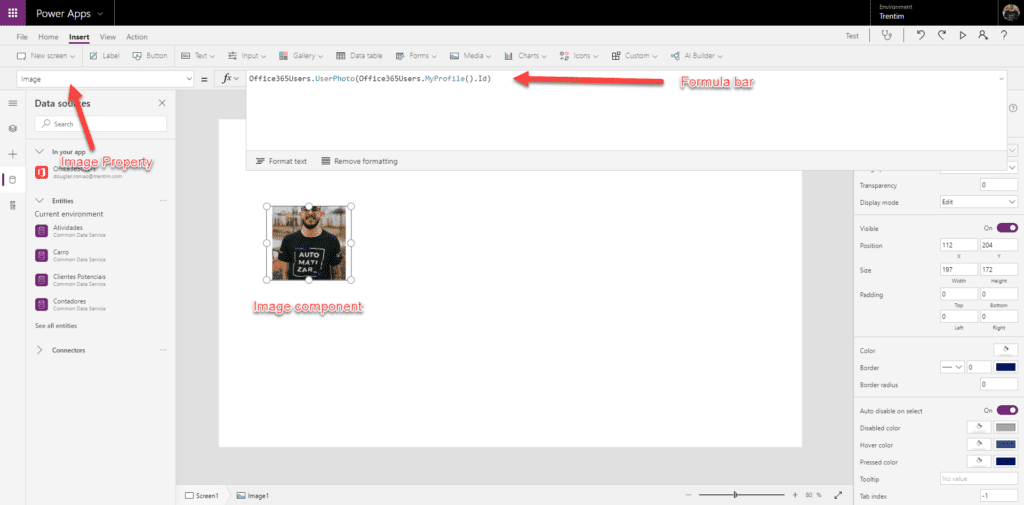
This formula is getting the user photo and the parameter required to it is the user id that we are getting using the Office365Users.MyProfile().Id formula.

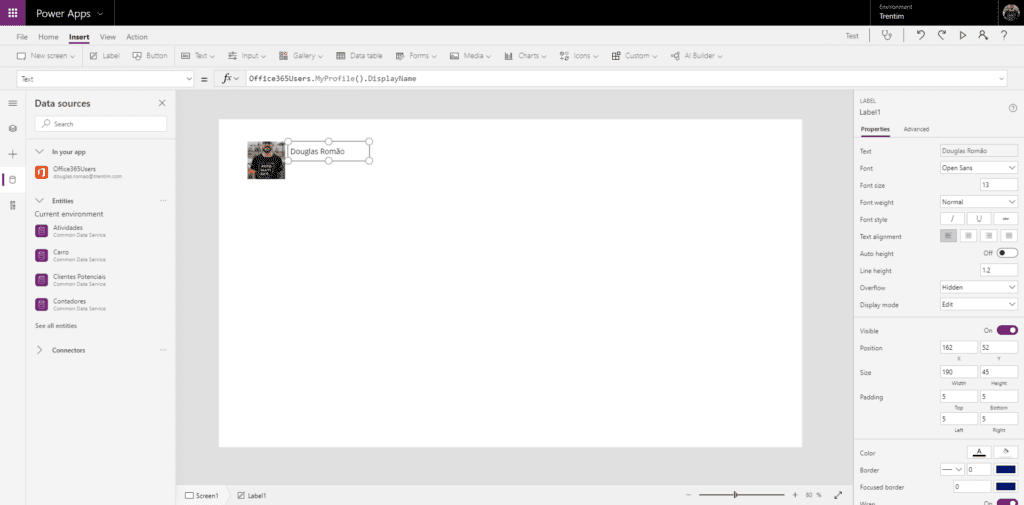
Select the Text property and, in the formula bar, type the following formula:
Office365Users.MyProfile().DisplayName
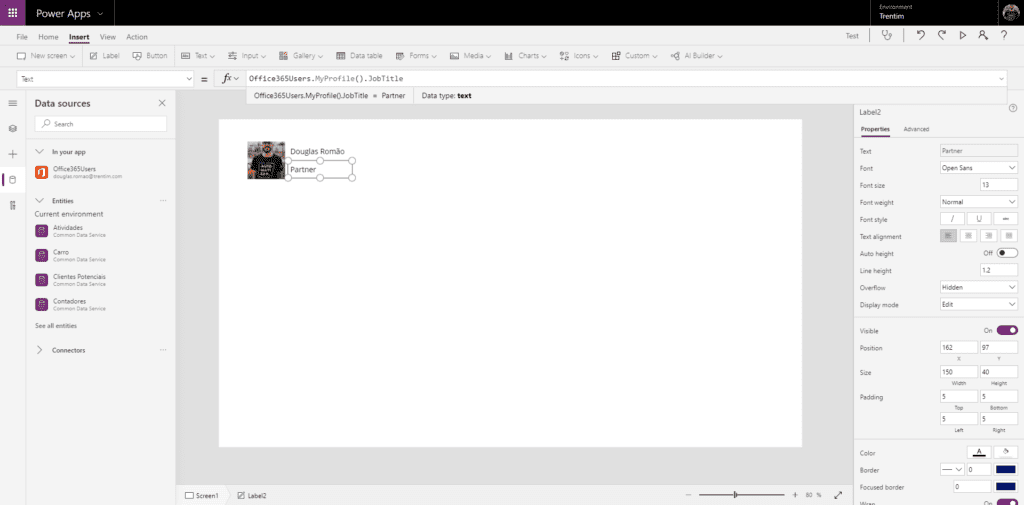
Do the same thing again to get the Job Title:
Done! With this configuration, now we are able to set up a welcome screen for the application user in a simple way, and you can use this information on forms and other screens in the same way.
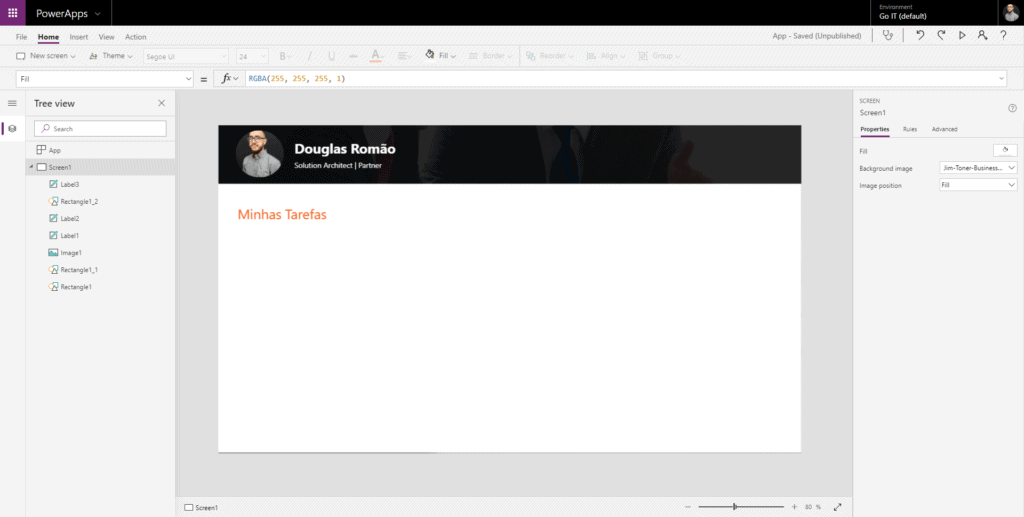
Example:
I hope you liked, share your thoughts and ideas about this and see you in the next post!
About the Author:
Microsoft MVP in Office Apps and Services, speaker and with more than 12 years of expertise leading software development teams as specialist architect using Microsoft and non-Microsoft technologies integrated (SharePoint, Project, .NET, Dynamics, Azure, Bot Framework, Azure Cognitive Services, Office 365, IBM Watson, Flow, Power BI, AngularJS, NodeJS, VueJS and others), working with several different case scenarios, different marketplaces and size of companies.
Founder and CTO at Go-IT, a Brazilian based company with an office also in Portugal and with customers in more than 3 continents, providing solutions and outsourcing related to Office 365 for Modern Workplace, PowerPlatform, architecture solutions for Azure and development with Mixed Reality through Microsoft Hololens.
SharePoint, Microsoft Flow and PowerApps Community Leader in Brazil, helping the local communities to have translated content by video, posts, and events.
Reference:
Romão, D. (2019). Connect user data in your PowerApps app with Office 365 connector Available at: https://douglasromao.com/2019/05/06/dados-do-usuario-atual-no-seu-app-do-powerapps-com-office-365-connector/ [Accessed: 10th April 2020].
Find more great Power Platform content here.