1. Introduction
Imagine, you would like to provision resources in Azure using Terraform, but you don’t have the tools, respectively the prerequisites installed on your local machine? A dev container, including all the mandatory stuff could help for that purpose.
In this post I’d like to show you how I’m using my dev container to:
- apply Azure CLI commands (login, updating a kubeconfig file)
- use vim for editing files
- use git for cloning a repository from GitHub
- apply Terraform commands for provisioning an Azure Kubernetes Service
- apply kubectl commands
2. Prerequisites
As prerequisites you’ll need:
- a Container Runtime Environment like Docker: https://www.docker.com/products/docker-desktop/
- Visual Studio Code: https://code.visualstudio.com/
- Docker Extension for Visual Studio Code: https://marketplace.visualstudio.com/items?itemName=ms-azuretools.vscode-docker)
3. Get Dockerfile and Build the Dev Container
I’ve created a Container, which is based on Ubuntu 22.04 and which has following tools installed:
- curl
- terraform
- vim
- git
- azure cli
- kubectl
Click at following link below, which leads to my GitHub repository:
GitHub – patkoch – devcontainer
and clone it on your local machine:
git clone https://github.com/patkoch/devcontainer.git
Afterwards, start a terminal of your choice, change the directory to “terraformonazure” and build the container:
docker build -t devcon-terraformonazure:1.0 .
After that, you should get a Container Image, named “devcon-terraformonazure” with the tag “1.0”. Prove that by running:
docker images
4. Usage of the Dev Container
In this section, I’d like to show how to use following tools:
- terraform: by provisioning an Azure Kubernetes Cluster
- vim: by editing a Terraform configuration file
- git: by cloning a repository from GitHub, which includes a Terraform configuration file
- azure cli: by login to Azure and to update the kubeconfig file
- kubectl: by showing the contexts and by listening all pods of the kube-system namespace
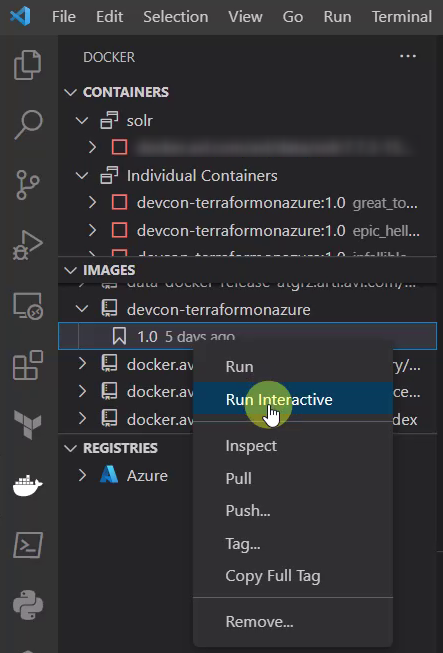
4.1 Start the Container with Visual Studio Code
As first step, start Visual Studio Code:

Select the “Docker” icon on the left and scroll to the “devcon-terraformonazure” image. Right click at the tag and choose “Run Interactive”:
A new terminal occurs, showing the run command for the Container:

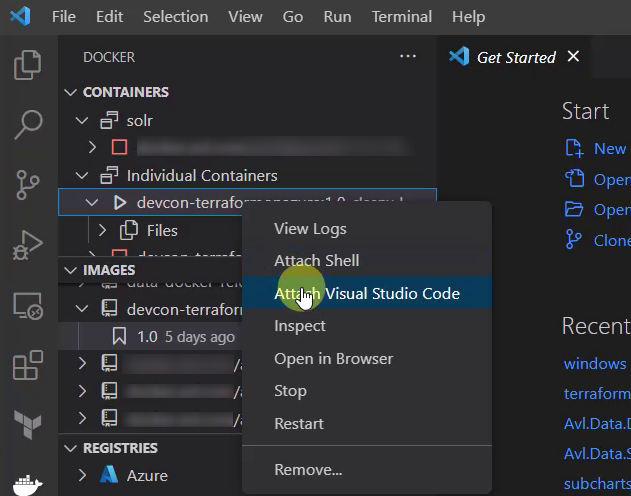
As next, go to “Containers”, there the running instance should be listed. Right click on the running instance and choose “Attach Visual Studio Code”:
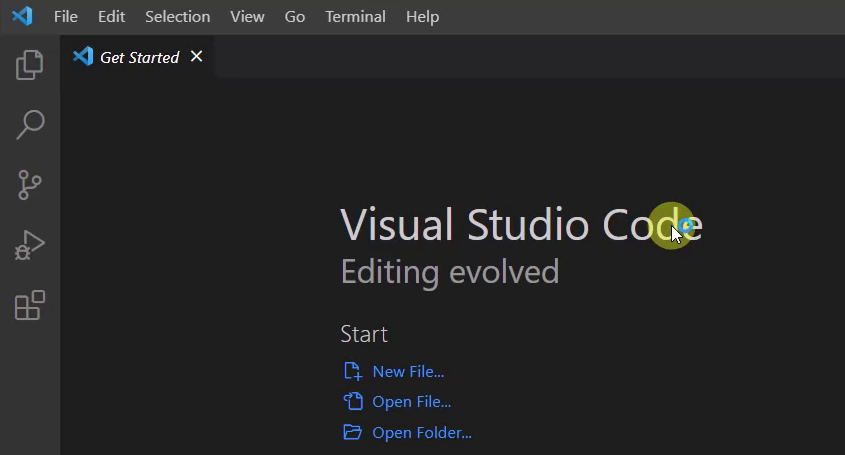
A new Visual Studio Code instance will be started:
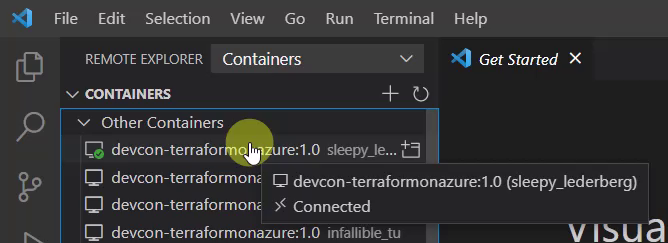
You should be capable to prove that you’re now connected to the Container:
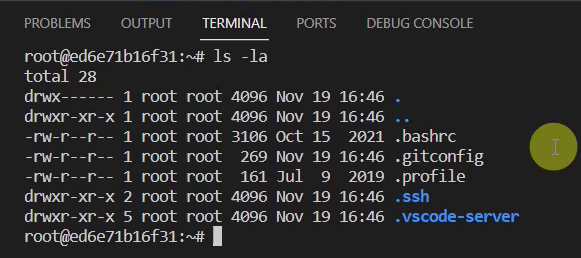
You can list the content of the current directory of the Container – this should be similar as seen in the picture below:
Now the Container is ready, let’s do some actions with the mentioned tools.
4.2 Azure CLI – Login to your Azure Subscription
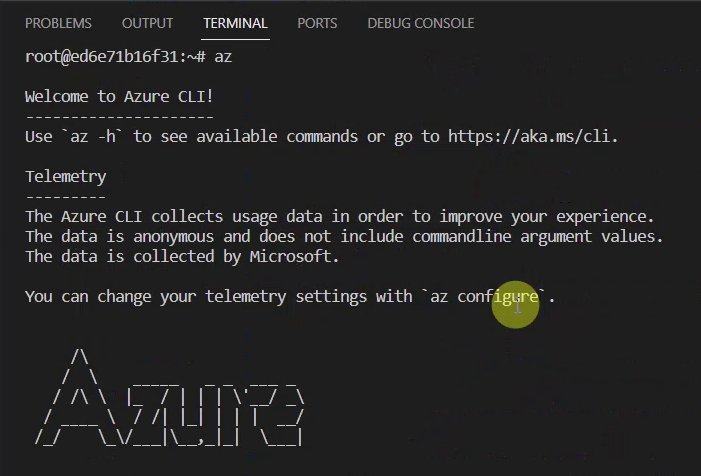
Prove that the Azure CLI is installed by simply typing “az” in the Terminal:
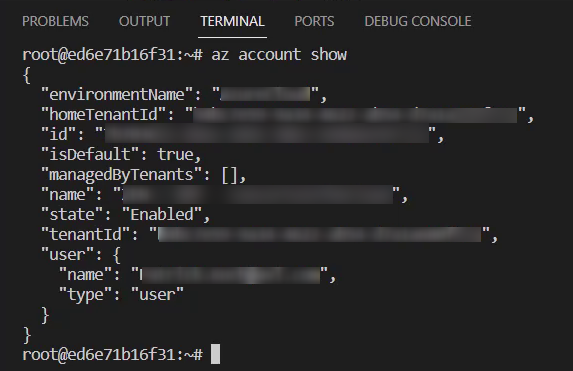
Let’s establish the connection to an Azure subscription. For that, I’d like to use the “azure login” command. Therefore, type:
az login

Confirming the command by pressing enter opens your browser. Select your dedicated account, which you’d like to use:

After picking you account, you should see logs similar as seen in the picture below:
4.3 Git – Clone a GitHub Repository
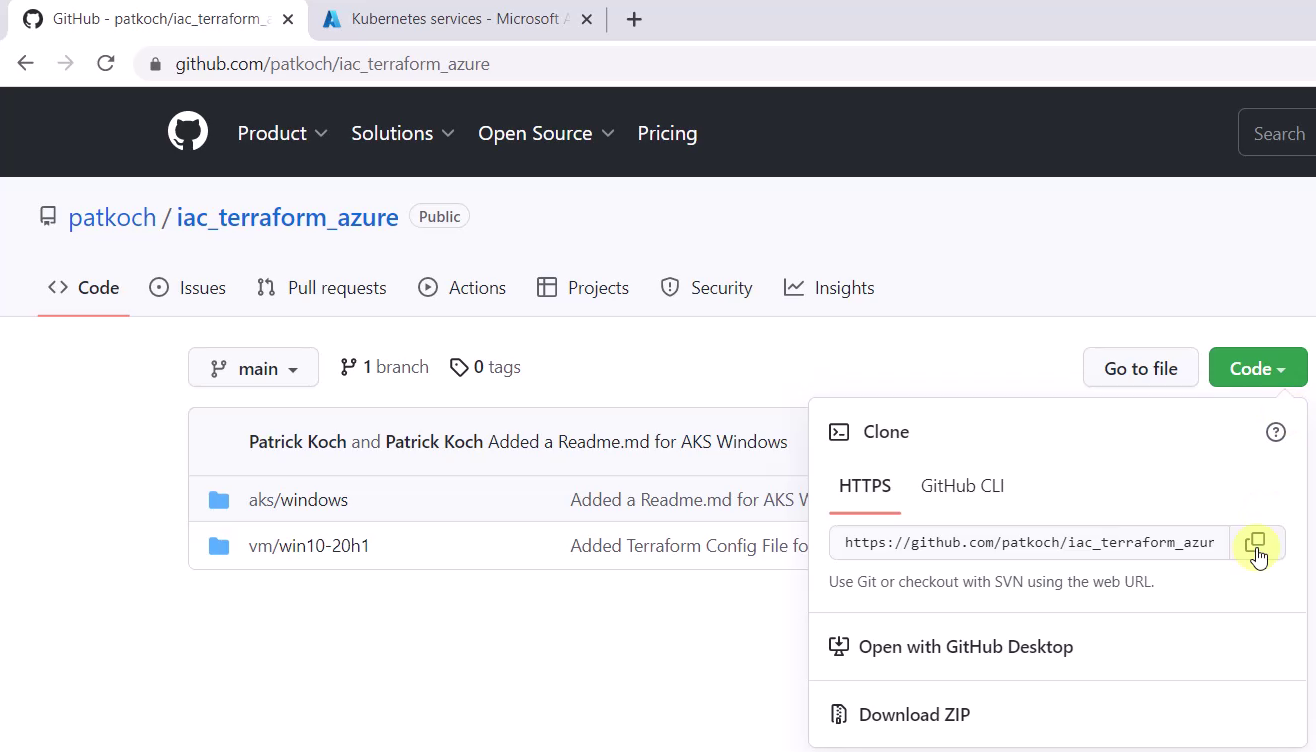
After conducting the login to the Azure subscription, I’ll need some code to work with. For that, I’m going to clone a GitHub repository.
For instance, I’ll go to https://github.com/patkoch/iac_terraform_azure – copy the web url for the git clone command:
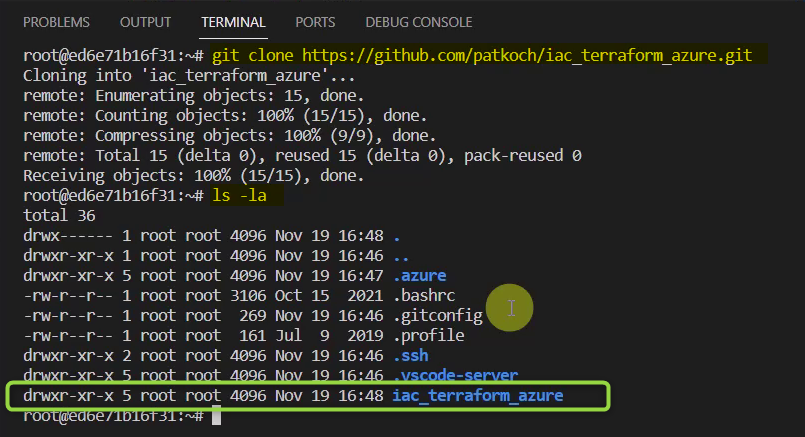
Switch back to Visual Studio Code and clone the repository by pasting the command in the Terminal:
git clone https://github.com/patkoch/iac_terraform_azure.git
Conducting that command should clone the whole repository in the dev container. The directory “iac_terraform_azure” will be available in the file system:
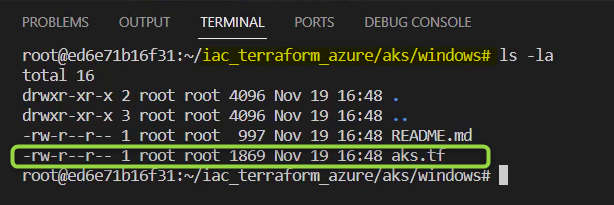
Change the directory to “/iac_terraform_azure/aks/windows” – the Terraform configuration “aks.tf” can be seen inside that directory:
4.4 Vim – Adapt the Terraform configuration file by using Vim
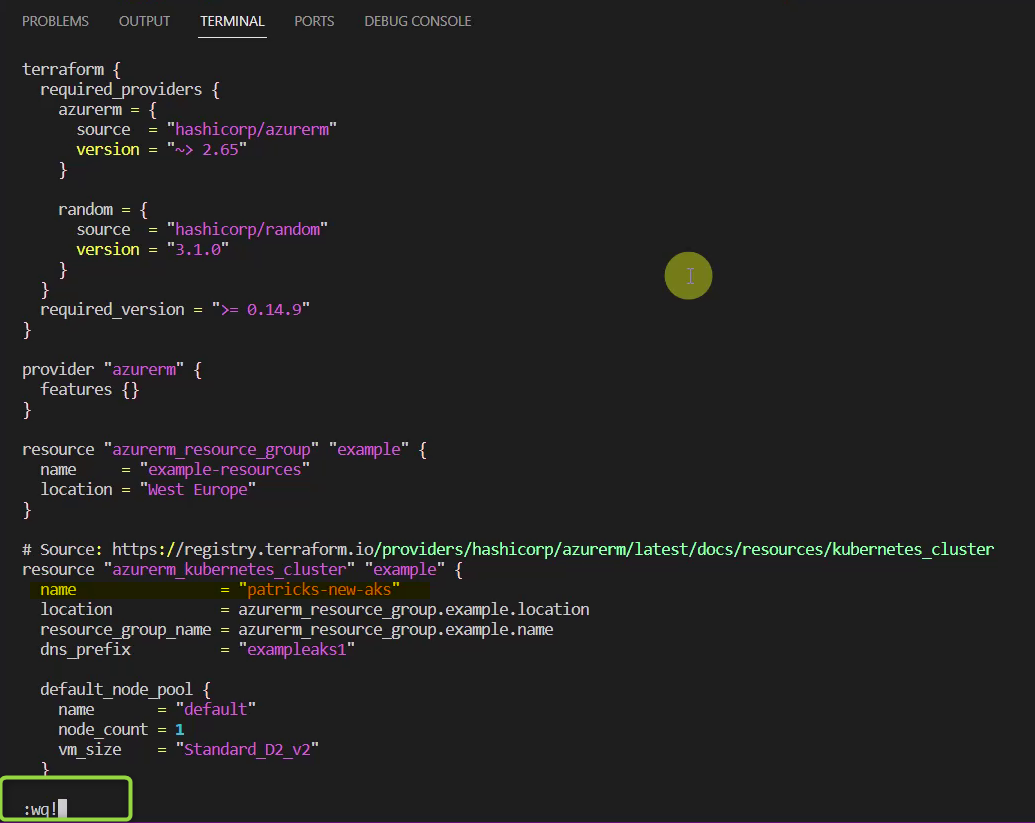
Imagine you’d need to quickly adapt some files in your dev container to find the proper settings. Vim would be a good choice for that.
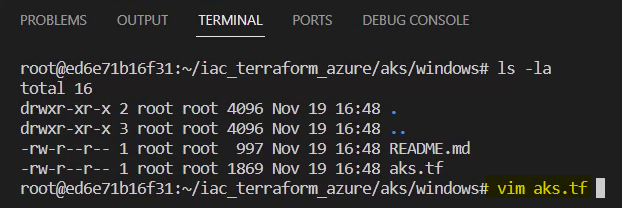
Type “vim aks.tf” in the Terminal and confirm it by pressing enter:

4.5 Terraform – Provision an Azure Kubernetes Service
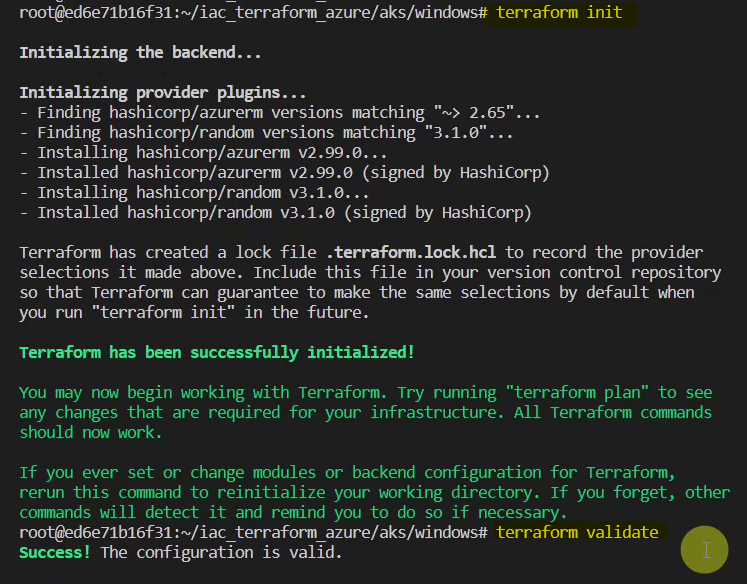
After starting the dev container, establishing the connection to the Azure subscription, cloning a repo from GitHub and adapting the Terraform file…it’s time to provision a resource in Azure. For that, I’m going to use Terraform.
I’ll conduct the commands:
- init
- validate
- apply
for creating an Azure Kubernetes Service.
Confirm the creation of the cluster by entering “yes”:
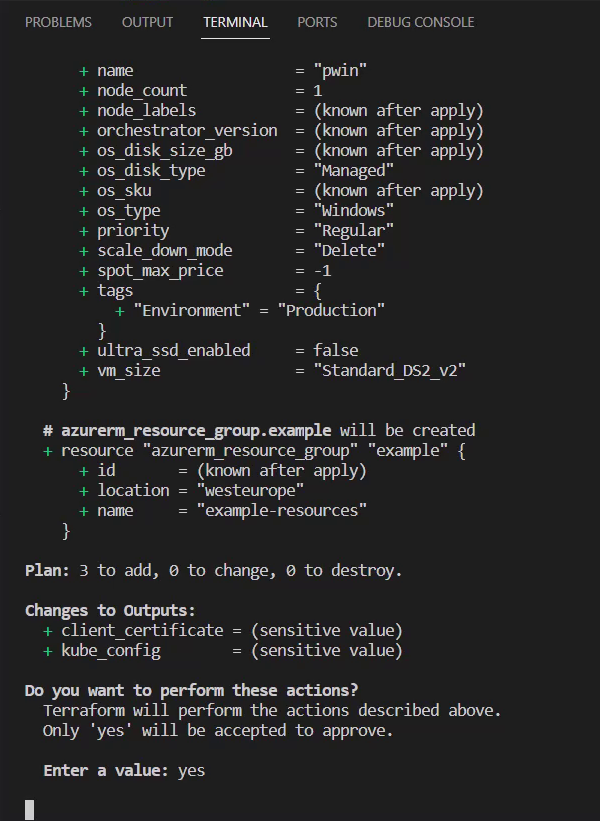
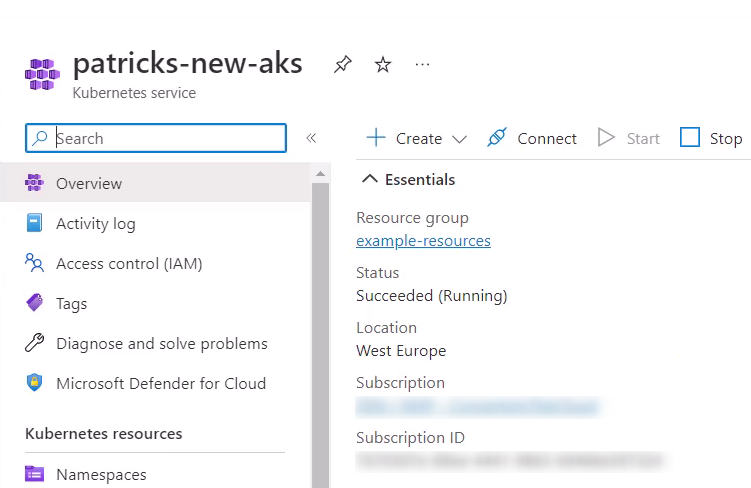
This leads to an Azure Kubernetes Service named “patricks-new-aks”:
4.6 kubectl – Apply basic kubectl commands
Finally, the usage of kubectl is missing. Before applying commands using kubectl, I need to update my kubeconfig file, as the Azure Kubernetes Service is newly created and unknown to the kubeconfig file.
Therefore, I’ll update the kubeconfig file by running following Azure CLI command:
az aks get-credentials --name patricks-new-aks -g example-resources

Now it is possible to use kubectl. Imagine I’d like to list all available contexts – for that I’ll conduct:
kubectl config get-contexts
This returns the current cluster:

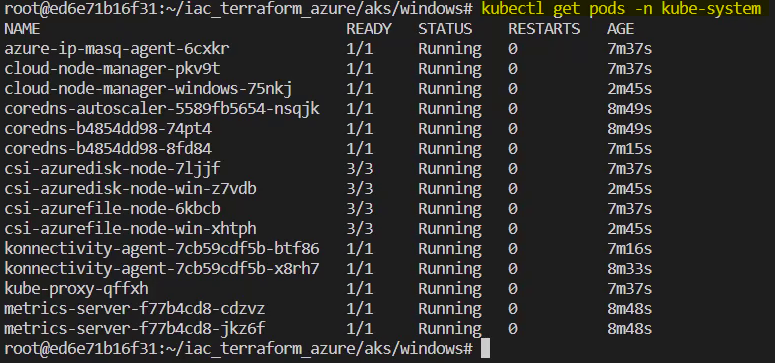
As next, I’d like to get all pods of the “kube-system” namespace. I’ll run following command:
kubectl get pods -n kube-system
This should lead to following result:
4.7 Clean Up and Closing the Dev Container
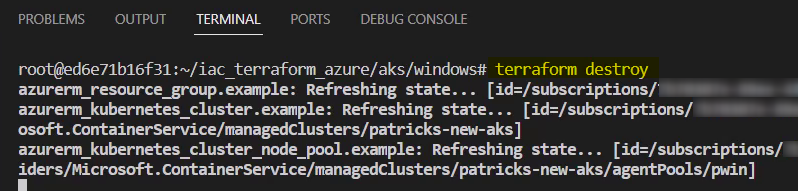
If there is no need for the Azure Kubernetes Service any more, let’s destroy it by running the proper Terraform command:
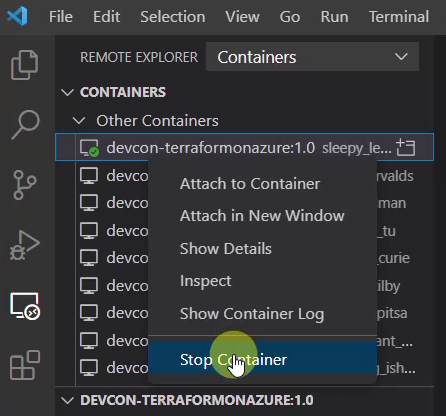
Finally, let’s stop the dev container by selecting “Stop Container” in Visual Studio Code.
Conclusion
I’d be glad if this dev container would be useful for someone – I really love to work with dev containers, which enables to quickly switch between different environment for development.
References
Azure CLI – learn.microsoft.com
Kubernetes.io – install-kubectl-linux
Docker – docker.com/products/docker-desktop
Visual Studio Code – code.visualstudio.com/
Marketplace Visual Studio – ms-azuretools
About the Author:
Hi, my name is Patrick Koch!
I’m a “Senior Integration Engineer Software”, Azure Hero, Speaker and Blogger working in the Automotive Industry. I love to practice DevOps and would like to share my experiences of implementations done in Azure:
Reference:
Koch, P. (2022). Getting started with a Development Container for Terraform On Azure. Available at: https://www.patrickkoch.dev/posts/post_24/ [Accessed: 12th December 2022].