- Part 1: Setting up your development environment
- Part 2: ngrok why and how to use it
- Part 3: Creating your first Microsoft Teams app (this one)
- Part 4: Configurable Tabs in Microsoft Teams
After setting up your development environment and getting ramped up with ngrok we will start developing our first Teams app. The quickest way to start is with App studio. App Studio is a Microsoft app from the Teams store especially created for helping you with Teams development.
https://docs.microsoft.com/en-us/microsoftteams/platform/get-started/get-started-app-studio
This will help you out when starting out with Teams development. Configuring the manifest can be overwhelming so I really recommend you check it out
Now let’s get started with our first Teams app. The quickest way to get started is with tabs. There are 2 kind of tabs:
- Static: This is for a 1:1 experience with a user. So, an individual user will only see this tab.
- Configurable: This is for usage in a channel or a group of users.
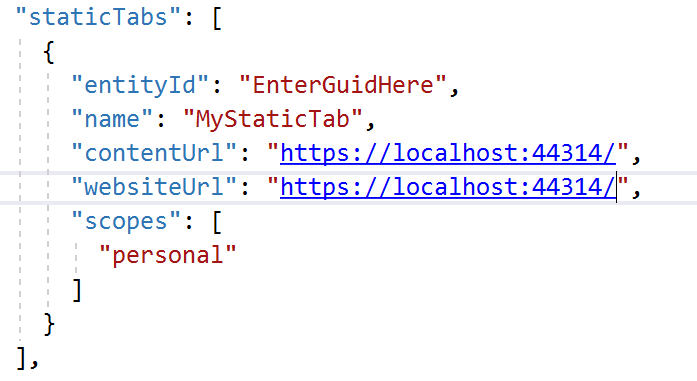
The simplest app for Microsoft Teams you can build is a static tab. Just add the following information to your manifest:
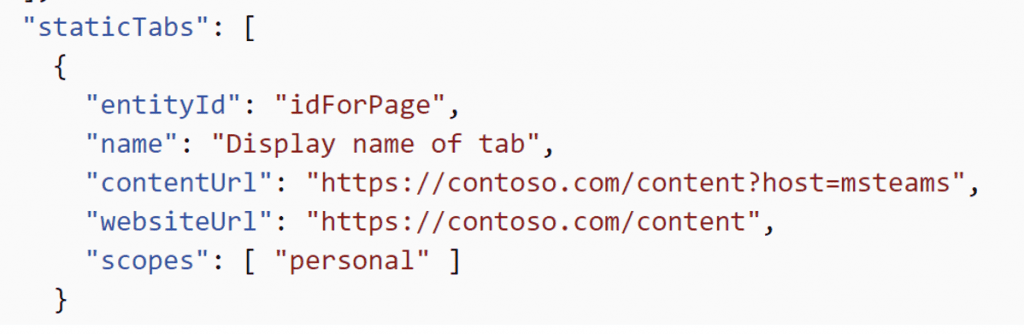
This will specify a unique id for the tab, of course it needs a name. The content url is what is shown in the Teams tab and the website url is what is shown when you want to see the full content (so if you click on the link) So also need to define the scope but since a static tab can only exist in a 1:1 scope it will always be the value of “personal”
Now for creating this simple app we don’t even need to code or create a solution but in the interest of this blog post series we will start out with a small solution that we build out to become one big Teams app.
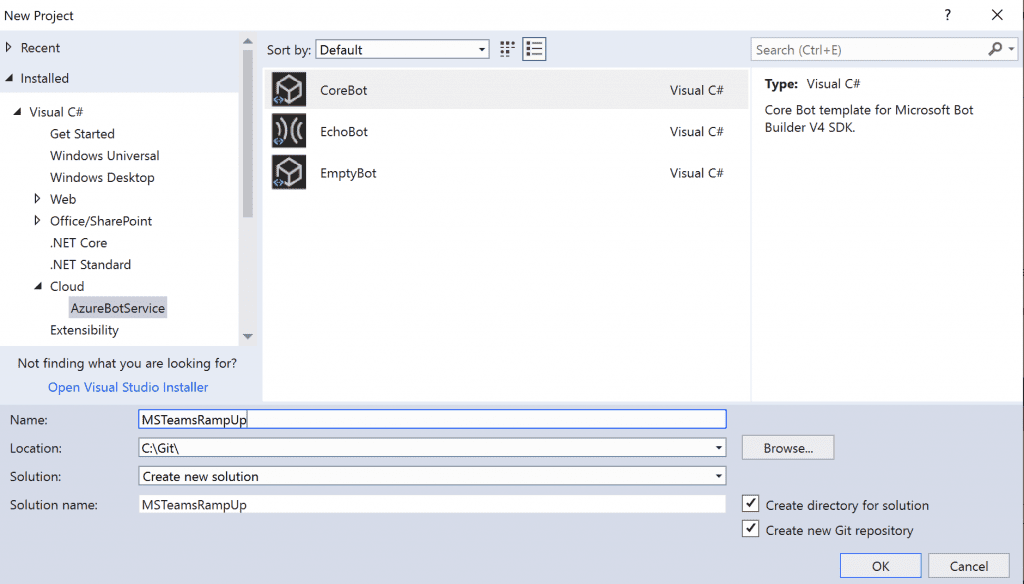
Start up Visual Studio and create a new project. Remember for Teams everything can also be done in Node.js and with Typescript. To get started there I recommend the Microsoft Teams Yeoman generator which will do the scaffolding for you https://github.com/OfficeDev/generator-teams
The project template we will be starting out with is a bot template. This is not required to create tabs but we will need it when we want to create bot’s for Teams. If the template is not part of your Visual Studio templates, you can download it here. https://marketplace.visualstudio.com/items?itemName=BotBuilder.botbuilderv4
In this example we will start with the “Core” bot template. In this a lot of boiler plate code is already setup. We won’t be using everything but this way you can easily extend this example if you want to build in some real functionality inside your bot.
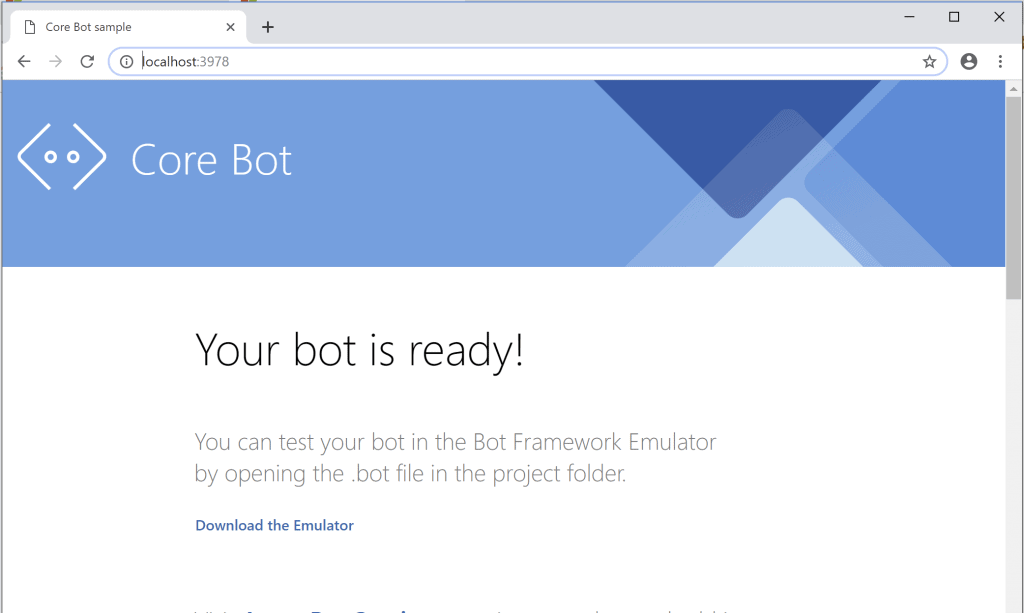
Now since this is a .Net core app our default page resides in the “wwwroot” folder. This is the one we are going to show inside our Teams app. Let’s make sure that the template is working and let’s just start up the solution.
This seems to be working.
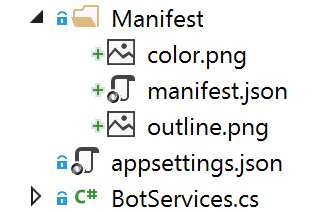
Now to create the manifest. A small trick that I always do (because you will need to make a lot of changes on the manifest) is creating a separate folder for this in the solution. Add a new manifest.json file and 2 logo’s for your app.
Now there are a few ways you can automatically create the zip package needed for Teams and this one is one of them.
Edit the project file
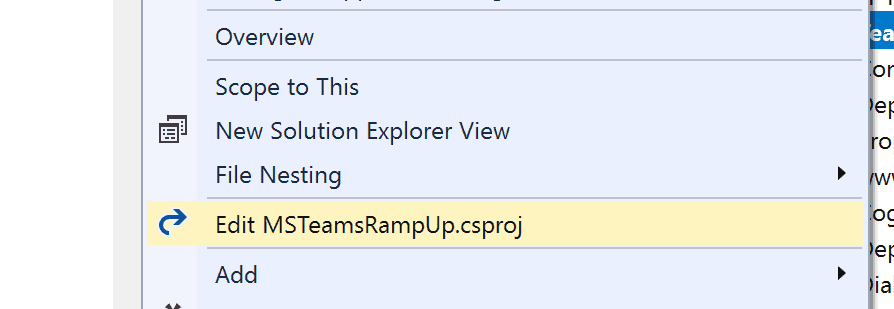
And add the following to the bottom of the file. Right above the last xml </project> tag.
Now for the contents of the manifest file. More information about Teams manifests can be found here
and an example of the solution that we are building can be found here

Now we need to specify our information in the static tabs section. Therefore we need to fill in the information in the corresponding section, but wait… it looks like MS Teams only accepts HTTPS endpoint in it’s manifest. This means that we need to start our project on an HTTPS endpoint. We can change this in the settings of the project.
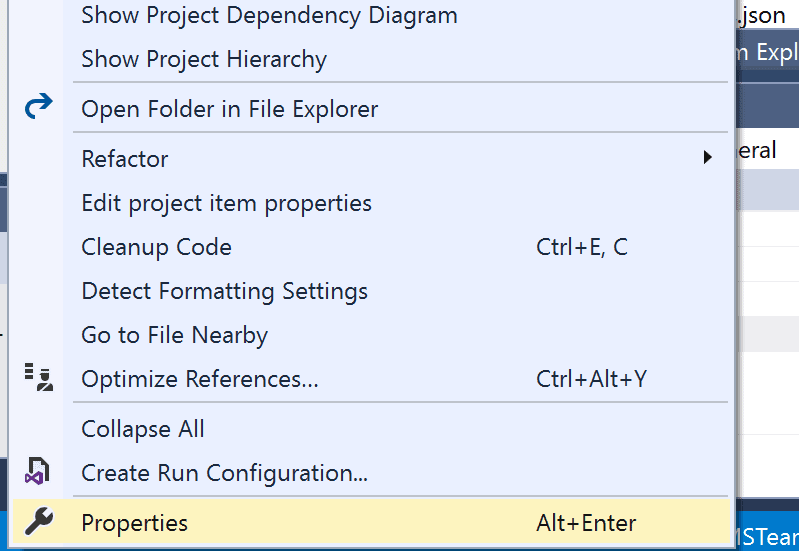
Right-click on the project and open up the properties pane.
And under the “Debug” section we can specify to use SSL.
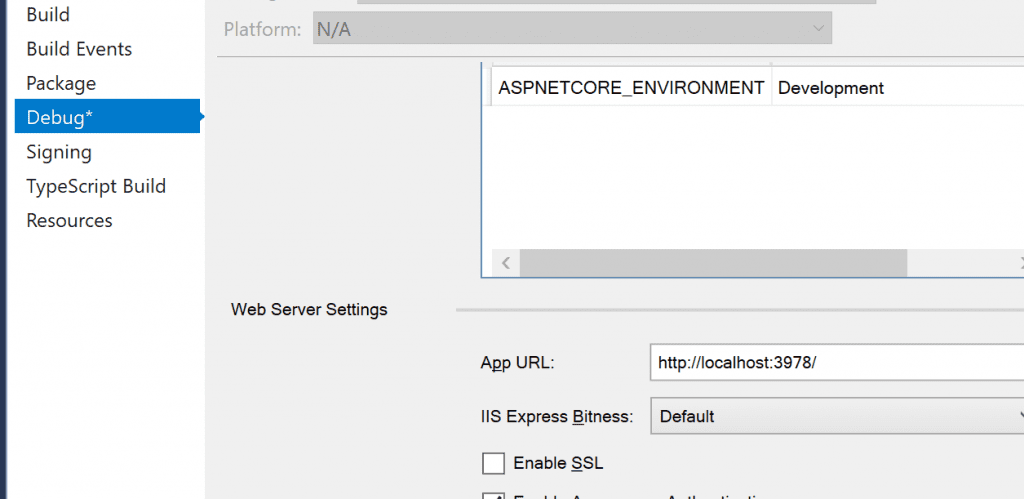
This will provide us with an HTTPS endpoint. First of all enter this information in the manifest static tab section under “ContentUrl” and “websiteUrl”. Since we are not yet differentiating between the page running under a Teams context or in a browser, we can use the same endpoint. If we were building an application which needed to behave differently in Teams than in a normal browsing session, then we could differentiate this here.
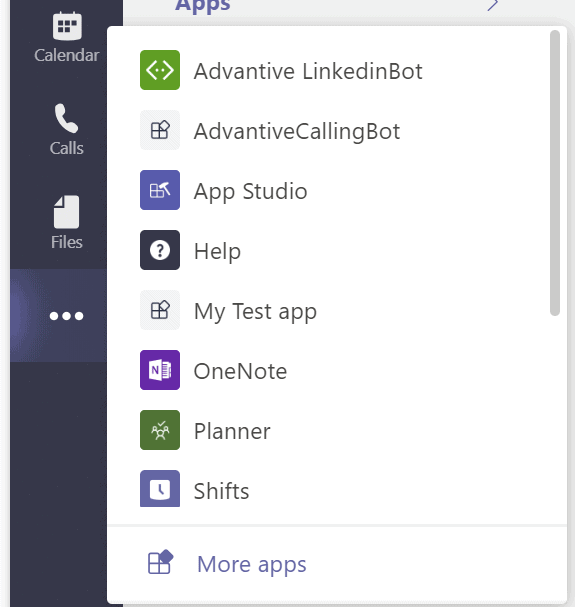
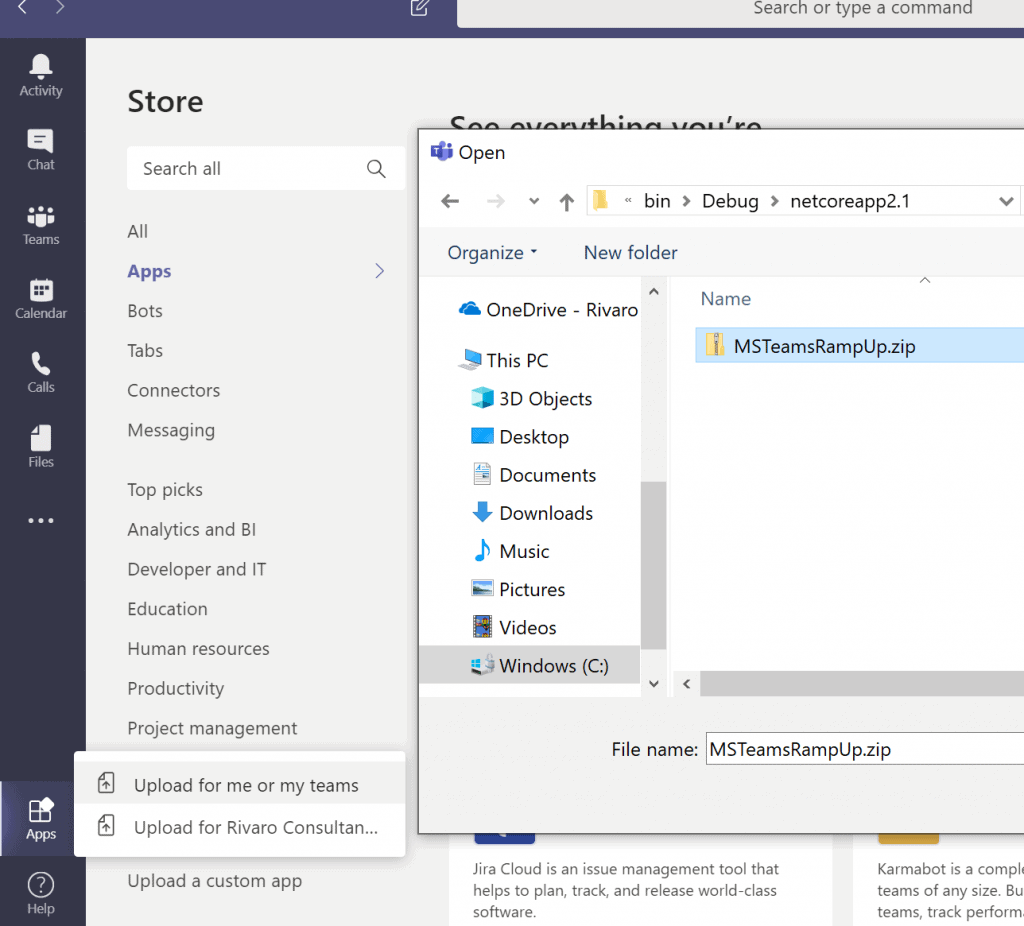
Now let’s test it out. Run the solution and sideload your first Teams app to Teams.

The zip file can be found in the “Bin” folder of the solution
Click install and open.
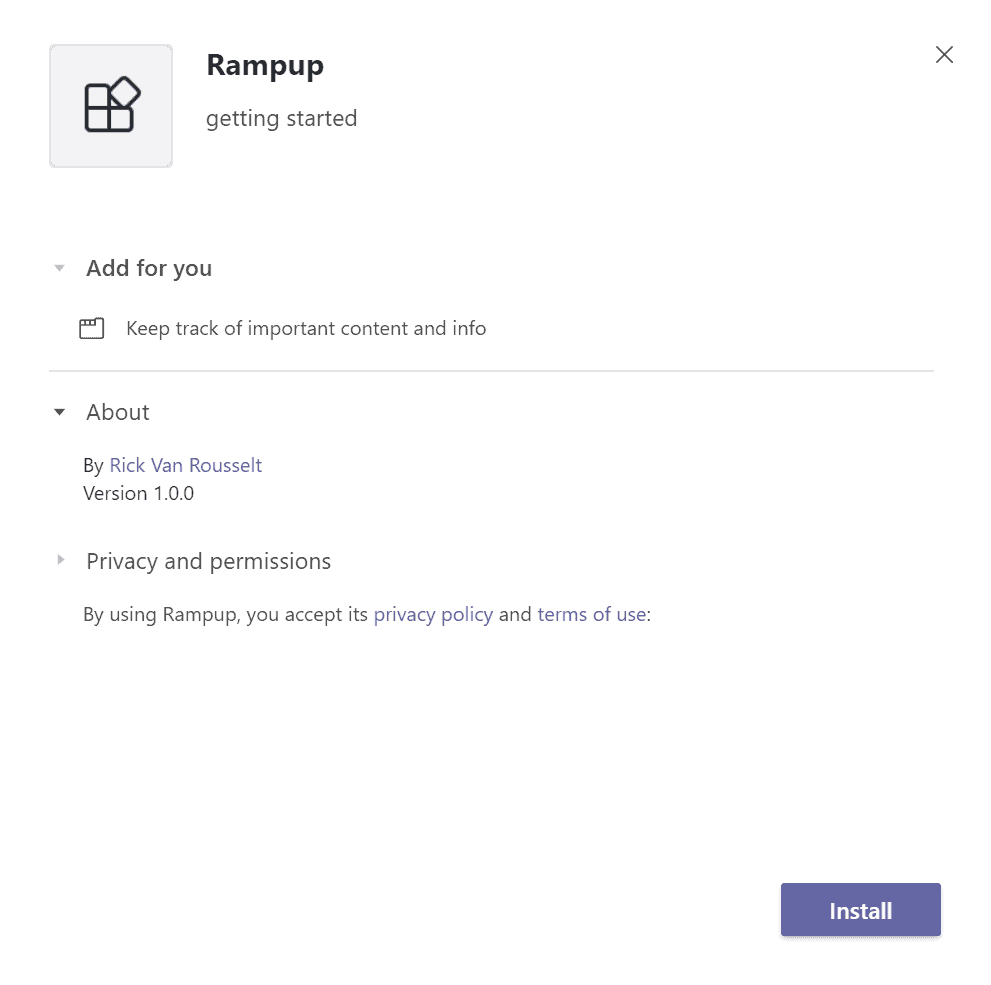
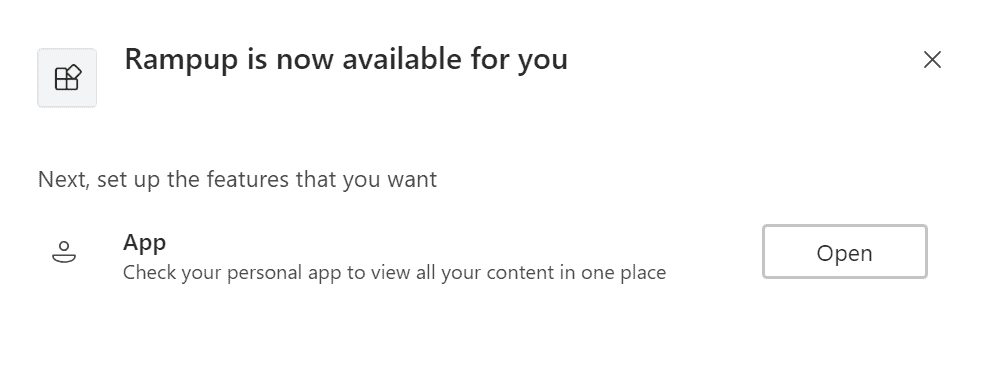
And we have our first Teams app with a static tab working
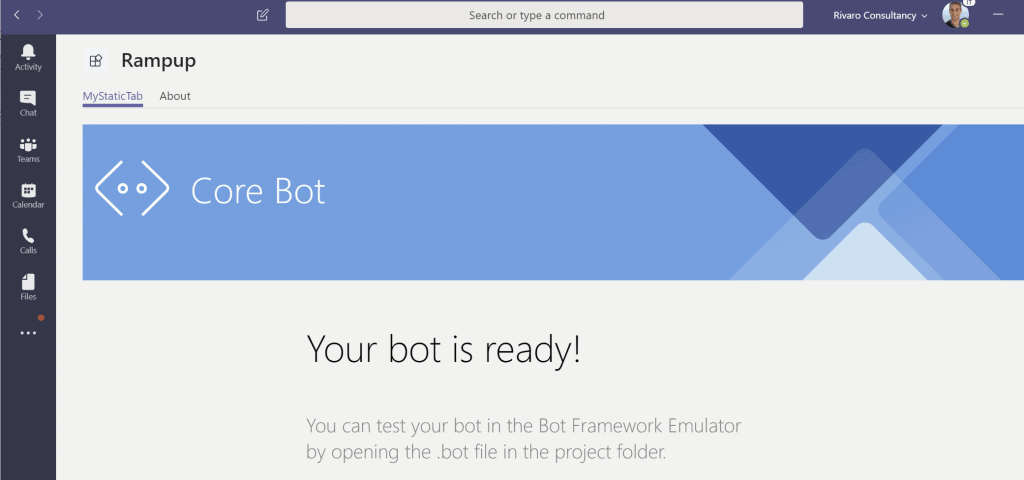
This of course is just a demo. The main objective here is that you get your application as a static tab in Teams. This can be an existing app and then you would just need to add the specific Teams items.
In the next post we will cover configurable tabs.
About the Author
I’m Rick and I am a SharePoint / Office 365 consultant living in Belgium. I’ve been working with SharePoint since 2007 and recently I’ve made the transition to Office 365. My main focus is development but as you all know… working with SharePoint requires you to know a little bit from everything.
I have started my own company called Rivaro Consultancy in 2014. This allowed me to shift my focus to Office 365. This pushed me to become a versatile expert in both SharePoint, Office 365 and all related technologies. My inquisitive disposition encourages me to continuously gain knowledge and share
insights with everyone that shares the same interests.
I’m currently working at Advantive where I am responsible for promoting the use of Office 365, SharePoint and Azure. This allows me to do talks all over the world which I love to do.
Reference:
Van Rousselt, Rick. (2019). Getting Started with Microsoft Teams Development – Part 3. Available at:
https://www.rickvanrousselt.com/teams-ramp-up-part-3/ [Accessed 19th June 2019].