What is the purpose of image generator chatbot?
I know, it’s a bit confusing because a chatbot is just a chatbot, but now creating an image as user prompts and it use OpenAI model.
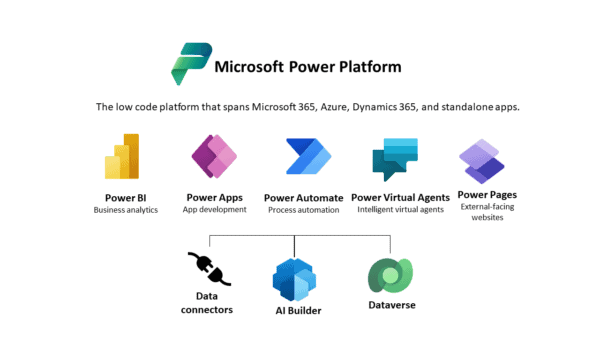
Microsoft has been announce plenty of AI-based feature on Microsoft service and tools in Build’23. One of them is regarding Power Virtual Agents: Generating answers, Co-pilot on PVA so on. Additionally, there were brand-new features enabled for Power Virtual Agents in this event. We will look closer one of them: Send an image to user via Chat Bot.
Creating an OpenAI Key
Before start development phase, make sure that you have valid OpenAI key which is generated. In order to do that please visit OpenAI manage API Keys page.
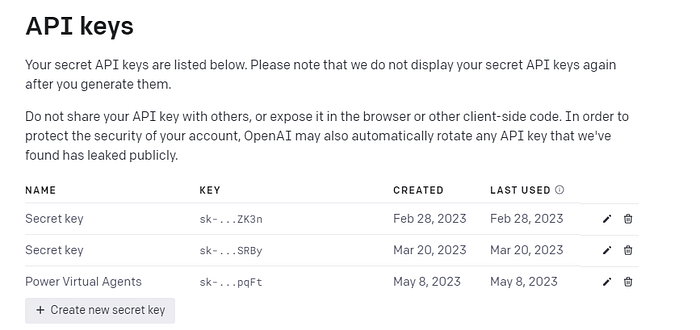
There are already generated keys on the list, I have created previously but if not, click on Create new secret key. Give it to a name and it will generate. Please save the key
Create Power Automate Flow
In order to handle the response, we should create a Power Automate flow then we will send the response to Power Virtual Agent bot.
Trigger identify
Identify the trigger that flow has been triggered, it should Power Virtual Agents because we get the prompt by PVA chatbot user

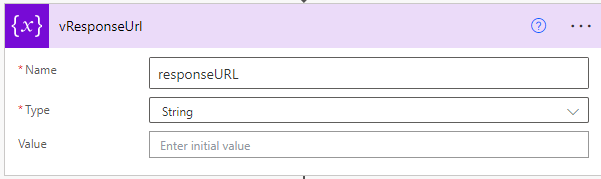
Initialize a variable
Send a request to API call
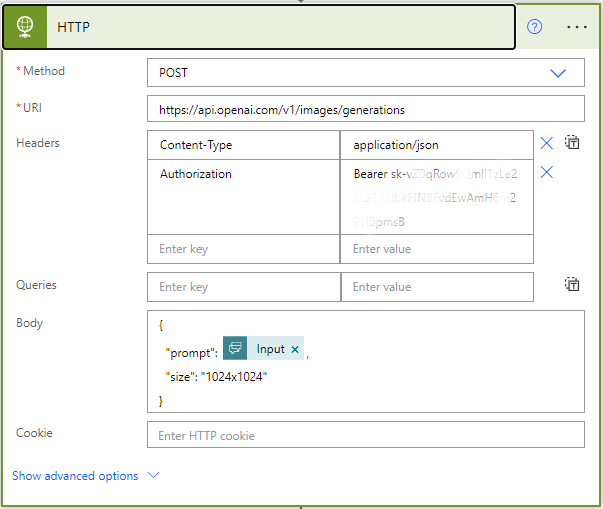
One of the important parts are Header and Body.
Header: Content-Type should be application/json and Authorization Bearer-[YOUR API KEY]
Body: Prompt should be dynamic content so you ought to add input that triggers get. If you changed the name of the input, please find it and add.
Set a variable
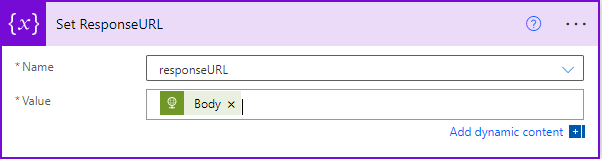
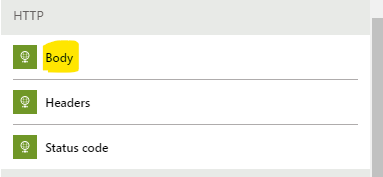
Dynamic content value should be Body because we will get the API response on that. We need to set it the variable previous initialize
Response Value
"data": [
{
"url": "https://oaidalleapiprodscus.blob.core.windows.net/private/org-8ZFf7PMmLv7q8xOKfTHpYDOd/user-Gk4msPwcJkLGwx5CKdGK4eGV/img-vj7dIOrVjTEXOoJn20THFt5H.png?st=2023-06-01T10%3A29%3A59Z&se=2023-06-01T12%3A29%3A59Z&sp=r&sv=2021-08-06&sr=b&rscd=inline&rsct=image/png&skoid=6aaadede-4fb3-4698-a8f6-684d7786b067&sktid=a48cca56-e6da-484e-a814-9c849652bcb3&skt=2023-05-31T20%3A31%3A13Z&ske=2023-06-01T20%3A31%3A13Z&sks=b&skv=2021-08-06&sig=duXGc54jWlIV5K3ih5jbCK1QR1f1hIlcip64FBDx%2B4M%3D"
}
]
Add Compose action
You need some configuration regarding the returned response, we will use it to do that expressions.
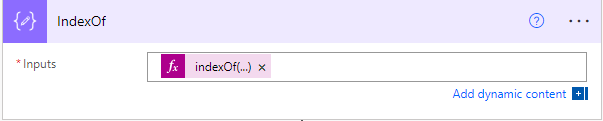
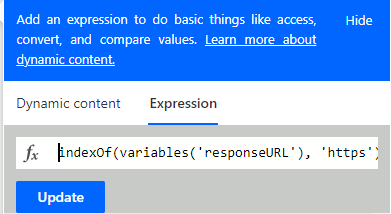
indexOf(variables('responseURL'), 'https')
IndexOf functions find the specified string values inside of the returned response. It’s enough the catch ‘https’ phrase inside of it. So, paste it expression to expression bar.
Slice response URL
Add a compose action again, and we will use three different expressions now: replace, slice, outputs
replace: expression is used to replace specific text or characters within a string with another text or characters. It allows you to modify the content of a string based on a defined pattern.
slice: expression is used to extract a portion of a string or an array. It allows you to select a specific range of characters or elements from the original string or array.
outputs: expression refers to the output values of a previous action within a flow. It allows you to access and manipulate the data generated by the previous step in your flow.

replace(slice(variables('responseURL'),outputs('IndexOf'),600), '"}]}','')
Paste it expression to expression bar.
Return the value to Power Virtual Agent bot

Placed the Slice ResponseURL action to this scope. You can change the name of return values that we send it to Power Virtual Agent. We will catch it on Power Virtual Agent.
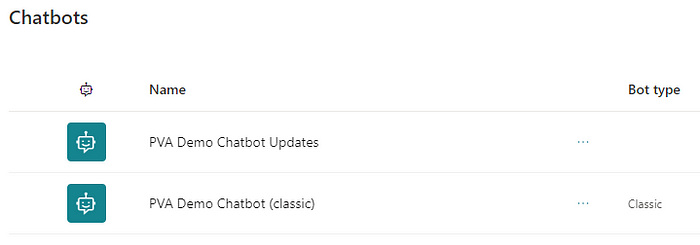
Create a Power Virtual Agent Bot
In order to create a chatbot that has sending image, be aware of that creating the bot should not classical version of PVA. Sometimes environment create classic chatbot but you can convert it.
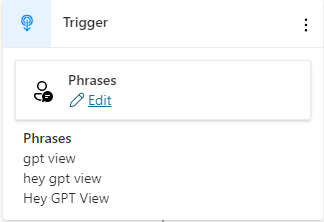
Create a topic and create some triggers.
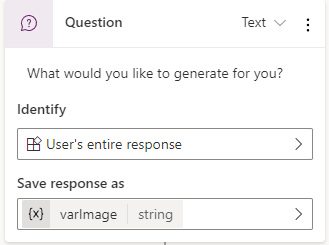
Add a question to ask users input
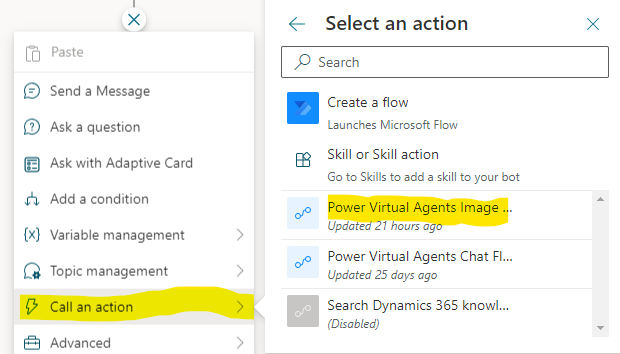
Add an action. It provides to using Power Automate that you previously created

Input is a user’s prompt, Outputs is a returned value by Power Automate.
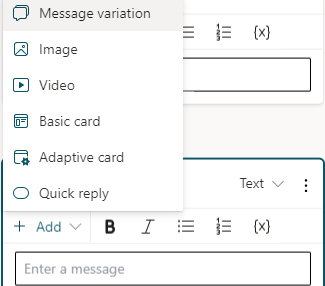
Add message action with image
A new feature of Power Virtual Agent is adding your image inside of the message action. In order to do that just add message action and select image.
After selection image inside of the message action, you need to do last thing. Add your message and image of the URL that is returned API call. Adding image as phrase, you should click on FX symbol.
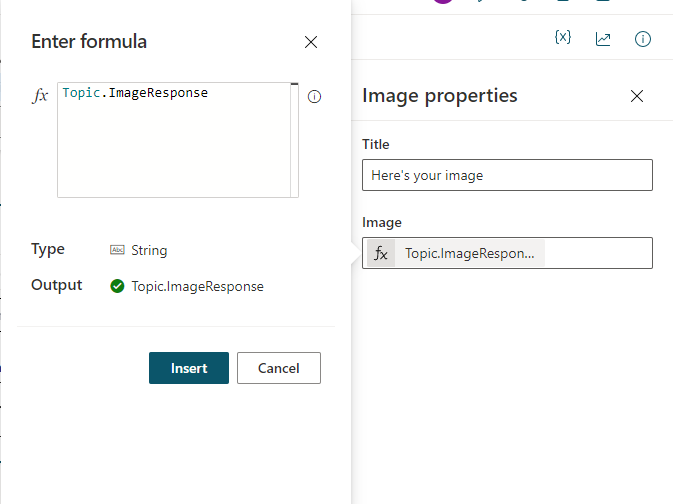
This is the second major update on Power Virtual Agent. You can add your Power FX code to creating more dynamic contents.Topic.ImageResponse
Test your bot
Time to testing your chatbot which is creating an image. Let’s have a look
Let’s some funny things!

About the Author
Power Platform Developer | Digital Citizen | Data Enthusiast | TechInLove —
Reference
Dereli, L., 2023, Power Virtual Agents: GPT Enabled Image Generator on PVA, Blog.gopenai.com, Available at: https://blog.gopenai.com/power-virtual-agents-gpt-enabled-image-generator-on-pva-441be380213d [Accessed on 12 September 2023]
STAY UP TO DATE

Not a member? Sign up today to unlock all content.
Subscribe to our YouTube channel for the latest community updates.