To recognize images in SharePoint Azure Computer Vision can be a great help. In this post an example.
What is Azure Computer vision
Table of Contents
- What is Azure Computer vision
- Setup Azure Computer Vision
- Setup your library in SharePoint
- Create a flow with Azure Computer Vision
Azure Computer Vision can be used to recognize the content of images. Within the Azure platform, images can be processed and the Computer Vision services will give you text describing the image.
in my example today I will create a list of images in SharePoint, but the images could be stored anywhere.
Just imagine your security camera recognizing your family and the alarm going off when someone else approaches your property. Poor old milkman, delivering the milk to your door step.
Setup Azure Computer Vision
Before you can create a flow you will have to setup an ACV service in Azure.
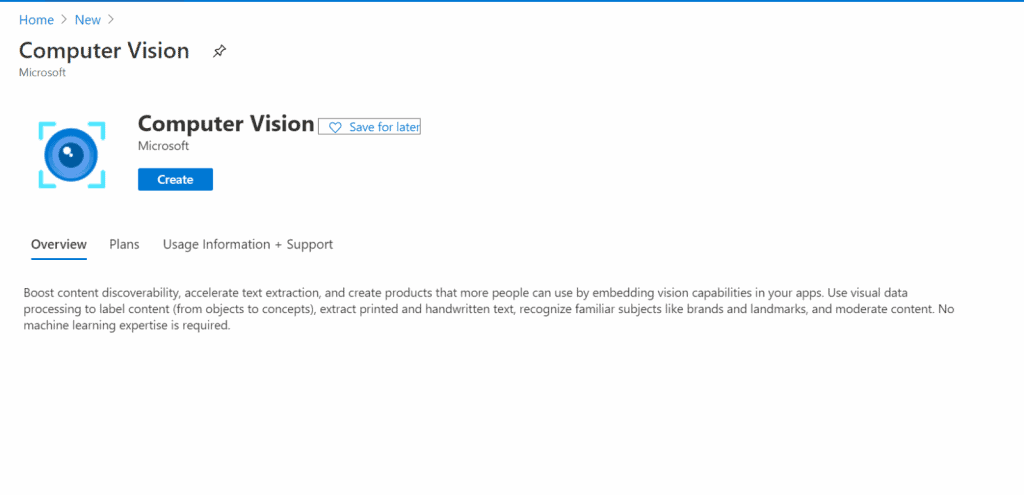
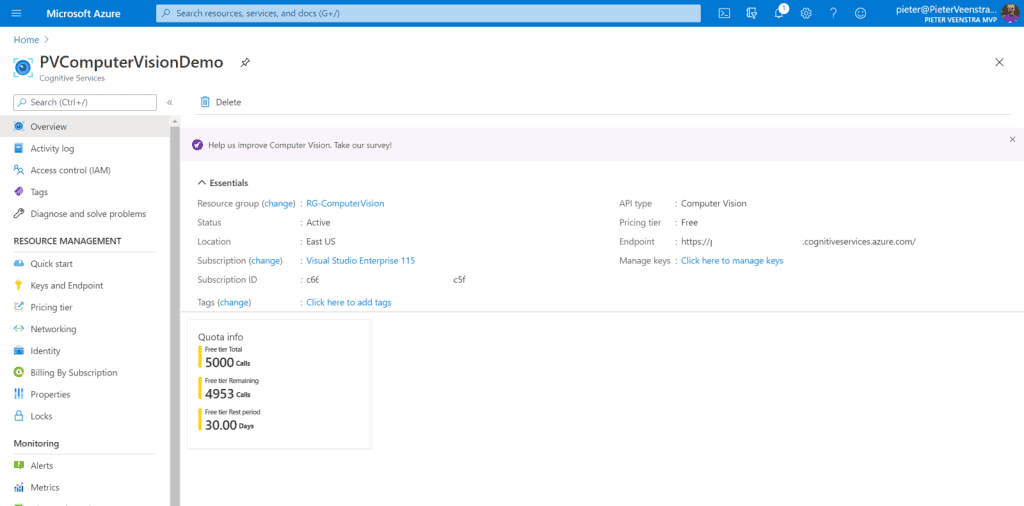
To do this go to https://portal.azure.com and then create your Computer Vision setup

This isn’t too complicated. Once your done. you will need to collect a key and an endpoint within the Keys and Endpoints section found in the left hand menu.

And that is it. time to setup SharePoint.
Setup your library in SharePoint
Within SharePoint I created an Image library and called this list fruit. For me this looks like this. Are you getting hungry yet?

My files are called 1,2,3,4,5,6.jpg and that of course isn’t very helpful. I want to give these files all some metadata that describes the images.
Create a flow
The first part of the flow is reading the images.


In the above Apply to each we will step through all the images supplied by the Get files action.
And now we get to the image recognition part of the flow.
Using the Describe Image Content we can now analyse the image that we retrieved from each file.

Then the flow can be completed and the title property is set on each of the files.

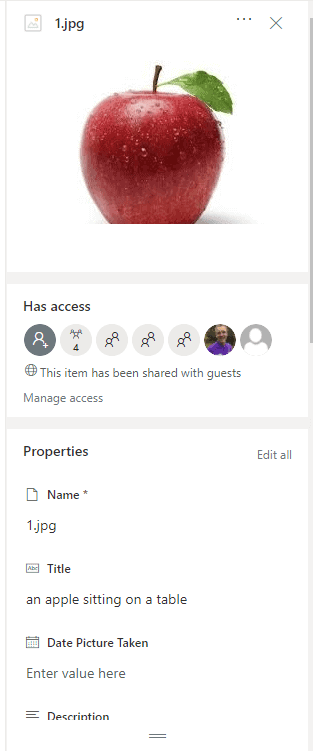
Once this flow has run the title of my red apple image is changed to “an apple sitting on a table”

As all the fruit is being processed, the other images are also labeled with their descriptions.

This blog is part of Azure Week. Check it out for more great content!
About the Author:
For a long time the title of this site mentioned all the Microsoft technology that I’m involved with. But the title SharePoint, Dynamics 365, Project Server, Office 365/Microsoft 365, Skype for Business, OneDrive, PowerShell and Nintex didn’t really catch it all as I get involved in more parts of the Microsoft products stack and related software.
Reference:
Veenstra, P. (2021). Use Azure Computer Vision to name your images with Power Automate. Available at: https://sharepains.com/2020/09/28/azure-computer-vision-power-automate/ [Accessed: 8th July 2021].


