In this article I’ll describe built-in archiving in SharePoint / Office 365. I’ll cover topics like on how you can use Site / Library based retention to fulfil company or legal requirements.
Background
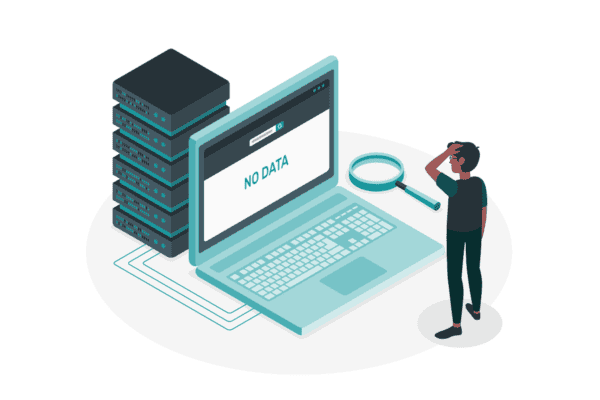
It’s often the case that we’re creating a SharePoint site for a project. Typically, they last for a specific amount of time, which we refer as “active” time. After this active time, it may still be need for an additional period – but just read access. Finally, there’s project data may not be actively needed any more, either read or read/write access. This is a Site or document lifecycle.
Image 1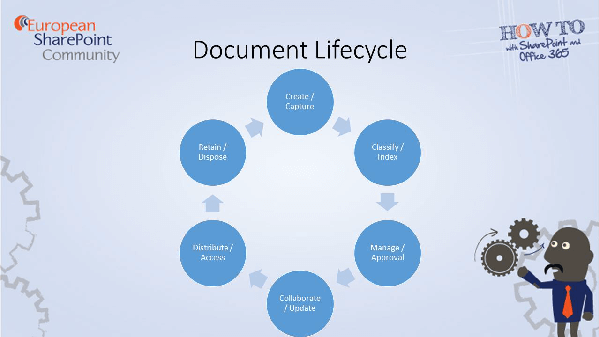
But when is it safe to delete it? When do we know if someone is still changing content or even worse to detect, when is the time content isn’t being accessed anymore? And last but not least there might be compliance regulations you need to consider, such as specific data like data with personal records or accounting data you need to store for a specified time – by law.
Today we’re looking at some of those considerations on how you could implement them using out-of-the-box features.
General concept
In general, in SharePoint archiving functionality is called “retention”. We will find retention settings at different levels such as:
* Site retention
* List and Library retention
* Folder based retention
* Content Type
Features
All archiving functionality are features, which are enabled by default in a newly created Team Site. Here are the Site collection features which needs to be activated, just in case you’re using a different or modified template:
* Site Policy
* Library and Folder Based Retention
Site retention
This is the easiest scenario and configured within 5 minutes. Let’s assume that, for compliance reasons, you need to store accounting data such as invoices for 10 years.
From the lifecycle perspective it’s pretty boring as the company receives an invoice, it will be scanned (if it isn’t digital), needs to be approved, and payment needs to be processed – that’s all, more or less. No knowledge sharing, no modifications, no co-authoring, …
A nice point is, that this can be triggered manually as well, e.g. I’ve created a workspace to collaborate on an opportunity for a project. Let’s assume we don’t win the opportunity so the site can be closed manually very quickly while read access is still possible for the next 6 months before it’s wiped permanently.
To configure retention settings in a SharePoint environment, we need to create a dedicated Site Collection for this purpose such as “./sites/projectx” – it doesn’t need to be a specific template.
Site Policies
Before we can start to enable Site retention, either automatically or manually, we need to define at least one Site Policy at Site collection level.
At the Site collection – Site Settings – Site Policies:
Let’s define our compliance or lifecycle policy:
Image 2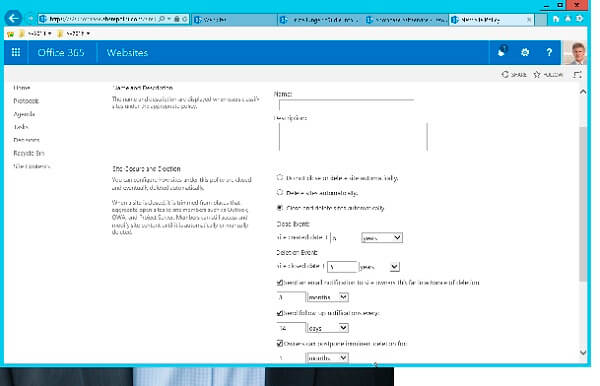
Next we can specify how and when “close” and “delete” should happen, and if the Site should be read-only when closed (recommend). You can use this as a staged process.
Site closure
This will set an object to read-only. E.g. if a project Site is closed, it is still available for a certain amount of time, e.g. one year. This will allow business users to react if this is a mistake without any complicated backup and restore operations as you will always have the possibility to reopen a Site.
Instead of deleting a Site, it’s much safer to close it, wait a year and if no one complains – delete it (even automatically)
Site deletion
This is an optional step and is the last before disposition – deleting content. This could be used to comply with regulations and set to 10 years.
The other settings are around notification and reminder, so the Site Collection Administrator gets notified in advance.
This Site Policy can be used on any Sites (Webs) within this Site collection.
Enable Site retention

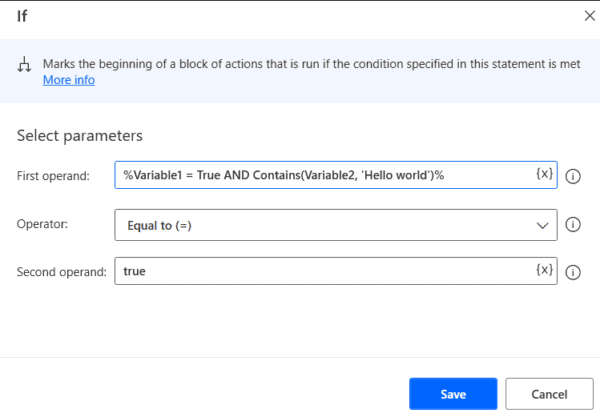
As this will archive the complete site, it is not ideal for my invoice example. Site retention is used to
Image 3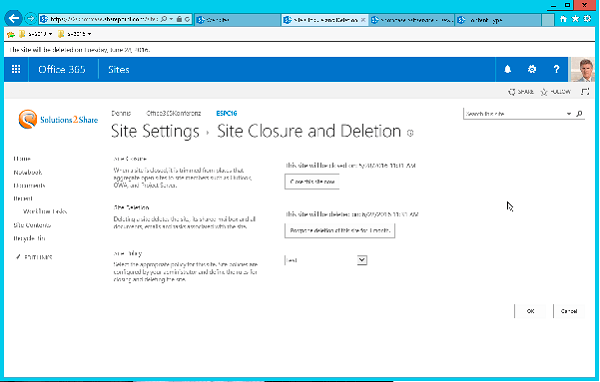
As this will archive the complete site, it is not ideal for my invoice example. Site retention is used to when a project ends. There can be a staged archival, which is covered in Site Policies.
Library retention
A smaller scope can be configured on a per library basis.
Library settings – Information management policy settings.
The first setting you’ll find is a choice between “Content Types” and “Library and Folders”. We will cover Content Types later, so select “Library and Folders”.
Image 4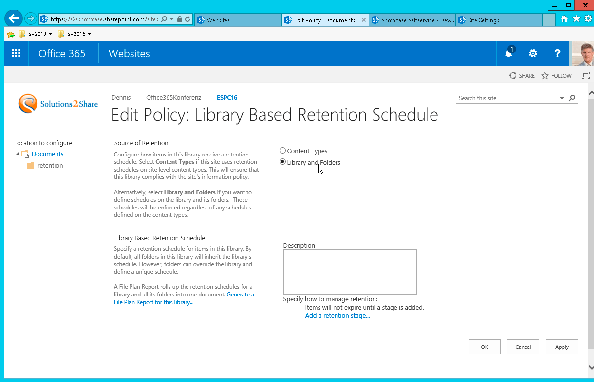
Here you can choose “Add a retention stage” where you have multiple options to react on objects. The simplest one is Date Created + amount of time then delete.
Image 5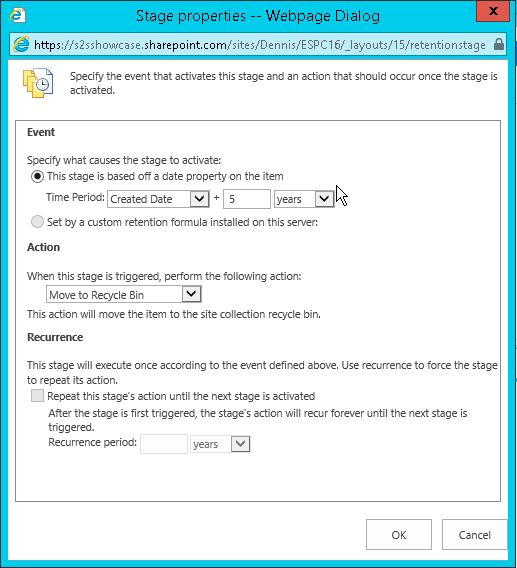
This will be applied immediately to all files and folders within this library, except you create an exception on a folder.
Folder based retention
A smaller scope can be configured on a per folder basis.
Let’s assume you already navigated to Library settings – Information management policy settings and have chosen “Library and Folders”.
Image 6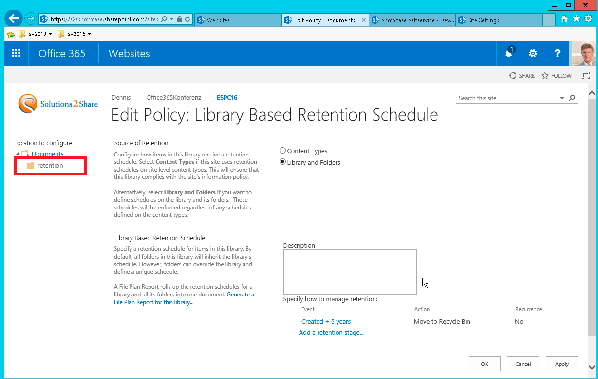
On the left site you have a tree view where you can navigate through the folder structure. Simply select the one of your choice. Then you can choose “Add a retention stage” where you have multiple options to react on objects. The simplest one is Date Created + amount of time then delete.
Content Type
This is the perfect solution for our invoice example, as the retention trigger will start on a per document basis rather than on a whole library or site which contains lots of documents.
The drawback is, that it’s most time intensive to configure as you need to be aware of content types, configure them and publish them using content type hub. You should be familiar with those concepts.
Let’s assume we’re doing the configuration once in the Content Type Hub (in Office 365 it’s always “./sites/ContentTypeHub”) and then publish the content type across SharePoint. This is the most consistent way to make a specific template or document type available to your business users while making sure to comply with company regulations.
Site Settings – Content Types – <Select your Content Type, e.g. invoice or create a new one which is based on a document>
Oh and by the way, you don’t need to configure it through the Content Type Hub, you can also just configure a Content Type at the Site which you would like to use the template for. Using the Content Type Hub is the more centralized way.
Image 7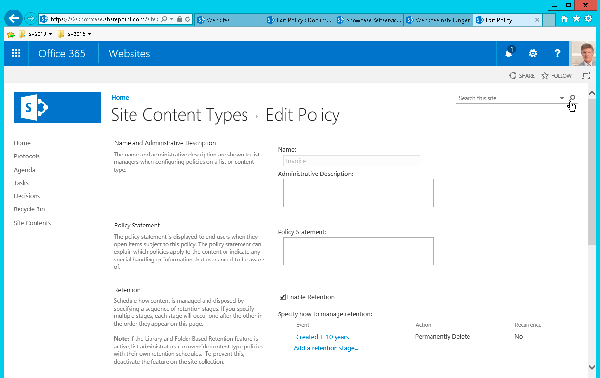
Publish the content type
Site Settings – Content Types – Manage publishing for this content type – Publish or Republish.
Keep in mind that your change will be updated once a day by SharePoint timer job (yeah in Office 365 out of our control – wait a day). After that, this document template will be available across SharePoint.
Image 8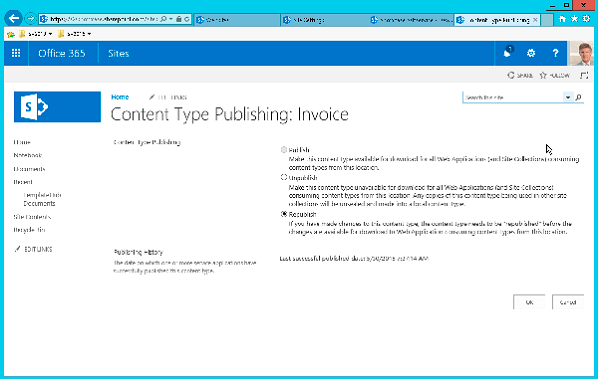
Summary
SharePoint offers an easy method to manage your lifecycle of Sites and documents. Especially closing a site is a great feature as it offers a “soft-delete” for the site owner. We all know that this process is a simplified way to support the business and IT (think about Backup and Recovery). If you don’t have any specific requirements on retention, I can recommend to still use Site Policy with a long time and the possibility to manually close i
About the Author:

Dennis Hobmaier
Dennis Hobmaier is Senior Consultant at Solutions2Share. He has more than 14 years of experience in IT Enterprise environments (10 – 50.000 clients) and serves customers across different branches. As a MCSE SharePoint he has deep knowledge in the areas Microsoft Active Directory, Windows, SharePoint and Office 365. He’s happy to share his project experience with you.
Visit Dennis’s Blog here: http://www.hobmaier.net/