One of the great and long standing features of Dynamics 365 Customer Engagement (aka CRM) is the integration with Microsoft Outlook. Using the Dynamics 365 App for Outlook you can synchronize contacts, link meetings and appointments and track emails against records so they will show up in the timeline.
What about Power Apps?
Did you know that this feature/functionality also exists for model-driven Power Apps built on “vanilla” Microsoft Dataverse?
This fact gets missed by folks new to building Power Apps, partially due to the naming conventions, and also perhaps by not being aware of this feature.
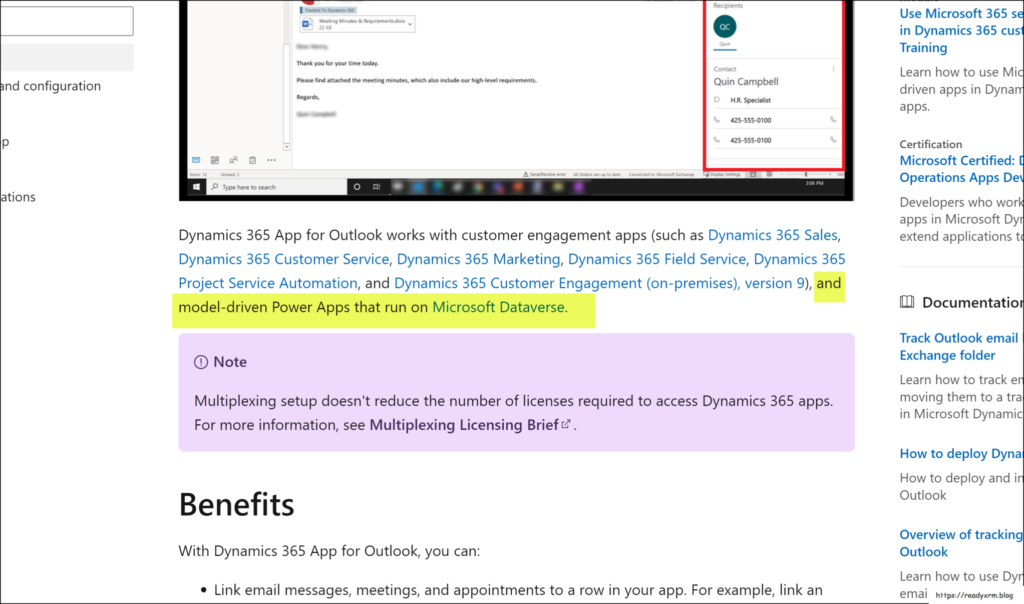
Despite the fact that the app is called “Dynamics 365 App for Outlook” it can still be configured and used with regular model-driven Power Apps. Don’t get hung up on the name.
This is not a new feature. Integrating Outlook to Dataverse goes back to CRM 1.0 (long before the business data service layer was called “Dataverse”). And to be fair, it was clunky and the cause of many support calls. Thankfully it has evolved and now is quite stable.
The fact that you can use the Dynamics 365 App for Outlook is even clearly spelled out in the official Microsoft documentation.
Configuring Dynamics 365 App for Outlook for model-driven Power Apps.
So, you have an email, and you want to have it show up on the timeline of a record in your model-driven Power App. How?
This pretty much comes down to configuration of your Dataverse environment, enabling/connecting Dataverse user mailboxes with Exchange Online mailboxes, and installing the Dynamics 365 App for Outlook on your environment.
By default, each new Dataverse environment is already connected to the related M365 tenant’s Exchange Online service. You don’t need to configure anything, but if you want more info, see the related Microsoft Documentation.
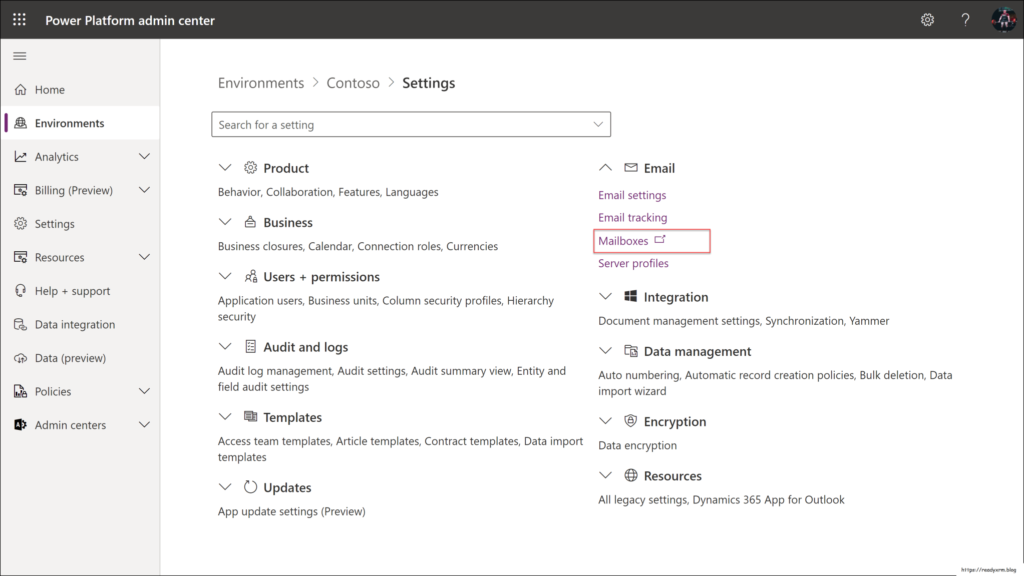
In the Power Platform admin center, in the settings section of your environment, select Mailboxes.
Locate the user(s) that should have the ability to track emails. Then select Approve Email followed by Test & Enable Mailbox. These actions will link the Dataverse user’s mailbox record (in Dataverse) with the related M365 user’s Exchange Online mailbox.
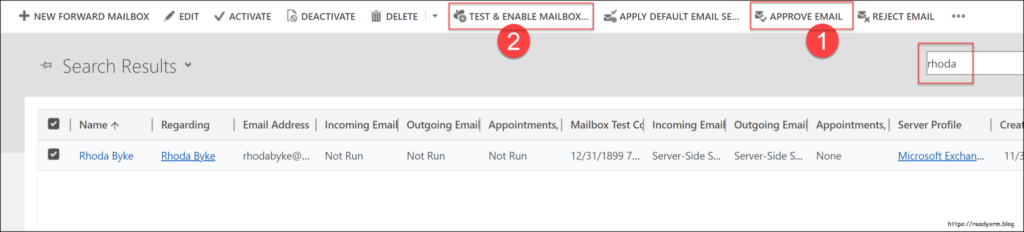
Note that this process may take some time. Eventually you will see that it is successful.

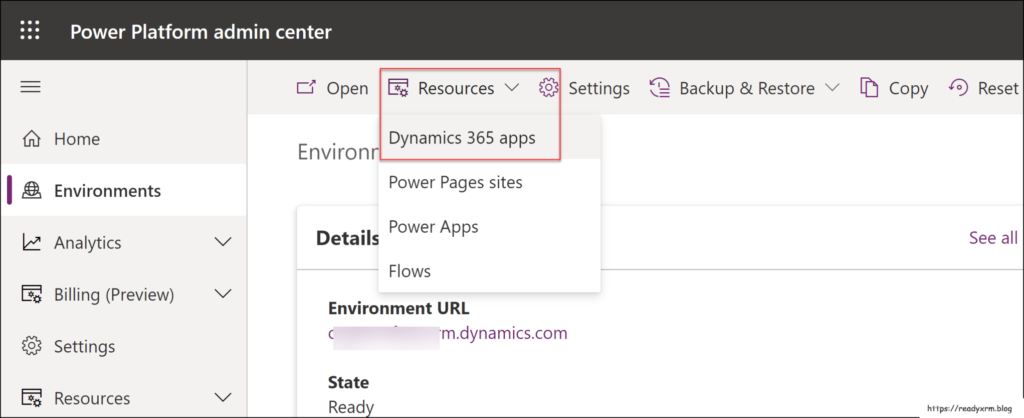
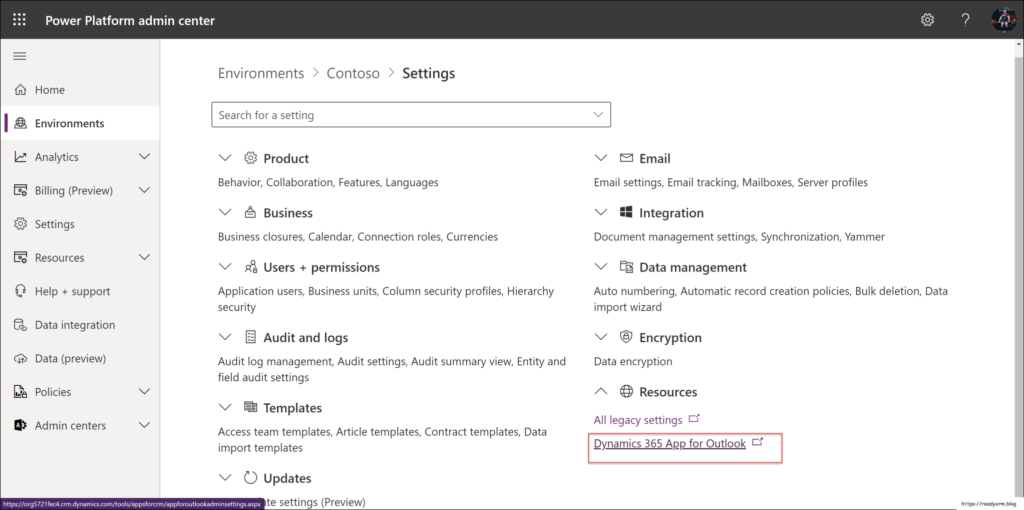
The next step is to add the Dynamics 365 App for Outlook to your environment. From the environment page, select Resources, followed by Dynamics 365 apps.
You will need to choose to open AppSource
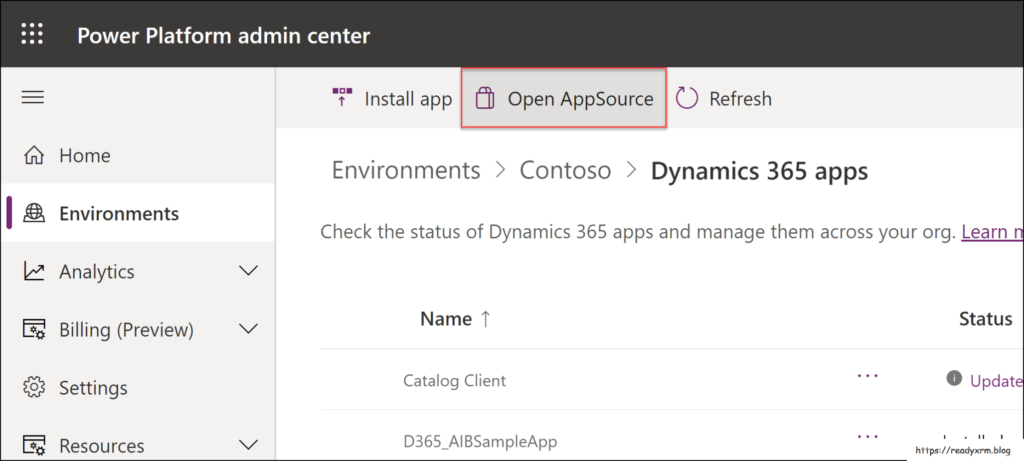
In AppSource, search for the Dynamics 365 App for Outlook and select Get it now
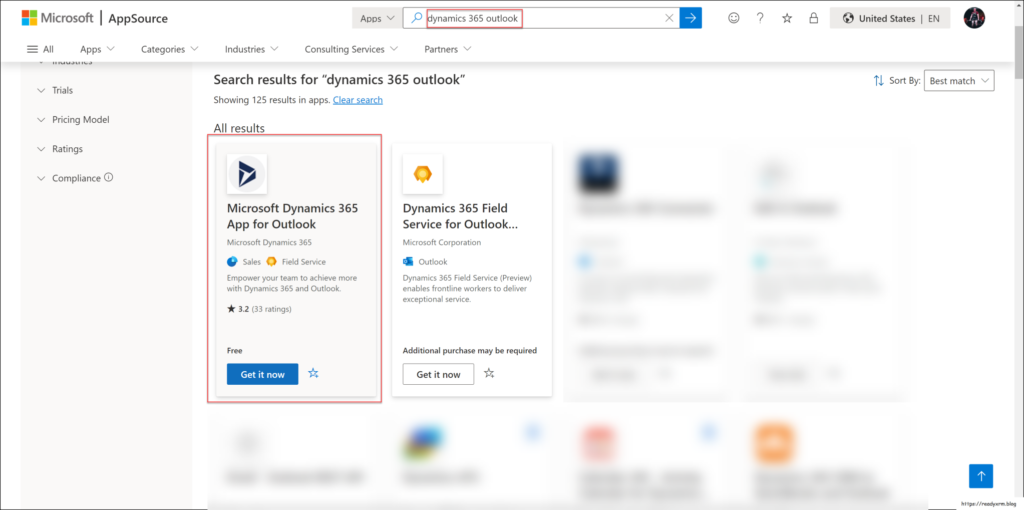
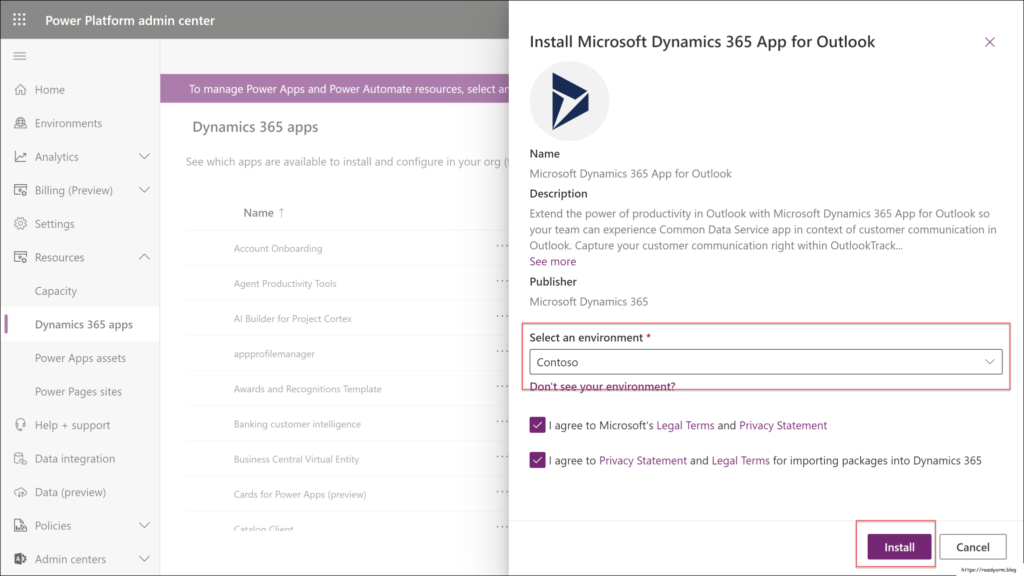
You will be prompted as to which environment to install the app. Select your Dataverse environment where you want to app to be active. (Kind of a no-brainer)
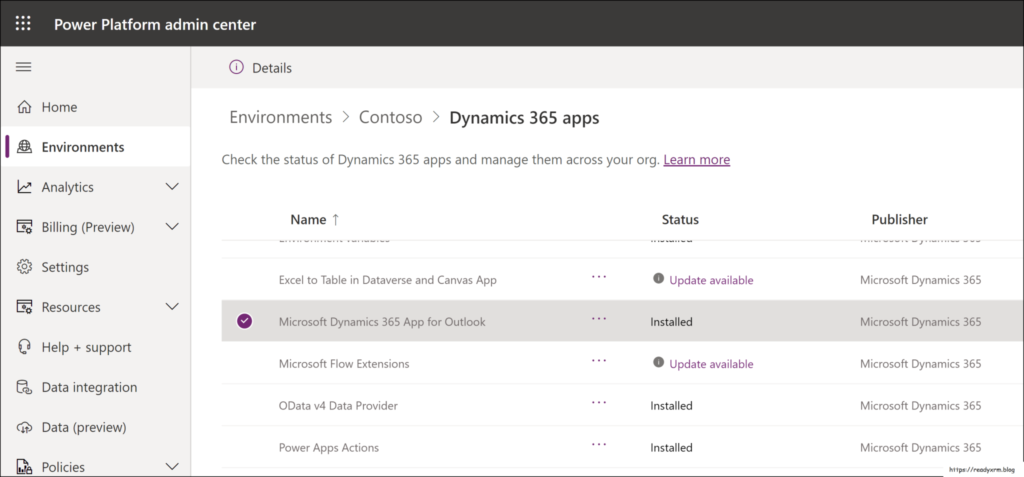
After a few minutes, the app should be installed on your environment.
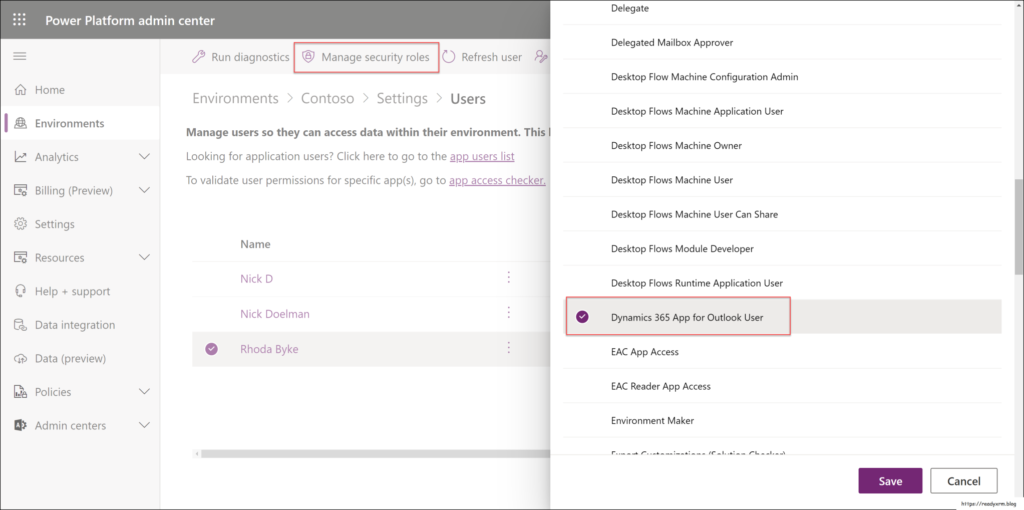
Users in your Dataverse environment will need to be added to the Dynamics 365 App for Outlook security role.
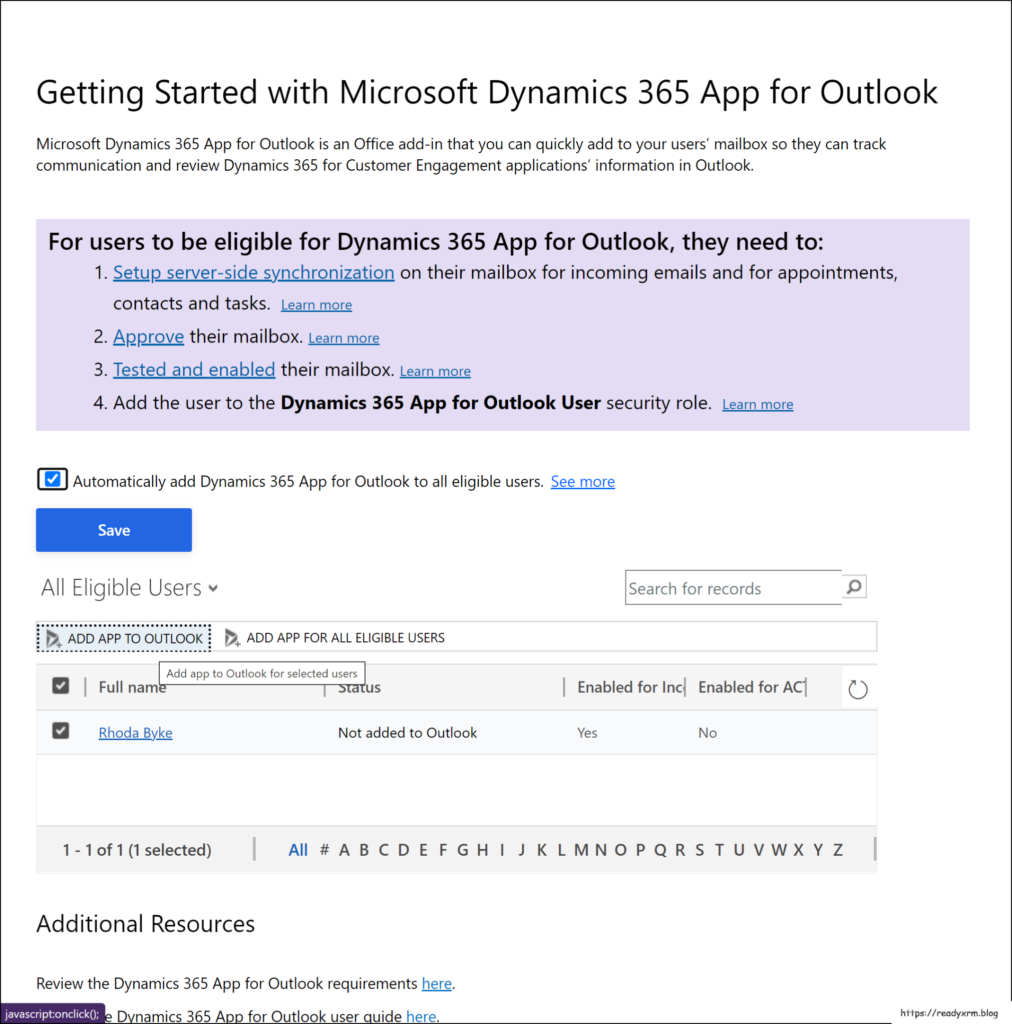
Deploying Dynamics 365 App for Outlook

The next screen provides a number of options to deploy the app, either for specific users or all users.
Once you initiate the process you will see a “pending” status for the selected users. This process may take some time (~15 to 20 minutes).
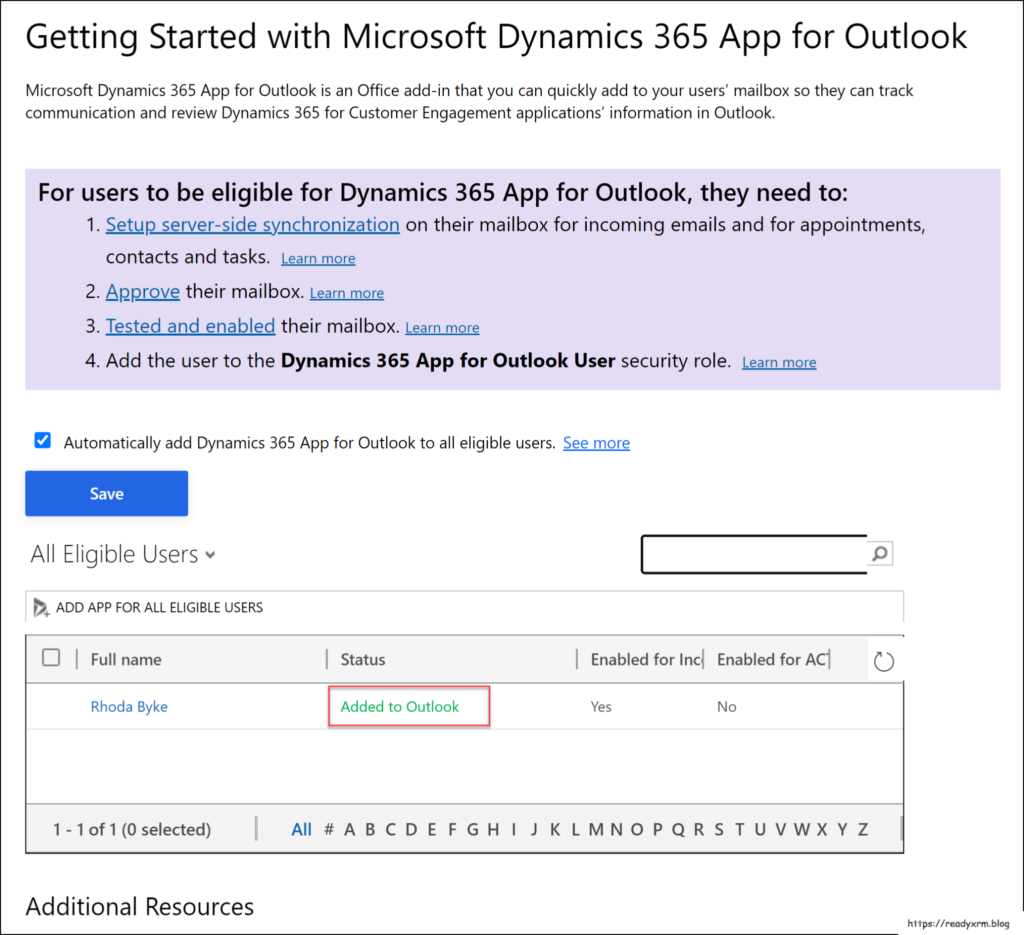
Once the process is complete, you will see that the Dynamics 365 app has been added to Outlook.
Enabling tracking to specific tables
Out of the box you can track emails against Accounts and Contacts. (If you are using Dynamics 365 apps, such as sales or service, you will be able to track emails against additional tables like opportunities and cases.).
If you want to track against your own custom tables in your app, you will need to do a couple of things.
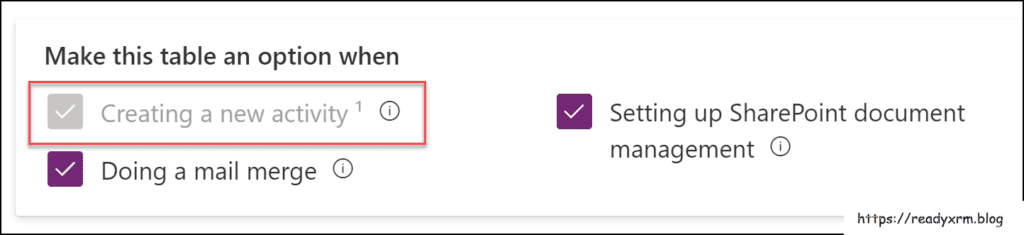
First, you will need to make sure your table has the Make this table an option when Creating a new activity is selected.
You will also need to add that table to the Dynamics 365 App for Outlook app (create a solution, add the Dynamics 365 app for Outlook model-driven app, add your table to the app).
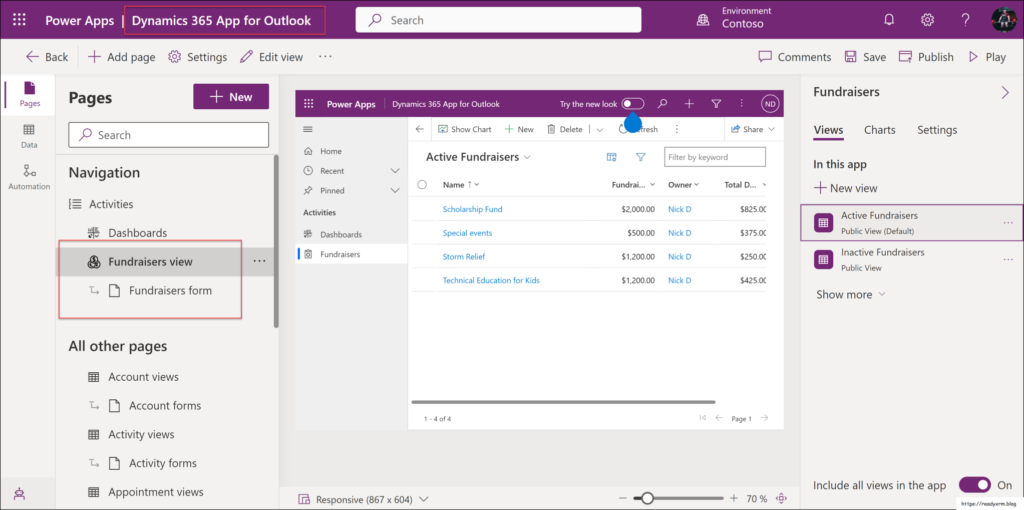
Save, publish, and deploy the app to your production environment.
Tracking emails
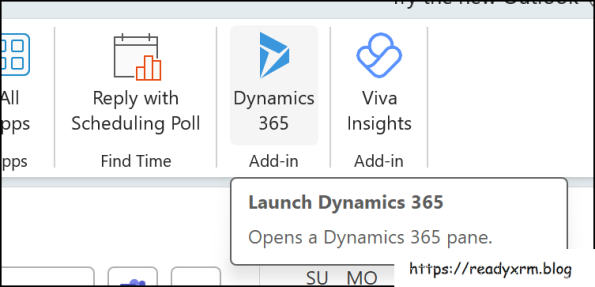
If everything worked correctly, you should see a button to the Dynamics 365 App in your desktop Outlook menu.
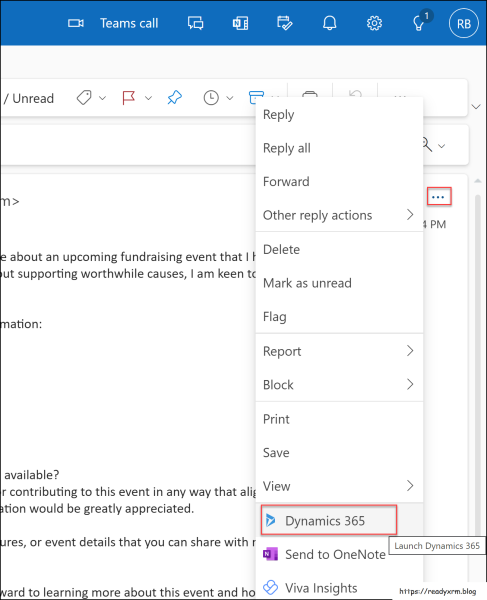
If you are using the Outlook for web, select the ellipses (…) on the email and find the Dynamics 365 link.
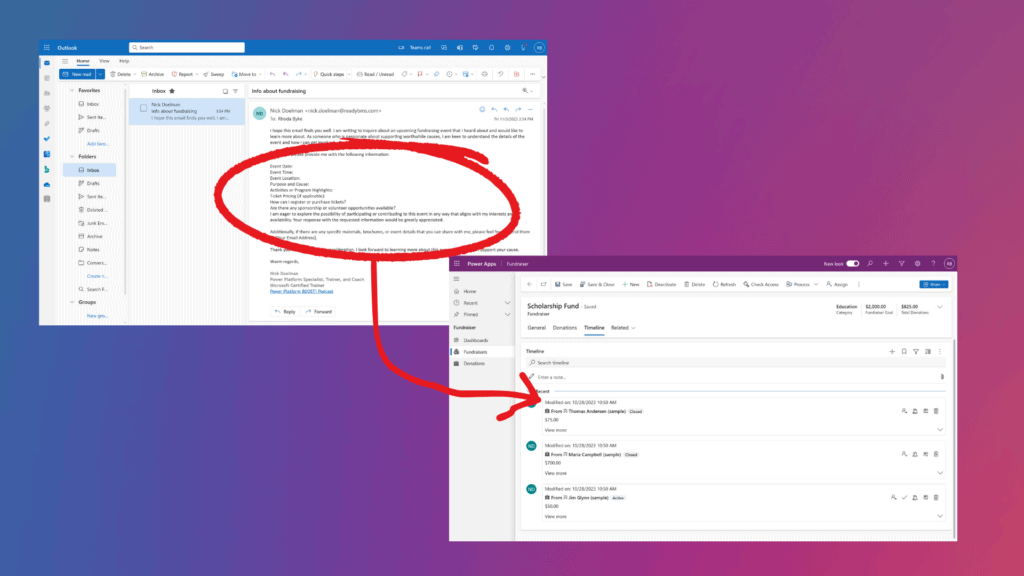
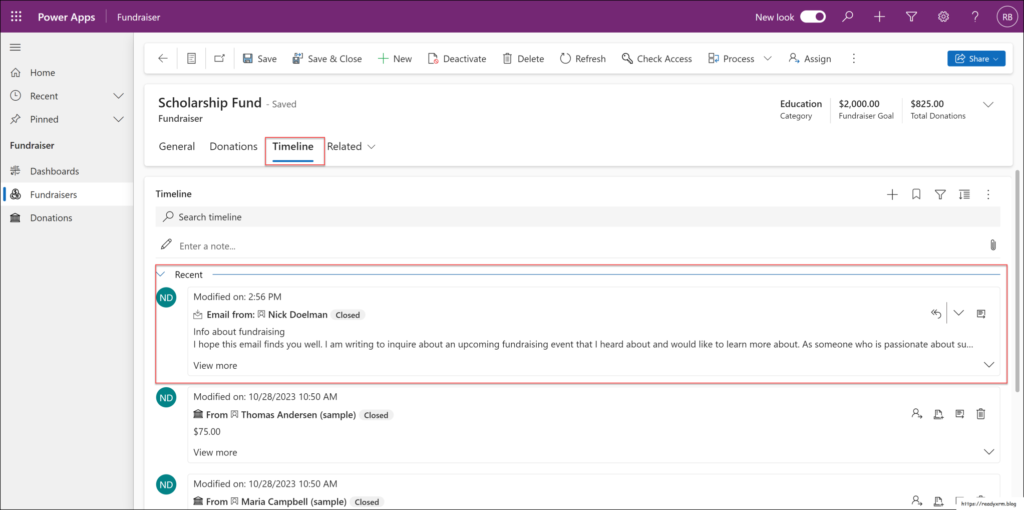
This will open the Dynamics 365 window and allow you to track the email against any table that has been added to the Dynamics 365 App for Outlook and is enabled to track activities.
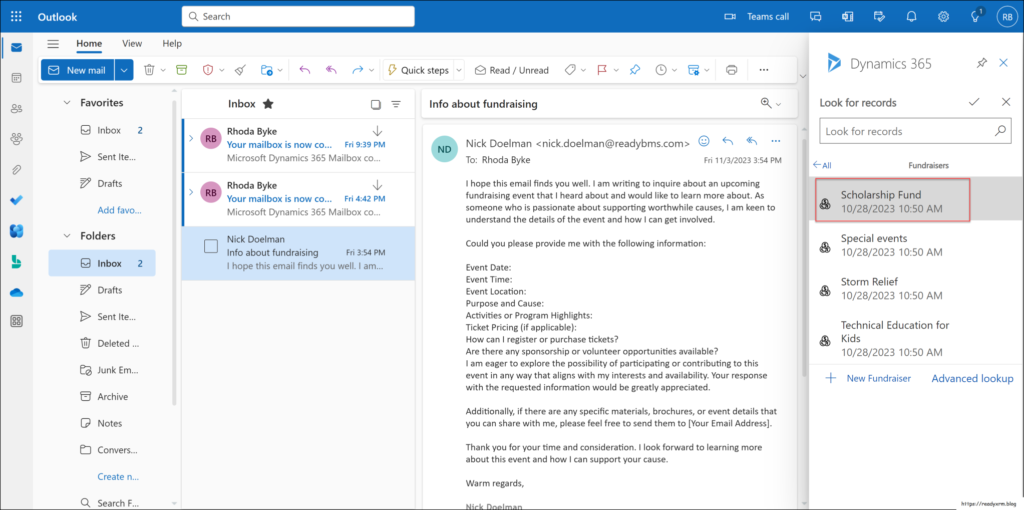
The tracked email should appear in the timeline of the model-driven app. If other users have read permission on the Activities table, they will be able to view the email.
Summary
The ability to track emails, synchronize contacts and appointments with a Power Apps app is a very useful and powerful feature that doesn’t get a lot of attention these days. Hopefully this blog post opens a new world to providing more functionality and collaboration for your end users using Power Apps built on Dataverse.
About the Author
Nick Doelman is an independent Power Platform trainer and coach, presenter, Microsoft Certified Trainer, competitive Powerlifter, , former Microsoft employee, former Microsoft MVP, and cohost of the Power Platform BOOST! podcast.
References
Doelman, N. (2023). Connecting Microsoft Outlook to model-driven Power Apps, Available at: https://readyxrm.blog/2023/11/04/connecting-microsoft-office-to-model-driven-power-apps/ [Accessed: 25th March 2024].