I want my students to submit weekly reflections, but it also needs to be easy for me to collect those. My solution is a Microsoft Form for each week, an Excel Workbook in OneDrive, and Power Automate (formerly Microsoft Flow) to glue the two together.
First, I created a Microsoft Form for each week of class. I used the survey-style form, not a quiz, since there is no right answer to the weekly reflection. It’s possible using a quiz could have simplified things, but it seemed the better fit to me.
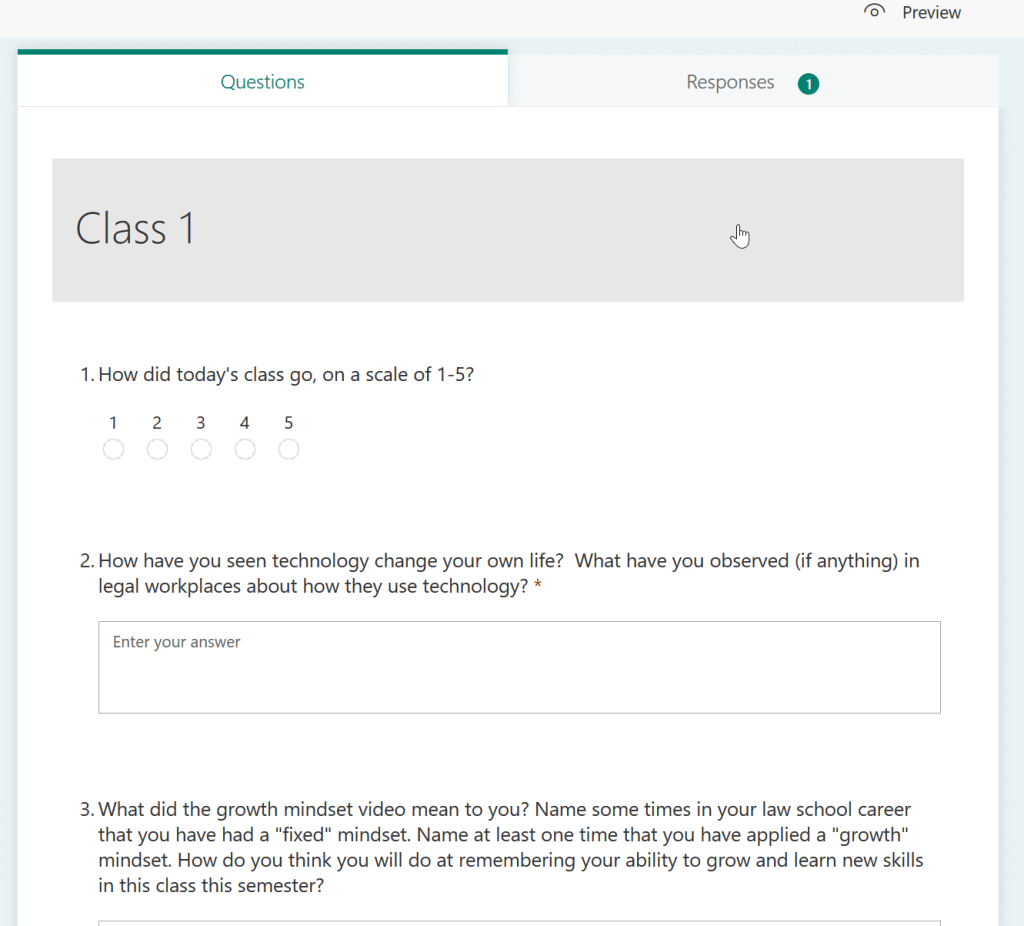
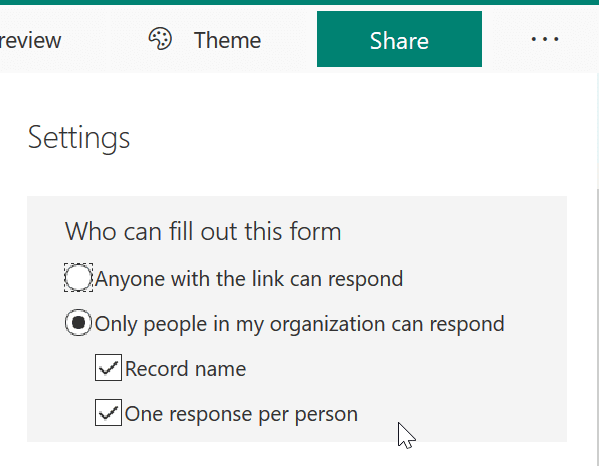
I turned on settings to record name and limit to 1 response per survey-taker.
My workbook is a simple Excel Workbook that I created in OneDrive. One column contains the same email address that is the student’s ID for Office 365. For example, although you can email me at qsteenhuis@suffolk.edu, my login to Office 365 is qsteenhuis@adm.suffolk.edu. I needed to use the login (UPN) in my spreadsheet’s column.
I made one sheet for the summary (reading score + attendance for each week), and another for the readings, so I could review everyone’s readings while still getting an overview of their scores in one place. It would be possible to use just one sheet for both purposes to make it a little simpler.
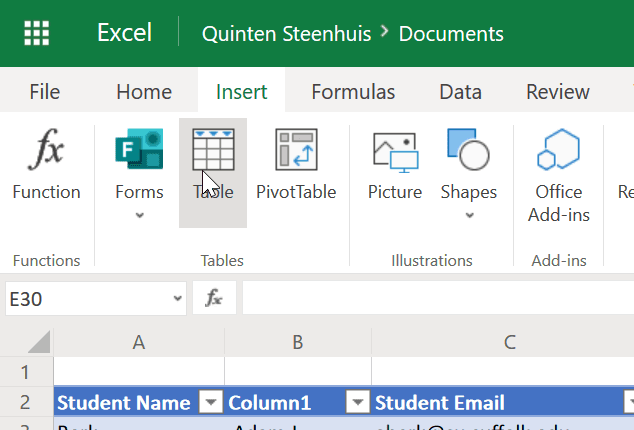
In order to link your workbook to Microsoft Power Automate, you need to assign your columns and rows to a Table. To do that, use the Insert | Table menu option in Excel or Excel Online. You can give the table a meaningful name only with the full desktop version of Excel. Make sure that you create it in OneDrive first though, and use the “Info | Open in Desktop App” option.
Next, I created my flow in Power Automate. I ended up creating one flow for each week’s reading assignment. I think there probably isn’t a simpler way to handle that, since I wanted each row to come from a different Form.
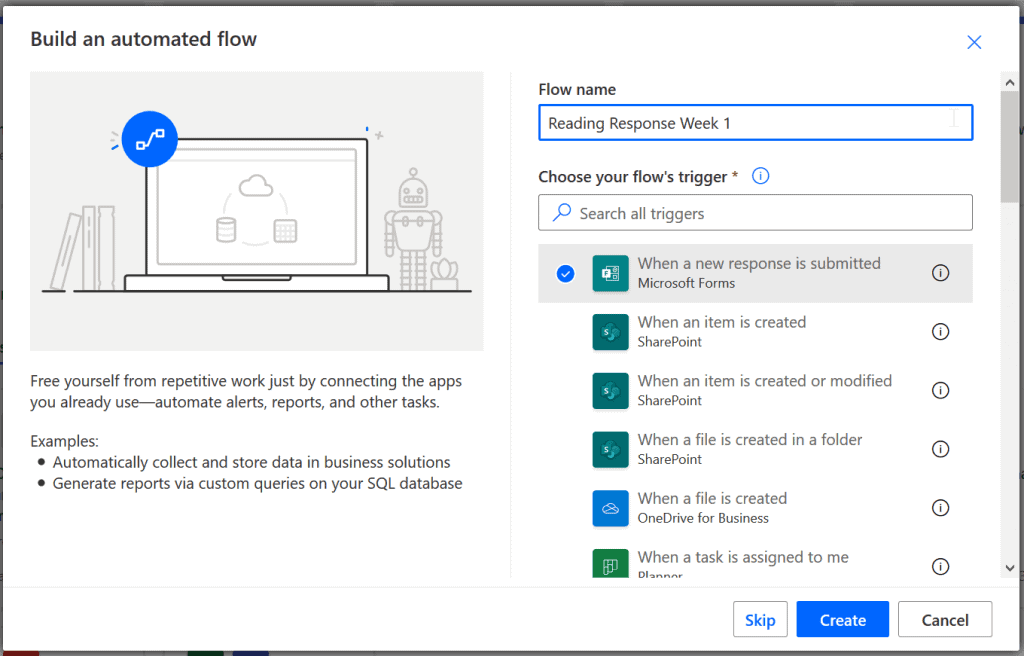
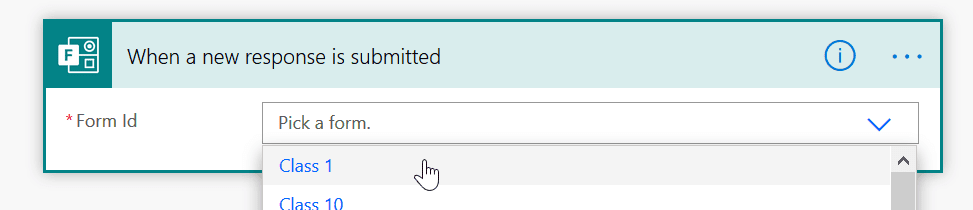
I start with a blank flow by choosing Create | Automated Flow, and then as the trigger, I choose “When a new response is submitted with Microsoft Forms.” I named it “Reading Response Week 1”.
Next, I selected the form I wanted to collect responses from.
The next step is to actually tell Power Automate to read through the response and pull out the info we need. Search for “Get response details” as the Action step.


I added one final step, which is to Update Excel row.
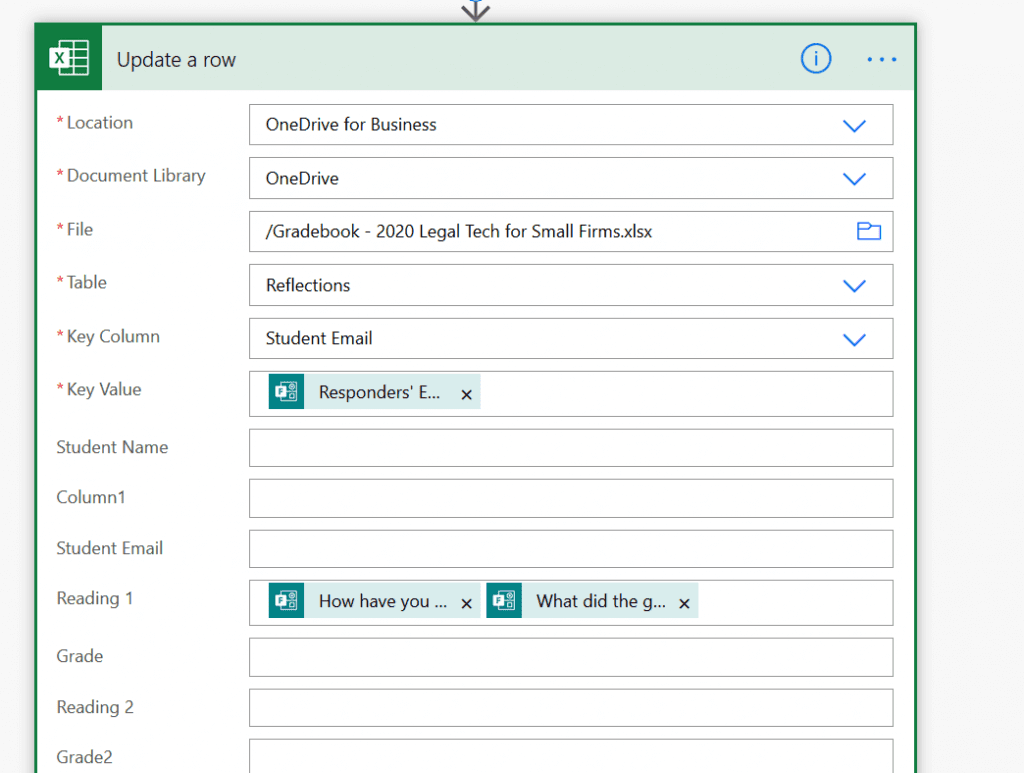
Key Column is the column in my workbook that contains the student’s email (remember, it needs to be the actual ID that they have in the Office 365 directory, as that is what Microsoft Forms will record). Key Value is selected from the survey response, and should be Responder’s Email.
Then I updated the table column to include the contents of the student’s response. I’ll be able to see all of the student responses in one place, assign a numeric grade, and then have that go right into my gradebook.
To collect the information for all 13 weeks, I just copied the flow and updated the two items that need to be changed: the form name and the column in the gradebook.
For more great content, check out the Resource Centre
About the Author:
Quinten Steenhuis works and lives in Greater Boston, Massachusetts
Reference:
Steenhuis, Q. (2020). Automating a grading book with Microsoft Flow / Power Automate. Available at: https://www.nonprofittechy.com/2020/08/23/automating-a-grading-book-with-microsoft-flow-power-automate/ [Accessed at 4th March 2021].
Find more great Power Platform content here.